
Making yogurt at home can feel like a daunting task, especially for those who have busy schedules or are just starting to explore the world of cooking. But what if I told you that learning how to make yogurt can not only save you money but also provide you with a delicious, healthy option that fits into your meal plan? This high-protein, budget-friendly solution is perfect for anyone looking to stick to their nutrition goals while enjoying a creamy, customizable treat.
Kitchen Frustration That Makes This Recipe a Lifesaver
In our fast-paced world, many of us find ourselves in a cooking rut. The weekly meal prep can feel tedious, especially when faced with soaring grocery prices and the pressure to keep our families healthy and satisfied. When I discovered how to make yogurt, it revolutionized my kitchen routine. Not only did it take the burden off my grocery bill by cutting out expensive store-bought options, but it also allowed me to control the ingredients, ensuring I was making a protein-packed, heart-healthy treat.
Being able to whip up a batch of yogurt not only provided comfort but also filled our home with the nostalgic aroma of fresh dairy—a scent that somehow brings everyone to the kitchen. If you’re struggling with cooking fatigue, this homemade yogurt recipe is a practical tip that turns frustration into satisfaction.
Why This How To Make Yogurt Works So Well
Quick Answer: This yogurt-making process blends ease with delicious results, producing creamy, thick yogurt that benefits your health and your wallet.
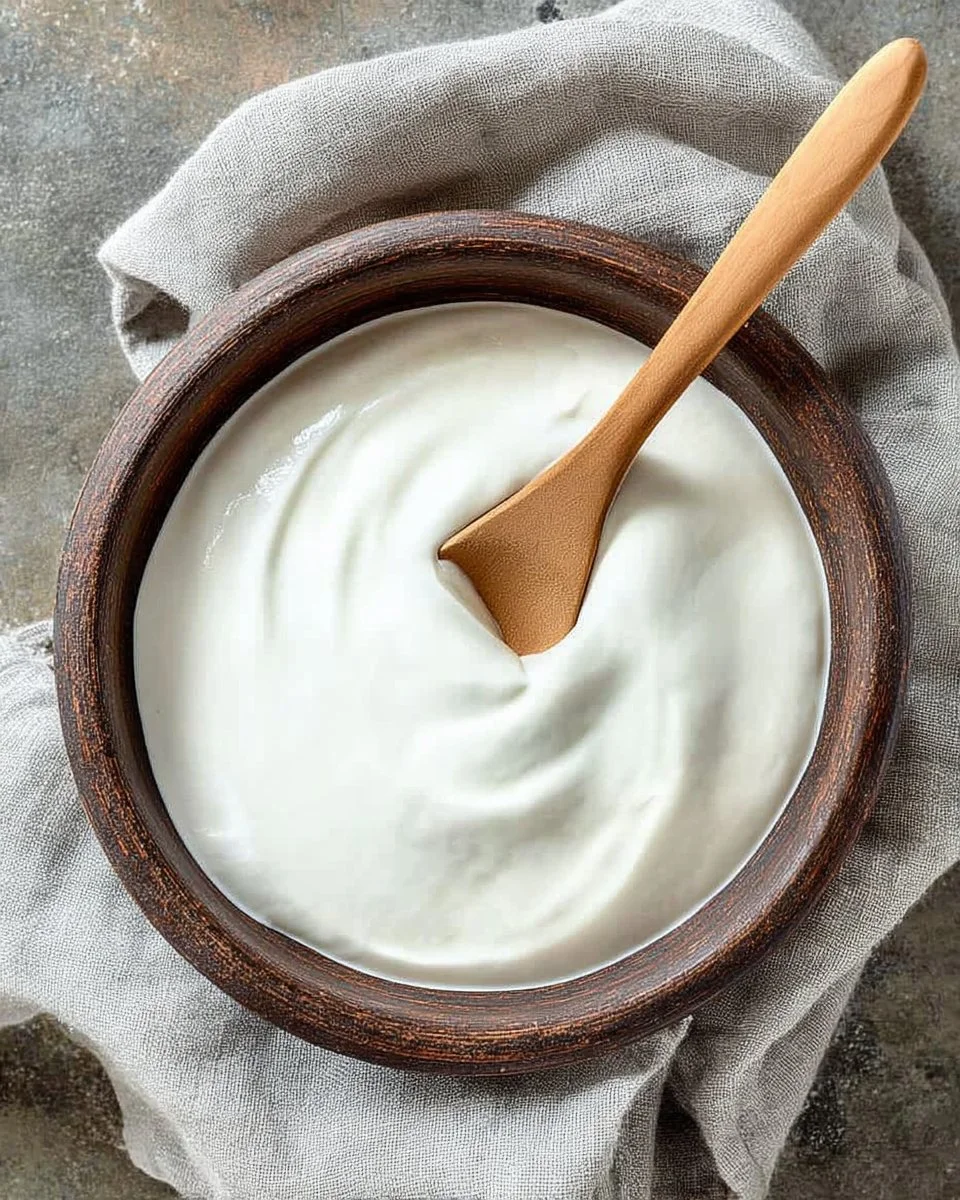
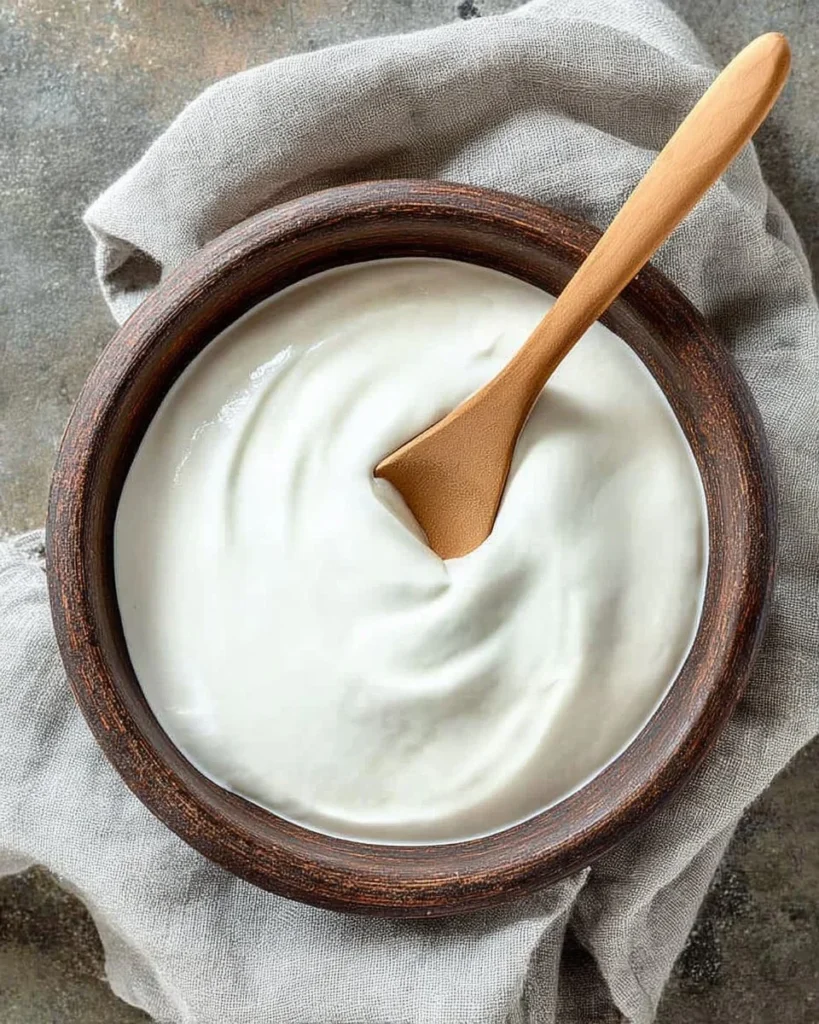
Understanding how to make yogurt is more than just a cooking activity; it’s a way to embrace health-conscious eating. The thick, velvety texture and customizable flavors allow you to create a yogurt that suits your taste preferences perfectly. By using whole or 2% milk, you will achieve a creamy texture that’s both satisfying and beneficial.
Not only is this recipe time-saving, but making yogurt at home is a fun and fulfilling project that the whole family can partake in. You can also control the sugar levels, making it easy to adhere to your calorie-conscious or blood sugar support needs. This simple recipe transforms your daily routine and helps you stick to your meal plan without breaking the bank.
Ingredients, Substitutions & Foolproof Tips
- 1 gallon whole milk, 2% or skim milk: Whole milk gives the thickest, creamiest results, but you can choose based on your preferences.
- 1 cup plain yogurt: Ensure it’s at room temperature and contains live cultures (look for l. bulgaricus and s. thermophilus) for the best results.
Equipment:
- Slow cooker or pot
- Thermometer
- Cheesecloth
- Colander
If using a stock pot, heat milk over low to medium heat, stirring regularly to prevent scorching. Using a slow cooker is simpler, as it keeps a consistent temperature.
Step-by-Step Directions
- Heat the milk: Pour 1 gallon of milk into a slow cooker set to HIGH. Close the lid and let it heat for 2-3 hours, until it reaches 180°F. Use a thermometer for accuracy.
- Cool the milk: Once the milk is at the desired temperature, turn off the slow cooker, keep the lid closed, and let it cool to between 110°F and 115°F. This cooling period usually takes another 2-3 hours.
- Mix in yogurt: To start your culture, add a small amount of warm milk to 1 cup of plain yogurt. Stir well and gently incorporate this mixture back into the milk in the slow cooker. Avoid stirring in circular motions; use up and down or side-to-side motions instead for better mixing.
- Culturing: Close the lid again and wrap the slow cooker in a large bath towel. Leave it undisturbed at room temperature (or warmer) for about 10-12 hours or overnight. The yogurt should thicken and separate from the whey during this time.
- Strain the yogurt: Line a colander with cheesecloth and pour the thickened yogurt into it. Let it drain over a large bowl for several hours to achieve your desired thickness. For Greek yogurt, aim for a minimum of 4 hours.
- Store: Transfer the finished yogurt to a glass container with a lid and store it in the fridge for up to 2 weeks. Remember to save 1 cup of yogurt for your next batch!
Common Mistakes to Avoid & Pro Tips
- Mistake: Not checking the milk temperature.
- Fix: Always use a thermometer to ensure you’ll have proper yogurt consistency.
- Mistake: Opening the lid during culturing.
- Fix: Be patient—maintaining a consistent temperature is crucial for good texture.
- Pro Tip: Use a large bath towel to wrap your slow cooker for optimal warmth, ensuring the best culturing environment.
- Pro Tip: Experiment with different flavorings like vanilla extract, fruit, or honey after the yogurt is strained, tailoring it to your family’s tastes!
Serving, Storage & Freezer Guide
How to Serve How To Make Yogurt
Homemade yogurt makes a great base for breakfast, snacks, or desserts. Serve it with fresh fruit, a sprinkle of granola, or a drizzle of honey. You can also mix it into smoothies or use it as a substitute for sour cream in recipes.
How to Store How To Make Yogurt
Store your yogurt in a sealed glass container in the refrigerator. It should remain fresh for up to 2 weeks. When you’re ready for a fresh batch, reserve a cup from your current yogurt to use as a starter.
Can You Freeze How To Make Yogurt?
Yes, you can freeze yogurt! Portion it into small containers for easy use in smoothies or as an overnight oats base. When you’re ready to use it, thaw it overnight in the fridge.
Frequently Asked Questions
Can I use flavored yogurt as a starter?
While you can use flavored yogurt, it’s best to stick with plain to ensure control over the flavor and sugar content.
How do I know if my yogurt has set properly?
Well-cultured yogurt will be visibly thicker and have a tangy flavor. If it’s too runny, it may need a longer culturing time.
What can I do with leftover whey?
Whey can be used in baking as a liquid component or added to smoothies for an extra protein boost. It can also be used in soups or for water plants.
Can I make yogurt with almond or soy milk?
While it is possible, you’ll need specific starter cultures for non-dairy milks, and the texture may differ from traditional dairy yogurt.
Conclusion
Making yogurt at home allows you to reclaim your kitchen, creating a high-protein option that is both budget-friendly and health-conscious. This skill not only saves money but also supports your nutrition goals while filling your home with warmth and nostalgia.
If this recipe reminds you of someone you love, share it with them. Your memories keep recipes alive.
Homemade Yogurt
Ingredients
Method
- Pour 1 gallon of milk into a slow cooker set to HIGH. Close the lid and let it heat for 2-3 hours until it reaches 180°F. Use a thermometer for accuracy.
- Once the milk is at the desired temperature, turn off the slow cooker, keep the lid closed, and let it cool to between 110°F and 115°F. This cooling period usually takes another 2-3 hours.
- To start your culture, add a small amount of warm milk to 1 cup of plain yogurt. Stir well and gently incorporate this mixture back into the milk in the slow cooker, avoiding circular stirring motions.
- Close the lid again and wrap the slow cooker in a large bath towel for warmth. Leave it undisturbed at room temperature for about 10-12 hours or overnight.
- Line a colander with cheesecloth and pour the thickened yogurt into it. Let it drain over a large bowl for several hours to achieve your desired thickness. For Greek yogurt, aim for a minimum of 4 hours.
- Transfer the finished yogurt to a glass container with a lid and store it in the fridge for up to 2 weeks. Remember to save 1 cup of yogurt for your next batch!