

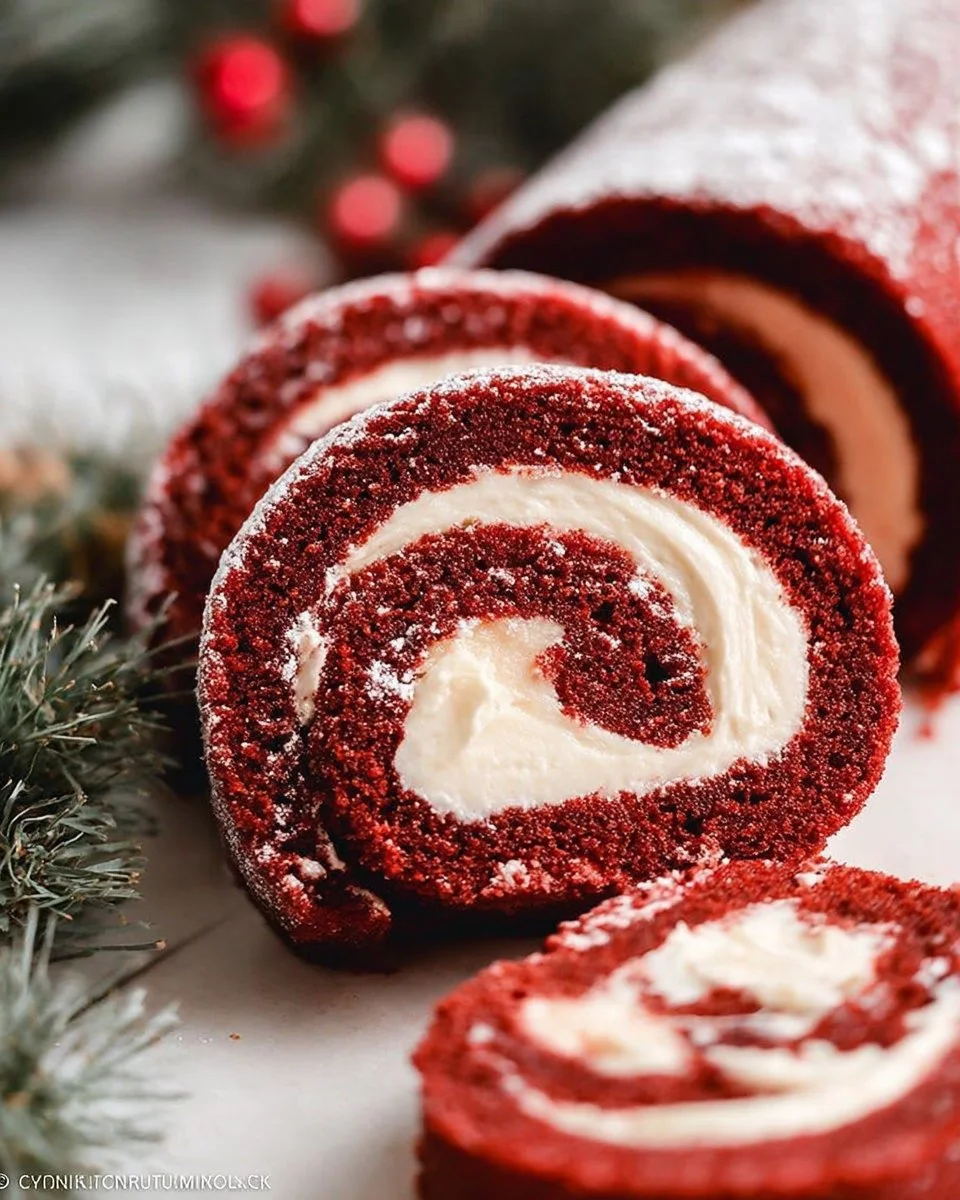
There’s something undeniably charming about a cake roll, especially when it boasts the vibrant hues of red and decadent taste of a classic red velvet cake. Imagine slicing into a soft, cushiony roll that reveals a swirl of creamy filling – it’s a feast for both the eyes and the palate. The soft texture combined with the luscious cream cheese filling creates a delightful experience that will have your friends and family clamoring for seconds. Perfect for any celebration, whether it’s a birthday, holiday, or a cozy gathering, this dessert is sure to impress and delight. Plus, it’s a delightful twist on the traditional cake, making it an excellent centerpiece for your dessert table. As you prepare this stunning cake roll, your kitchen will be filled with the enticing aroma of chocolate and vanilla, beckoning for a slice. Get ready to roll into deliciousness and impress everyone with your baking skills!
Why You’ll Love This Recipe
Not only is this dessert visually captivating, but it is also straightforward and rewarding to make. The moist, plush texture of the red velvet cake paired with the velvety cream cheese filling is a match made in dessert heaven. This recipe is incredibly versatile, lending itself to both traditional and gluten-free adaptations, meaning that all your guests can enjoy it, regardless of dietary restrictions. Additionally, this cake roll is perfect for preparing ahead of time; allowing it to chill overnight develops the flavors beautifully. Whether served during the holiday season or as a sweet surprise for a loved one, the Red Velvet Cake Roll is bound to brighten anyone’s day. You’ll love how simple it is to impress without spending hours in the kitchen. Versatile, beautiful, and absolutely delicious – this recipe is a must-have.
What Makes This Recipe Special
What sets this cake roll apart is not just its eye-catching appearance but the layers of flavor packed in each slice. The rich cocoa undertones combine seamlessly with the classic red velvet profile, providing a depth that elevates it above regular cake. The addition of cream cheese in the filling offers a sweet yet tangy contrast that enhances the overall flavor experience. Plus, it’s more than just taste that makes this recipe stand out—it’s the presentation. The visual of the vibrant red color swirled with the creamy white filling creates a showstopper that would be the star of any gathering or celebration. Additionally, the rolling technique gives the cake a whimsical quality, making it not only fun to make but also fun to eat. This dessert is a celebration on a plate and a perfect way to showcase your baking prowess to friends and family!
Ingredients
all-purpose flour or gluten-free 1:1 flour: Essential for structure, providing a light and airy texture to the cake.
cocoa powder: Adds depth of flavor and a rich cocoa undertone without overpowering the red velvet base.
baking powder: A leavening agent that helps the cake rise and gives it a fluffy texture.
baking soda: Works in conjunction with the vinegar to create the cake’s light and airy structure.
salt: Enhances the flavors, balancing out the sweetness of the cake.
whole eggs: Contributes to the richness and aids in binding all ingredients together for a moist cake.
sugar: Sweetens the cake and helps create its tender crumb.
melted butter: Infuses the cake with moisture and adds a touch of richness.
white vinegar mixed with milk: Reacts with baking soda to create a fluffy texture while providing tanginess.
milk or buttermilk: Adds moisture and richness to the cake, enhancing its overall flavor.
red food coloring: Gives the cake its signature vibrant color, making it visually appealing.
vanilla extract: Introduces warmth and depth of flavor, complementing the other ingredients perfectly.
cream cheese: The base for the filling, providing a creamy, tangy contrast to the sweet cake.
butter: Adds richness and smoothness to the cream cheese filling, enhancing the overall texture.
powdered sugar: Sweetens the filling and creates a smooth, creamy consistency.
vanilla extract for filling: Enhances the flavor of the filling, creating a harmonious blend.
How to Make Red Velvet Cake Roll
STEP 1. Preheat the oven. Set your oven to 350°F and prepare the jelly roll pan by lining it with parchment paper.
STEP 2. Combine melted butter and sugar. In a large mixing bowl, mix together melted butter and sugar until well blended.
STEP 3. Add eggs. Incorporate eggs into the mixture one at a time, ensuring each egg is fully combined before adding the next one.
STEP 4. Mix in wet ingredients. Add buttermilk, red food coloring, and vinegar to the mixture, stirring until the ingredients are well combined.
STEP 5. Combine dry ingredients. In another bowl, whisk together flour, cocoa powder, baking powder, baking soda, and salt. Then integrate this dry mixture into the wet ingredients until a smooth batter forms.
STEP 6. Pour and bake. Transfer the batter into the lined jelly roll pan, spreading it evenly, and bake for 10-11 minutes until a toothpick comes out clean.
STEP 7. Retain moisture post-baking. After baking, cover the cake with a baking pan or tin foil immediately to trap moisture; loosen the edges gently if sticking.
STEP 8. Roll the cake. While still warm, carefully roll the cake from the short edge and wrap it in tin foil to help maintain its shape.
STEP 9. Make the filling. In a separate bowl, whip together cream cheese, powdered sugar, vanilla extract, and butter until smooth and creamy.
STEP 10. Unroll and fill. Once the cake has cooled for about an hour, gently unroll it, spread the cream cheese filling evenly across the cake, and then roll it back up tightly.
STEP 11. Wrap and chill. Wrap the rolled cake in plastic wrap and refrigerate overnight to allow the flavors to meld.
STEP 12. Prepare to serve. Before serving, dust the cake roll with powdered sugar, slice it, and enjoy!
Pro Tips
To ensure your cake roll turns out perfectly, here are some helpful tips: Use room-temperature eggs and cream cheese to achieve a better consistency in your batter and filling. Be careful when rolling the cake; it’s best done while the cake is still warm to prevent it from cracking. If you’re using gluten-free flour, double-check your blend to make sure it contains xanthan gum for added stability. Don’t skip the overnight chilling; this allows the filling to firm up and the flavors to deepen. Lastly, feel free to add a splash of vanilla or a sprinkle of cocoa in the filling for an extra flavor boost!
Common Mistakes to Avoid
When making this cake roll, watch out for these common pitfalls. One common mistake is overmixing the batter; mix just until combined to maintain a tender texture. Another is not properly greasing or lining the pan, which can lead to sticking and tearing when rolling. Be cautious with the baking time; underbaking could make rolling difficult, while overbaking can lead to dryness. Avoid skipping the chilling step as it allows for better slicing and flavor merging. Finally, when unrolling the cake for filling, do so gently to prevent cracks and maintain its lovely appearance.
Variations
• Add a splash of almond extract for a nutty twist.
• Use coconut cream for a dairy-free filling option.
• Incorporate chocolate chips into the filling for extra sweetness.
• Swap out the cream cheese for mascarpone for a different flavor profile.
• Garnish with fresh berries for added freshness and decoration.
• Create a marble effect by swirling in white cake batter.
Serving Ideas
This delightful cake roll can be served with a dollop of whipped cream for extra indulgence. Pair it with fresh fruit like strawberries or raspberries to contrast the sweetness. It’s also great with a side of vanilla ice cream, enhancing its rich flavors. For a festive touch, consider drizzling chocolate or caramel sauce on top! Dusting with more powdered sugar right before serving adds a beautiful finish. This dessert is perfect for any gathering and is sure to be a crowd pleaser!
Meal Prep & Storage
To prepare this cake roll in advance, you can make it up to two days ahead of time. Keep the rolled cake stored tightly in the refrigerator wrapped in plastic wrap. It can also be frozen for up to three months; just ensure it’s well wrapped to avoid freezer burn. When you’re ready to serve it, allow it to thaw in the refrigerator overnight. If you have leftovers, keep them wrapped in the refrigerator for up to four days. The flavors will develop further, making each slice even more enjoyable!
FAQs
Can I use a different type of food coloring?
Yes, you can use gel food coloring for a more vibrant color; just be cautious with the amount, as it’s more concentrated.
What if my cake cracks when rolling?
If your cake does crack, don’t worry! You can patch it up with extra cream cheese filling, which will help hold it together.
Can I substitute the cream cheese filling?
Absolutely! You can use whipped cream or a dairy-free alternative like coconut cream for a different flavor and texture.
How do I know when my cake is done baking?
The cake is done when a toothpick inserted in the center comes out clean, and the cake springs back when lightly pressed.
What’s the best way to slice a cake roll?
Using a serrated knife will help you get clean slices without squishing the cake.
Can I bake this cake without a jelly roll pan?
While a jelly roll pan is ideal, you can use a regular baking sheet; just make sure to adjust the baking time accordingly and monitor closely.
Conclusion
This delightful treat transforms a classic dessert into a show-stopping centerpiece! With its rich colors, luscious filling, and perfect texture, it captures hearts (and taste buds) with every slice. Perfect for any occasion, it stands out not just for its presentation but also for its delicious flavor. Your friends and family will be asking for the recipe, so enjoy the admiration as you serve this beautiful cake roll!

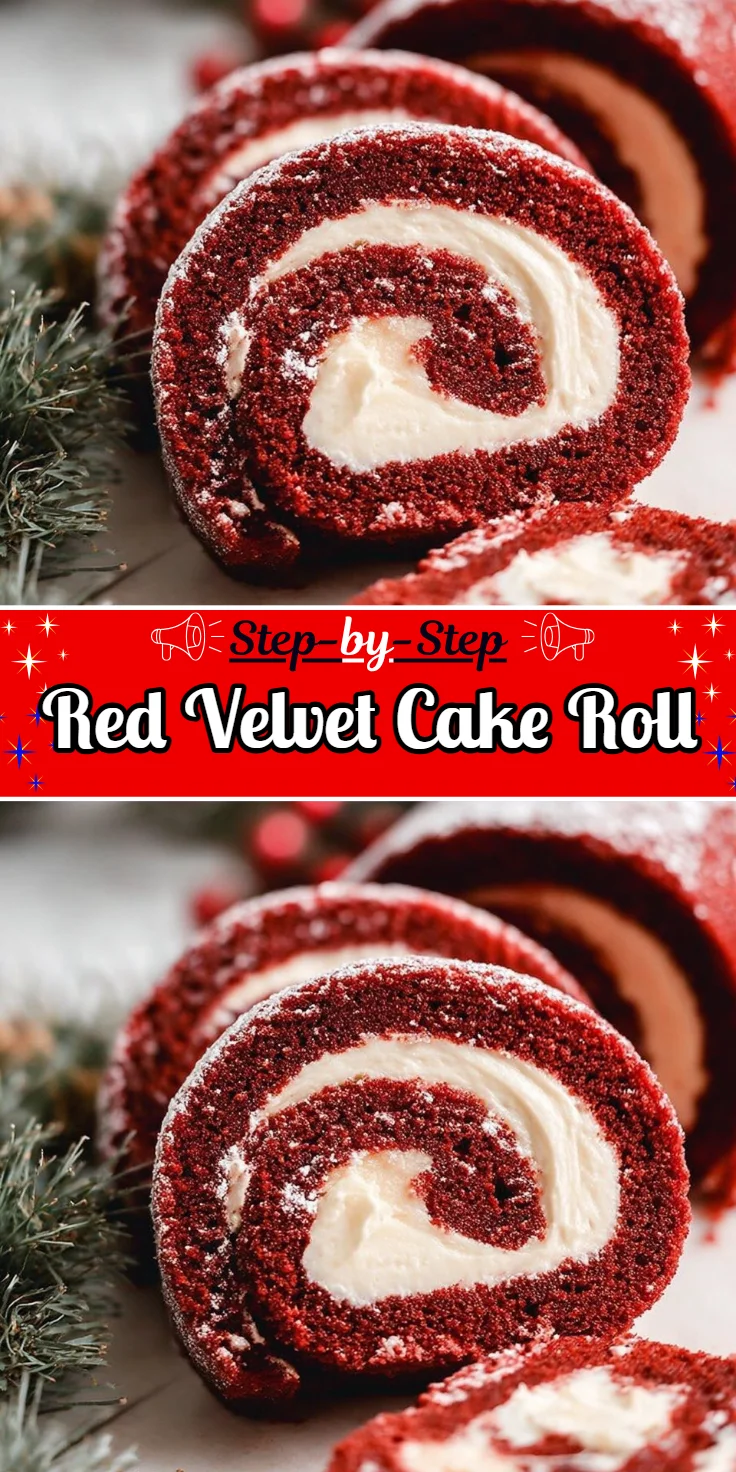
Red Velvet Cake Roll
Ingredients
Method
- Preheat the oven to 350°F and line a jelly roll pan with parchment paper.
- In a large mixing bowl, mix melted butter and sugar until well blended.
- Incorporate eggs one at a time, making sure each egg is fully combined before adding the next.
- Add buttermilk, red food coloring, and vinegar to the mixture, stirring until well combined.
- In another bowl, whisk together flour, cocoa powder, baking powder, baking soda, and salt; integrate this dry mixture into the wet ingredients until a smooth batter forms.
- Transfer the batter to the lined jelly roll pan, spreading evenly, and bake for 10-11 minutes until a toothpick comes out clean.
- After baking, cover the cake with a baking pan or tin foil immediately to trap moisture; loosen the edges gently if sticking.
- While still warm, carefully roll the cake from the short edge and wrap it in tin foil to help maintain its shape.
- In a separate bowl, whip together cream cheese, powdered sugar, vanilla extract, and butter until smooth and creamy.
- Once the cake has cooled for about an hour, gently unroll it and spread the cream cheese filling evenly across the cake.
- Roll the cake back up tightly and wrap it in plastic wrap.
- Refrigerate overnight to allow the flavors to meld.
- Before serving, dust the cake roll with powdered sugar, slice it, and enjoy.