
Baking can often feel like an elusive art, one where the ingredients need perfection and the process demands your attention. You’re not alone if cooking sometimes feels overwhelming or tedious, especially after a long day of juggling responsibilities. That’s where these Bread Machine Potato Rolls come to the rescue! By harnessing the power of your bread machine, you can whip up warm, fluffy rolls that make for a cozy family meal or a delightful side at gatherings without the fuss. With their comforting flavor and ease of preparation, these rolls help reduce cooking fatigue while sticking to your meal plan.
Kitchen Frustration That Makes This Recipe a Lifesaver
Many family-oriented cooks often find themselves in a cooking rut. Perhaps you’ve experienced the exhaustion that comes with planning meals. After a long day, the thought of creating a complex dinner can trigger a wave of frustration that dashes meal prep hopes to the ground. It’s at those moments when a reliable recipe becomes a beacon of ease, and that’s exactly what you’ll find in these Bread Machine Potato Rolls.
Imagine coming home, tired from a busy day, only to have the smell of freshly baked bread greet you. With their delightful texture and lightly sweet flavor, these rolls are a practical solution that also connects you to comforting family meals. The secret to their success lies in using your bread machine, which does the heavy lifting for you. Just set it up, and let it work its magic while you savor that rare moment of peace. A practical tip? Keep your bread machine on hand as a kitchen tool to lessen stress and create delicious, heartwarming meals effortlessly.
Why This Bread Machine Potato Rolls Works So Well
Quick Answer: These rolls are soft and pillowy, thanks to the combination of bread flour and potato flakes, which keep them moist while being incredibly easy to prepare in a bread machine.
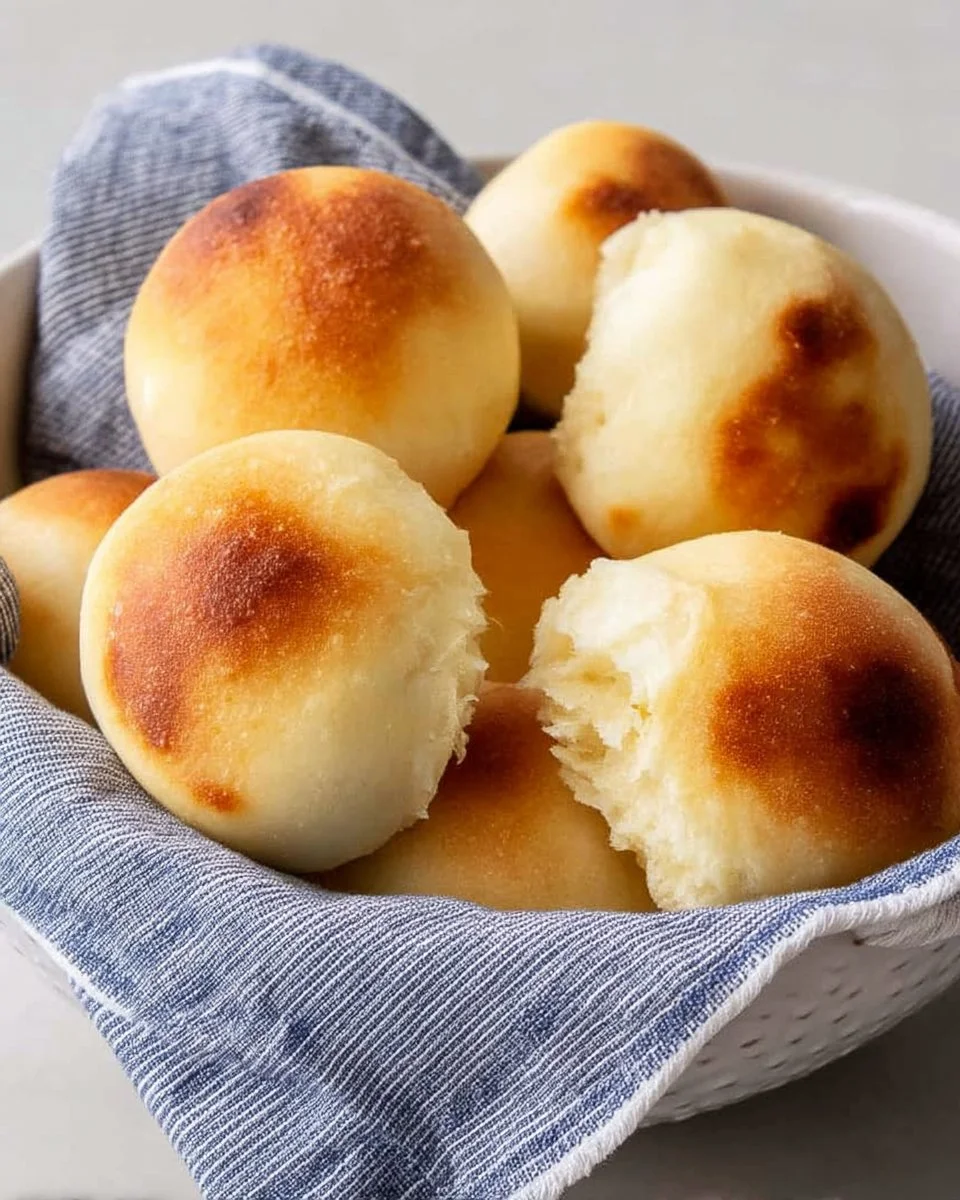
The magic of Bread Machine Potato Rolls lies not only in their delightful taste but also in their captivating texture. Using ingredients like instant potato flakes results in rolls that remain soft on the inside, while the outside achieves a beautifully golden crust. Plus, when baked in a bread machine, the controlled environment optimizes the fermentation process, producing buns that are flavor-packed and comforting.
Being health-conscious doesn’t mean sacrificing flavor. These rolls provide a macro-balanced option for family dinner nights, meal prep, or potlucks. They’re versatile, pairing perfectly with soups, salads, or your favorite main dishes. Whether you’re feeding a crowd or just your immediate family, this recipe solves culinary dilemmas that often arise when trying to stick to nutrition goals without breaking the bank.
Ingredients, Substitutions & Foolproof Tips
- 3/4 cup water (helps with hydration)
- 3/4 cup buttermilk (adds richness and tenderness)
- 1 egg (binds ingredients and adds structure)
- 3 cups (411 g) bread flour (for a sturdy yet soft roll)
- 1/2 cup (35 g) instant potato flakes (keeps rolls soft and moist)
- 2 tablespoons sugar (enhances flavor)
- 1 1/2 teaspoons kosher salt (balances sweetness)
- 2 1/2 teaspoons active dry yeast (helps the dough rise)
- 1 tablespoon milk (for brushing on top before baking)
Substitutions:
- Swap buttermilk for regular milk + 1 teaspoon vinegar to mimic the acidity.
- Use all-purpose flour if bread flour is unavailable, but the texture may vary.
- For a gluten-free version, use a gluten-free bread flour blend.
Step-by-Step Directions
- Add ingredients to bread machine: Pour 3/4 cup of water and 3/4 cup of buttermilk into the bread machine pan. Add the egg, 3 cups of bread flour, 1/2 cup of instant potato flakes, sugar, kosher salt, and active dry yeast in this order.
- Select the DOUGH program: Place the bread pan in your bread maker. Choose the DOUGH program and press START. This program will take about 90 minutes to complete, allowing the yeast to work its magic.
- Prepare baking sheet: While the dough rises, set out a large rimmed baking sheet lined with parchment paper to prepare for the rolls.
- Transfer and shape the dough: Once the dough is done, sprinkle a floured surface with flour. Transfer the dough from the bread pan and remove the paddle. The dough will be a bit sticky, so a light sprinkle of flour on top can help.
- Divide the dough: Cut the dough into 24 equal pieces and shape them into rolls by pinching the sides underneath to create a smooth top. If the dough sticks too much to your hands, a light dusting of flour will help with handling.
- Let rolls rise: Arrange the rolls on the prepared baking sheet, cover them with plastic wrap, and let them rise for about 60 minutes or until they’ve doubled in size.
- Preheat and bake: Preheat your oven to 375°F. Remove the plastic wrap and brush the tops of the rolls with a tablespoon of milk. Bake for 15 to 18 minutes, or until they turn golden brown and register 195°F with an instant probe thermometer.
Common Mistakes to Avoid & Pro Tips
- Dough too sticky: This can happen if too much liquid is added. Always measure ingredients accurately.
- Under-rising dough: Ensure your yeast is fresh. If it isn’t, you may need to replace it before starting the recipe.
- Rolling not holding shape: Take care to pinch securely. A well-shaped roll will hold its form during rising and baking.
- Baking time variations: Ovens can vary. Always check on your rolls a few minutes before the recommended time.
Pro Tips:
- Use a thermometer to check the internal temperature; it ensures perfect doneness.
- Consider doubling the recipe if planning for a gathering to ensure everyone gets to enjoy fresh rolls.
- Let the rolls cool for a few minutes after baking before serving; this allows the steam to escape, maintaining that delightful texture.
Serving, Storage & Freezer Guide
How to Serve Bread Machine Potato Rolls
These Bread Machine Potato Rolls are best served warm, straight from the oven. They’re perfect for family dinners, holiday meals, or simply as a satisfying snack. Serve with butter or a sprinkle of sea salt on top for an added touch of indulgence. Pair them with hearty soups or stews, and you’ll create a comforting meal that warms the heart.
How to Store Bread Machine Potato Rolls
If you have leftovers, ensure they cool completely before storing. Place them in an airtight container at room temperature for up to two days or in the refrigerator for up to a week. To keep them fresh longer, wrap them in foil before refrigerating to prevent them from drying out.
Can You Freeze Bread Machine Potato Rolls?
Absolutely! These rolls freeze beautifully. Once they cool, place them in a freezer-safe bag or container, separating each roll with parchment paper to prevent sticking. They can last up to three months in the freezer. To reheat, simply place them in a preheated oven at 350°F for 10-12 minutes, or until warmed through.

placeholder
Frequently Asked Questions
How long does it take for the rolls to rise?
The rolls typically take about 60 minutes to rise and double in size. The yeast needs warmth to activate, so make sure your kitchen is at a comfortable temperature for optimal results.
Can I make these rolls without a bread machine?
Yes! If you don’t have a bread machine, mix the ingredients by hand, then knead the dough for about 10 minutes before placing it in a greased bowl and letting it rise until doubled in size.
What can I do if my rolls come out dense?
If your rolls are dense, it’s likely due to too much flour or not enough rising time. Always measure flour accurately, and ensure your yeast is fresh for proper activation.
Can I add ingredients like herbs or cheese?
Definitely! These rolls are versatile. Adding herbs like rosemary or cheddar cheese can enhance the flavor, making them even more delightful.
Conclusion
These Bread Machine Potato Rolls do more than simply occupy a place on your dinner table; they bring a sense of warmth and nostalgia to any meal. With their easy preparation, they make the perfect addition to your meal plan while satisfying your family’s tastebuds. If this recipe reminds you of someone you love, share it with them. Your memories keep recipes alive.

Bread Machine Potato Rolls
Ingredients
Method
- Pour 3/4 cup of water and 3/4 cup of buttermilk into the bread machine pan.
- Add the egg, 3 cups of bread flour, 1/2 cup of instant potato flakes, sugar, kosher salt, and active dry yeast in this order.
- Place the bread pan in your bread maker. Choose the DOUGH program and press START. This program will take about 90 minutes to complete.
- While the dough rises, prepare a large rimmed baking sheet lined with parchment paper.
- Once the dough is done, sprinkle a floured surface with flour and transfer the dough from the bread pan.
- Cut the dough into 24 equal pieces and shape them into rolls.
- Arrange the rolls on the prepared baking sheet, cover them with plastic wrap, and let them rise for about 60 minutes.
- Preheat your oven to 375°F. Remove the plastic wrap and brush the tops of the rolls with a tablespoon of milk.
- Bake for 15 to 18 minutes, or until golden brown.