
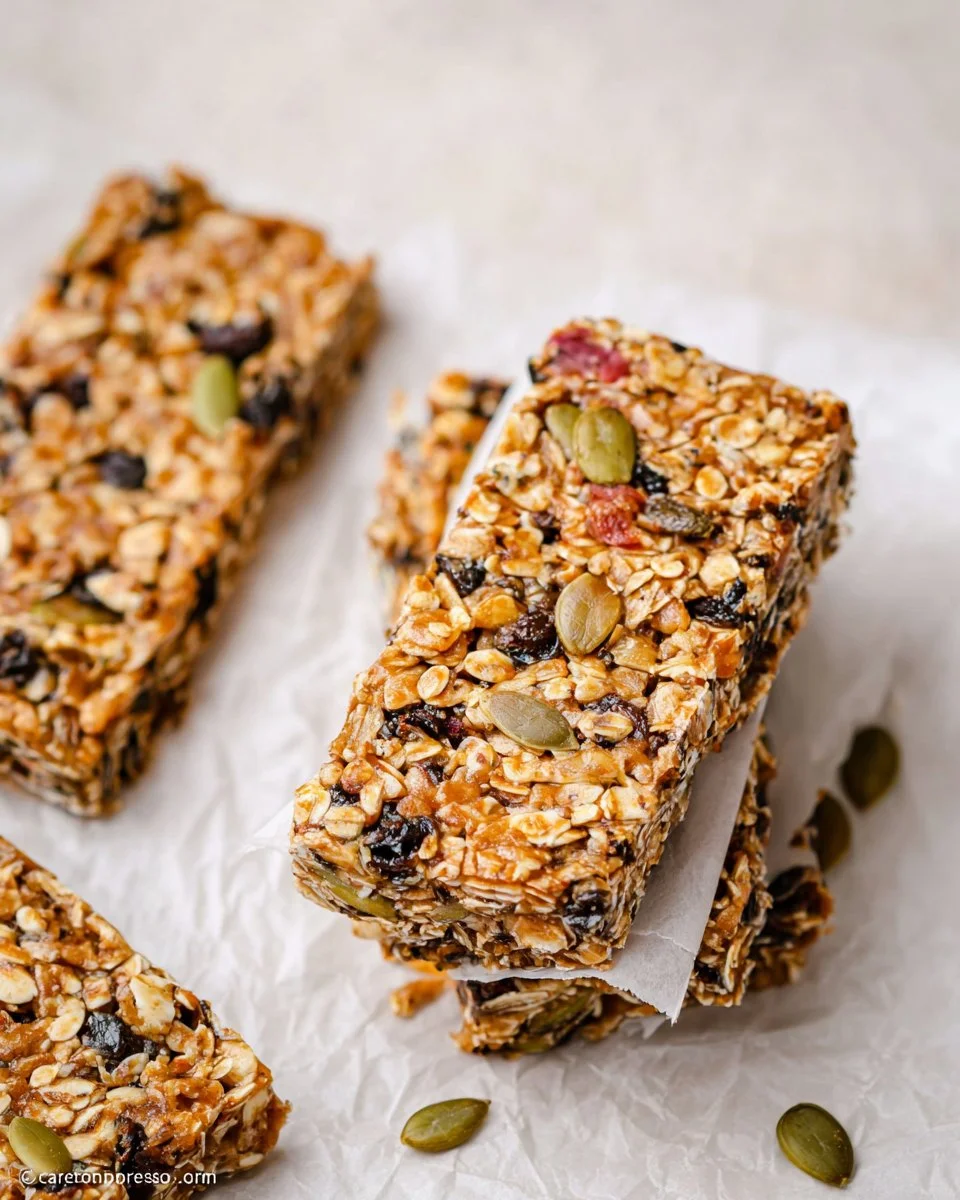
Imagine biting into a chewy, sweet bar packed with wholesome ingredients, perfect for an afternoon snack or a quick breakfast on the go. The delightful combination of creamy peanut butter, hearty oats, and just the right amount of sweetness creates a satisfying treat that everyone will love. These bars are not only convenient but also versatile, allowing you to customize them with your favorite mix-ins. Plus, there’s no need for baking, which means less mess in your kitchen. This recipe brings back the nostalgic flavors of childhood snacks while being a healthier alternative, making it a hit for both kids and adults alike. Enjoy them as a pre-workout snack or a post-meal treat — either way, they will bring a smile to your face!
Why You’ll Love This Recipe
This recipe is a lifesaver for busy individuals who need snacks that fuel their day without resorting to processed options. You’ll appreciate how quick and easy it is to prepare these homemade bars, allowing you to skip the store-bought versions loaded with preservatives. The flexibility of mix-ins lets you tailor each batch to your preferences, ensuring that everyone can enjoy their favorite flavors. The outcome is a satisfying, crunchy, and chewy bar that delivers energy and taste with every bite. Plus, these granola bars make for an excellent meal prep solution, giving you nutritious snacks ready to grab at a moment’s notice.
What Makes This Recipe Special
What sets this recipe apart is its simplicity and health-conscious approach. With just a handful of ingredients, you create a delicious snack that avoids refined sugars and unhealthy additives. The combination of oats and peanut butter ensures a hearty source of fiber and protein, making these bars a well-rounded snack choice. Additionally, this recipe is adaptable; whether you’re in the mood for chocolate, fruits, or nuts, you can mix and match to create your ultimate snack. The no-bake aspect makes it accessible for bakers of all skill levels, turning the kitchen into a place of creativity rather than fear of burnt edges or over-mixing.
Ingredients
rolled oats: Serve as the base, providing fiber and a chewy texture.
peanut butter: Adds creaminess and healthy fats, helping to bind the bars together.
maple syrup or honey: Provides natural sweetness, enhancing flavor while keeping the bars moist.
mini chocolate chips: Optional add-in for a touch of indulgence and sweetness.
raisins: Adds natural sweetness and a chewy texture.
shaved almonds: Delivers a nutty crunch and nutritional benefits.
apple chips: Optional for a fruity flavor and additional crunch.
shredded coconut: Introduces a hint of tropical sweetness and texture.
seeds: Optional for added crunch and nutritional value.
How to Make No Bake Granola Bars
STEP 1. Combine the wet ingredients. In a large bowl, stir together peanut butter and maple syrup or honey until smooth.
STEP 2. Adjust the mixture. If the mixture is too thick, warm it in the microwave for 15 seconds to achieve a creamier consistency.
STEP 3. Mix the dry ingredients. In another bowl, combine rolled oats and your choice of mix-ins.
STEP 4. Combine both mixtures. Add the peanut butter mixture to the oats and stir until everything is evenly coated.
STEP 5. Prepare the baking dish. Line an 8×8 baking dish with parchment paper for easy removal.
STEP 6. Press the mixture into the pan. Firmly press the granola mixture into the prepared baking dish until evenly distributed.
STEP 7. Chill the bars. Refrigerate for 1 hour or freeze for 20 minutes until firm to the touch.
STEP 8. Slice and store. Once set, lift the parchment paper to remove the bars and slice into desired shapes.
STEP 9. Store the bars. Keep in an airtight container in the fridge for up to one week.

Pro Tips
For the best results, ensure your peanut butter is well-mixed if using natural varieties. Adjust the sweetness by adding more or less maple syrup or honey based on your preferences. If you’re in a hurry, freezing the bars for 20 minutes will speed up the firming process without sacrificing texture. Keep in mind that cutting the bars while they are slightly chilled will yield cleaner edges. Experiment with layering different textures, like adding a layer of melted chocolate on top before chilling. Always store your granola bars in an airtight container to maintain their freshness, and enjoy varied flavors by switching up the mix-ins every time you make them.
Common Mistakes to Avoid
One common pitfall is not properly greasing or lining the baking dish, which can make it difficult to remove the bars. Always use parchment paper for easy lifting. Another mistake is skipping the chilling phase; this is crucial for the bars to set properly, ensuring they don’t crumble when cut. Overmixing the granola mixture can also result in a denser bar; mix just until everything is coated. If you’re adding dried fruits, be mindful of how much moisture they can introduce — too many can make the bars overly sticky. Finally, refrain from using too much sweetener; it can overwhelm the flavors and mask the wholesome ingredients you’ve chosen.
Variations
• Use almond butter instead of peanut butter for a different nutty flavor.
• Add dried cranberries for a burst of tart flavor.
• Substitute honey with agave nectar for a vegan-friendly option.
• Experiment with protein powder for a protein boost.
• Incorporate different seeds like chia or flaxseeds for added nutrition.
Serving Ideas
Serve these granola bars with a side of fresh fruit for a quick breakfast. Pair them with yogurt for a satisfying snack that combines protein and carbs. Crumble the bars over ice cream or yogurt to add a crunchy topping. Pack these bars in lunchboxes alongside a healthy drink for a balanced meal. They also work great as a pre-workout snack to fuel your fitness routine.
Meal Prep & Storage
These bars are fantastic for meal prep since they can be made in advance and stored in the fridge. After slicing, simply layer the bars with parchment paper in an airtight container to prevent sticking. They can be stored for up to a week in the fridge and are perfect to grab when you’re on the move. For longer storage, consider freezing them — just thaw in the refrigerator overnight when you’re ready to enjoy. This makes them an ideal choice for busy weeks or when you need quick, healthy snacks on hand.
FAQs
Can I use quick oats instead of rolled oats?
Yes, quick oats can be used, but the texture will be slightly different and may result in a softer bar.
What can I substitute if I have nut allergies?
You can use sun butter or soy nut butter as alternatives to peanut butter.
How can I make these bars gluten-free?
Ensure that you use gluten-free labeled oats to make the bars suitable for those with gluten sensitivities.
How do I customize the sweetness?
You can add less maple syrup or honey if you prefer a less sweet option, or introduce additional spices like cinnamon for flavor without adding sugar.
Can I add protein powder to the mixture?
Absolutely! Fold in a scoop of your favorite protein powder to increase the nutritional benefits of your bars.
Conclusion
Whipping up these easy and delicious snacks can transform your everyday eating habits without sacrificing flavor or enjoyment. By making your own bars, you not only know exactly what goes into them, but you can also relish a tasty treat that keeps you energized throughout the day. Perfect for on-the-go lifestyles, these no-bake granola bars are sure to become a staple in your kitchen.

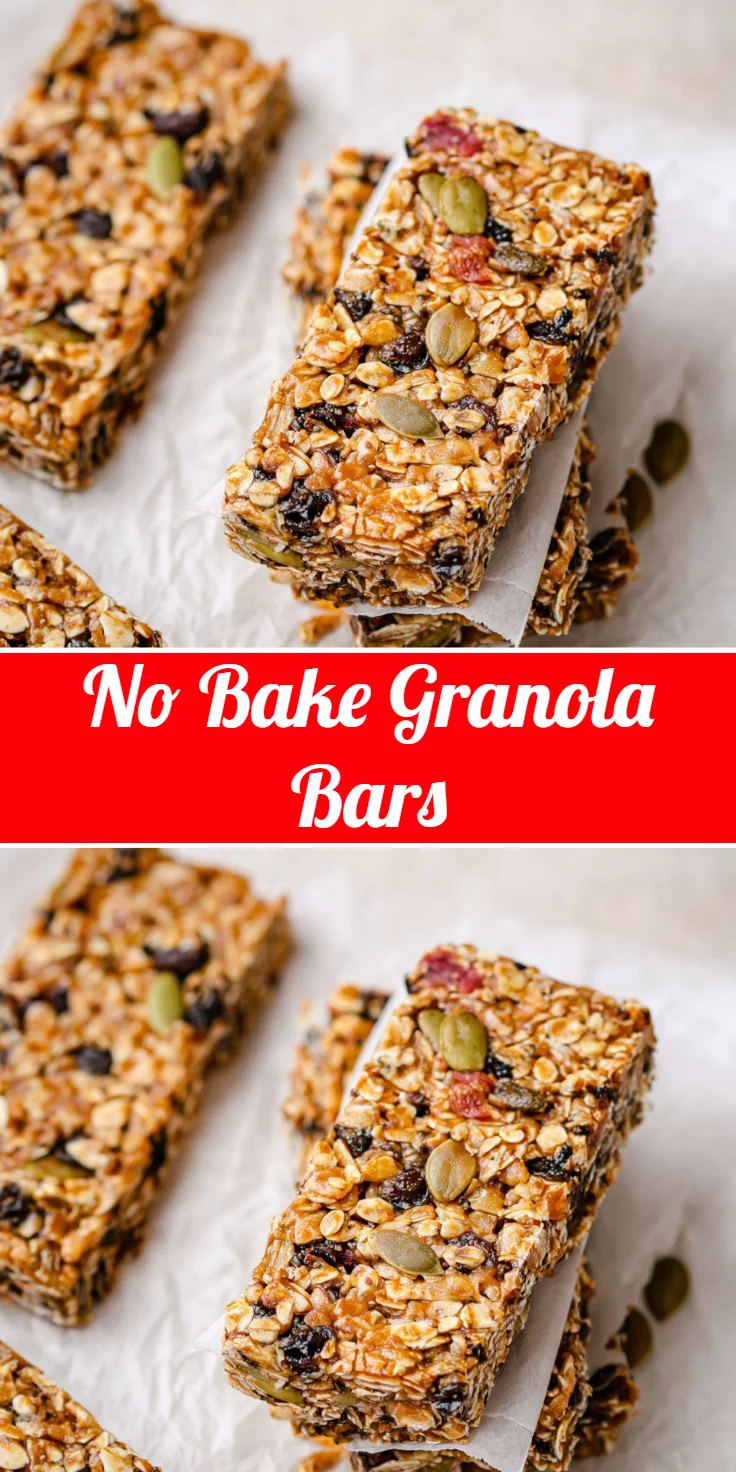
No Bake Granola Bars
Ingredients
Method
- Combine the wet ingredients: In a large bowl, stir together peanut butter and maple syrup or honey until smooth.
- Adjust the mixture: If the mixture is too thick, warm it in the microwave for 15 seconds to achieve a creamier consistency.
- Mix the dry ingredients: In another bowl, combine rolled oats and your choice of mix-ins.
- Combine both mixtures: Add the peanut butter mixture to the oats and stir until everything is evenly coated.
- Prepare the baking dish: Line an 8x8 baking dish with parchment paper for easy removal.
- Press the mixture into the pan: Firmly press the granola mixture into the prepared baking dish until evenly distributed.
- Chill the bars: Refrigerate for 1 hour or freeze for 20 minutes until firm to the touch.
- Slice and store: Once set, lift the parchment paper to remove the bars and slice into desired shapes.
- Store the bars: Keep in an airtight container in the fridge for up to one week.