

Making the perfect dessert that pleases a crowd can sometimes feel daunting. You want something delicious yet practical—a recipe that evokes nostalgia without requiring hours of your time in the kitchen. That’s where this Layered Banana Pudding comes into play. With a creamy texture and delightful flavor, it seamlessly fits into any meal plan, caters to your calorie-conscious family members, and fulfills everyone’s sweet cravings. Let’s dive into why this recipe is a game-changer for busy families and how it can become a cherished addition to your rotation.
Kitchen Frustration That Makes This Recipe a Lifesaver
As a busy home cook, there are moments when you just feel overwhelmed—between juggling meals, managing schedules, and trying to stick to nutrition goals. If you’ve ever faced cooking fatigue or found yourself defaulting to processed snacks and easy takeout, you’re not alone. The good news is that this Layered Banana Pudding not only offers a delicious dessert option but does so in a way that reduces the stress of meal preparation.
Imagine coming home after a long day, craving something sweet but knowing that additional stress is the last thing you need. This layered pudding is not only easy to prepare, but it also offers a delightful treat without compromising on health or budget. In fact, a few simple ingredients—cream cheese, sweetened condensed milk, bananas, and Nilla wafers—combine to create a show-stopping dessert that will impress your loved ones and provide comfort after a hectic day.
Here’s a practical tip: prepare it a day ahead for a hassle-free dessert on the day you serve it. The flavors meld beautifully overnight, making your life easier while also ensuring your pudding is at its best.
Why This Layered Banana Pudding Works So Well
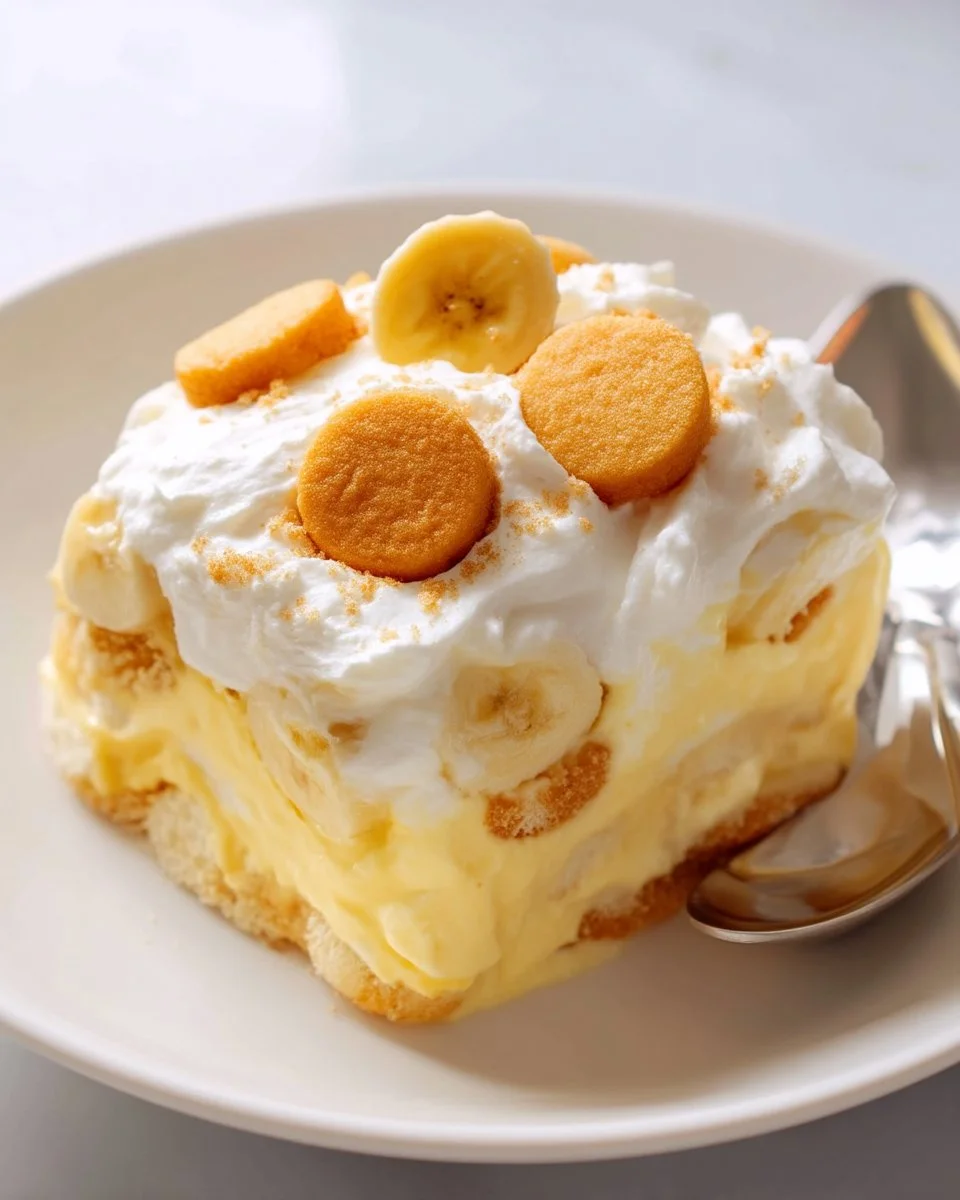
Quick Answer: This recipe combines layers of creamy pudding, soft bananas, and crunchy Nilla wafers for a dessert that is not only satisfying but also holds up well over time; it’s affordable, quick, and family-friendly.
One reason this Layered Banana Pudding is a family favorite is its wonderful combination of textures. The soft bananas and creamy pudding blend seamlessly with the crispy Nilla wafers, creating a symphony of flavors that delight the senses. The moment you dig your spoon into this dessert, you experience that perfect blend of crunchy and smooth.
Moreover, it’s a time-saving solution that feels indulgent. With only a few steps and minimal cooking skills required, you can whip this up in no time. It’s also a nutritious option for those who are mindful of their dietary choices. The bananas provide natural sweetness along with essential nutrients, making it a more balanced choice as far as desserts go.
As an added bonus, this dessert is perfect for meal prepping. Making dessert ahead of time leaves you with more space in your kitchen and less stress later when your family gathers—making it a win-win for everyone involved.
Ingredients, Substitutions & Foolproof Tips
- 1 (8 ounce) block cream cheese, softened to room temperature
- 1 (14 ounce) can sweetened condensed milk
- 1 (5 ounce) package instant vanilla pudding mix
- 2 cups milk
- 2 teaspoons vanilla extract
- 1 (8 ounce) tub Cool Whip whipped topping, thawed
- 1 (12 ounce) box Nilla wafers
- 5-7 ripe bananas, peeled and sliced into coins
Substitutions: You can use low-fat cream cheese and a sugar-free pudding mix for a lighter version. Almond milk or oat milk can be swapped for regular milk for a dairy-free option.
Foolproof Tips:
- Ensure your cream cheese is completely softened for a smoother mixture.
- Use ripe bananas for optimum sweetness.
- Layer your ingredients immediately after mixing to avoid banana browning.
Step-by-Step Directions
- Beat the Cream Cheese
- In a large bowl, beat the cream cheese with an electric mixer on medium speed until smooth and fluffy. This should take about 2 minutes.
- Combine the Ingredients
- Add in the sweetened condensed milk, pudding mix, milk, and vanilla extract. Mix until combined well—this should take another 1-2 minutes.
- Fold in the Whipped Topping
- Stir in half of the Cool Whip until fully integrated, which gives the pudding a light and airy texture.
- Layer the Nilla Wafers
- Line a 9 x 13 baking dish with one layer of Nilla Wafer cookies, creating a solid base.
- Add the Bananas
- Top the cookies with half of the sliced bananas, spreading them evenly.
- Spread the Pudding Mixture
- Spoon half of the pudding mixture over the bananas, smoothing it out for an even layer.
- Repeat Layers
- Add another layer of Nilla Wafers followed by the remaining banana slices, then top with the rest of the pudding mixture.
- Finish with Whipped Topping
- Spread the other half of the Cool Whip on top to finish off the dessert.
- Chill
- Cover and refrigerate for at least 4 hours or overnight for best results.
- Serve
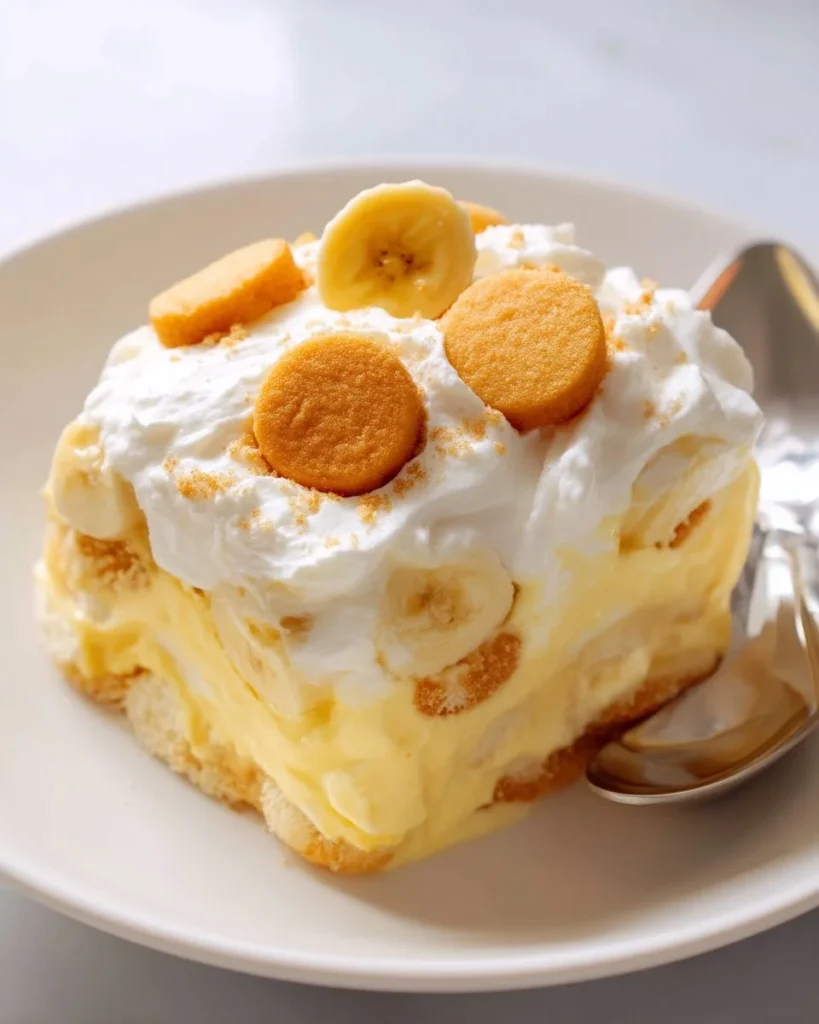
- Just before serving, remove from refrigerator and garnish with additional Nilla Wafers and banana slices.
Common Mistakes to Avoid & Pro Tips
Common Mistakes:
- Using cold cream cheese: Ensure it’s at room temperature for a smooth blend.
- Skipping the chilling time: This pudding needs to set for the flavors to meld.
- Overmixing the whipped topping: Gently fold it in to keep the texture light.
Pro Tips:
- Add a sprinkle of crushed Nilla Wafers on top for added crunch.
- For a twist, consider adding a layer of chocolate cookies.
- Adjust the amount of bananas based on your preference for sweetness.
Serving, Storage & Freezer Guide
How to Serve Layered Banana Pudding
Serve this Layered Banana Pudding directly from the baking dish for a casual family gathering, or portion it into individual cups for a more polished presentation. Consider drizzling with caramel sauce or sprinkling with chopped nuts for an extra touch of elegance.
How to Store Layered Banana Pudding
Cover the dessert tightly with plastic wrap or foil. It can be stored in the refrigerator for up to 3 days. During storage, keep in mind that the banana slices may brown slightly—this is normal and won’t affect the pudding’s flavor.
Can You Freeze Layered Banana Pudding?
Freezing this dessert is not recommended due to the texture changes in bananas and whipped topping once thawed. However, you can freeze the pudding mixture (without bananas) for up to a month. When ready to use, allow it to thaw in the refrigerator overnight and assemble with fresh bananas and Nilla Wafers right before serving.
placeholder
Frequently Asked Questions
Can I make this dessert in advance?
Absolutely! In fact, making it a day ahead allows the flavors to develop fully, resulting in an even tastier dessert. Just ensure it’s well covered during refrigeration.
Can I use different flavors of pudding?
Yes! While vanilla is classic, you can experiment with chocolate or banana-flavored pudding to elevate the taste. Just keep in mind that it will change the overall flavor profile.
Is there a way to reduce sugar?
You can substitute the sweetened condensed milk with low-sugar alternatives to make a lighter option. Additionally, you can reduce the amount of added sugar in the pudding mix.
How do I make this recipe suitable for a gluten-free diet?
Simply look for gluten-free Nilla Wafers or substitute with gluten-free cookies to easily accommodate a gluten-sensitive audience.
Conclusion
This Layered Banana Pudding isn’t just a dessert; it’s a slice of childhood nostalgia, a simple treat that brings families together. Whether you have a crowd to feed or just want to indulge a bit after a long day, this recipe will surely satisfy.
If this recipe reminds you of someone you love, share it with them. Your memories keep recipes alive.
Layered Banana Pudding
Ingredients
Method
- In a large bowl, beat the cream cheese with an electric mixer on medium speed until smooth and fluffy, about 2 minutes.
- Add in the sweetened condensed milk, pudding mix, milk, and vanilla extract; mix until well combined, about 1-2 minutes.
- Fold in half of the Cool Whip until fully integrated.
- Line a 9 x 13 baking dish with one layer of Nilla Wafer cookies.
- Top the cookies with half of the sliced bananas.
- Spoon half of the pudding mixture over the bananas.
- Add another layer of Nilla Wafers followed by the remaining banana slices, then top with the rest of the pudding mixture.
- Spread the other half of the Cool Whip on top to finish off the dessert.
- Cover and refrigerate for at least 4 hours or overnight for best results.
- Before serving, garnish with additional Nilla Wafers and banana slices.