

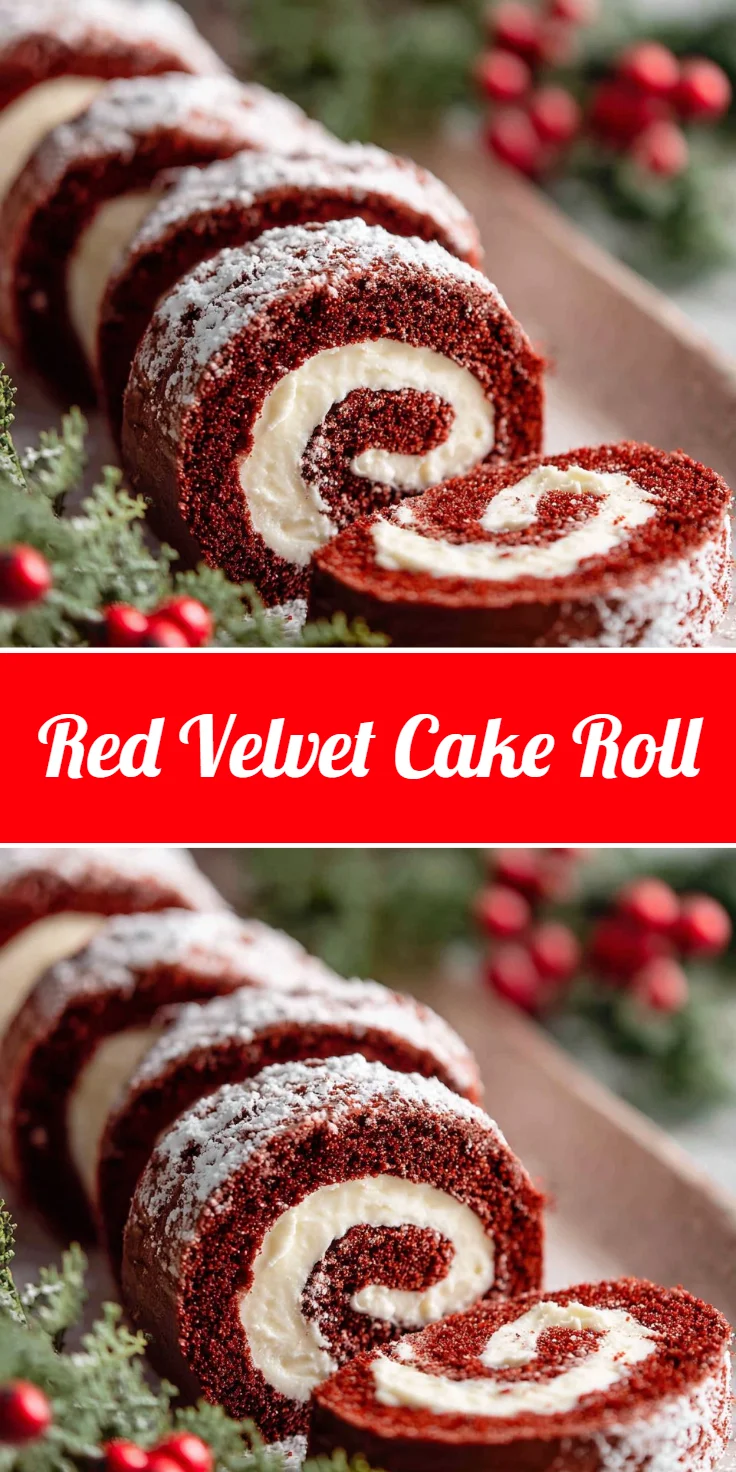
There’s something undeniably enchanting about a dessert that combines vibrant color with rich flavor, and a beautifully swirled cake roll really takes the cake—literally! This decadent treat is not only visually stunning but also incredibly satisfying, with its moist and tender cake encasing a luscious cream cheese filling. Imagine slicing into a soft, velvety cake that reveals a brilliant red spiral, exuding a sweet aroma, awakening your taste buds with the first forkful. Perfect for special occasions or cozy gatherings, this delightful dessert transforms any table into a festive one. Whether you’re a novice baker or a seasoned pro, this recipe will guide you through creating a showstopper that will have everyone coming back for seconds. Fasten your apron, gather your ingredients, and let’s dive into the world of this irresistible cake roll that’s sure to make you the star of any dessert spread!
Why You’ll Love This Recipe
This Red Velvet Cake Roll is an absolute crowd-pleaser, effortlessly fusing festive elegance with comfort food charm. With its striking ruby hue and creamy filling, it captivates from the moment it hits the table. What sets this recipe apart is its balanced combination of sweetness and a hint of cocoa, which fits perfectly with the rich cream cheese filling—a heavenly match! It’s also incredibly versatile; whether celebrating a birthday, holiday, or simply indulging on a weekend, this cake roll fits every occasion. Plus, its unique shape makes it easy to slice and serve, so you can impress without the fuss. Dive into these layers of flavor and enjoy a treat that’s not only delicious but a feast for the eyes!
What Makes This Recipe Special
What truly makes this cake roll special is the harmonious blend of textures and flavors presented in each slice. The light and airy cake contrasts beautifully with the smooth, creamy filling, creating an enjoyable mouthfeel that dances on the palate. Highlighted by the vibrant color, this dessert isn’t just about taste; it’s an eye-catching centerpiece that brightens up any occasion. The recipe utilizes simple ingredients easily found in your pantry, plus it can be adapted to cater to various dietary needs—whether you prefer gluten-free options or want to switch to vegan butter. The whole process of rolling and filling allows for creativity, ensuring that each individual roll is uniquely yours. Embrace the fun of baking as this recipe delivers not just on flavor but also on the joy of making something truly special!
Ingredients
all-purpose flour or gluten-free 1:1 flour: Forms the base of the cake, providing structure.
cocoa powder: Adds a subtle chocolate flavor, enhancing the richness.
baking powder: Helps the cake rise, ensuring a fluffy texture.
baking soda: Works with other leavening agents for perfect lift.
salt: Elevates and balances the sweetness of the cake.
eggs: Bind the ingredients and add richness to the batter.
sugar: Sweetens the cake, contributing to the overall flavor profile.
melted butter: Adds moisture and enhances the cake’s richness; can be substituted with vegan options.
white vinegar: Reacts with baking soda to enhance fluffiness and adds a slight tang.
milk or buttermilk: Increases moisture for a tender cake crumb.
red food coloring: Gives the cake its signature red hue, adding visual appeal.
vanilla extract: Adds warmth and depth to the flavor.
cream cheese: The star of the filling, providing a rich and creamy texture.
butter: Contributes to the smoothness of the cream cheese filling.
powdered sugar: Sweetens and thickens the filling, making it perfectly spreadable.
vanilla extract: Further enhances the flavor profile of the cream cheese filling.
How to Make Red Velvet Cake Roll
STEP 1. Preheat the oven. Set your oven to 350°F (175°C) and line a 10×15 jelly roll pan with parchment paper.
STEP 2. Mix melted butter and sugar. In a bowl, combine melted butter and sugar until well incorporated.
STEP 3. Add eggs. Introduce the eggs one at a time, mixing thoroughly after each addition to ensure a smooth batter.
STEP 4. Incorporate wet ingredients. Blend in the buttermilk, red food coloring, and white vinegar until evenly mixed.
STEP 5. Combine dry ingredients. In a separate bowl, whisk together flour, cocoa powder, baking powder, baking soda, and salt until fully combined.
STEP 6. Mix everything together. Combine the wet and dry ingredients, mixing gently until the batter is smooth and uniform.
STEP 7. Prepare the baking pan. Pour the batter into the lined pan, spreading it evenly to ensure uniform baking.
STEP 8. Bake the cake. Place in the oven and bake for 10-11 minutes until set and springy to the touch.
STEP 9. Cover immediately. As soon as the cake is out of the oven, cover it with another baking pan or tin foil to trap the moisture.
STEP 10. Roll the cake. While the cake is still warm, gently roll it from the short end and wrap in foil to maintain its shape as it cools.
STEP 11. Prepare the filling. In a mixing bowl, whip cream cheese, powdered sugar, vanilla extract, and butter together until smooth and creamy.
STEP 12. Unroll the cooled cake. After about an hour of cooling, carefully unroll the cake and spread the cream cheese filling over it, leaving a border around the edges.
STEP 13. Roll it up again. Gently roll the cake back up, ensuring the filling remains intact, and wrap it tightly in plastic wrap.
STEP 14. Chill overnight. Refrigerate the rolled cake for at least a few hours or overnight for the best results.
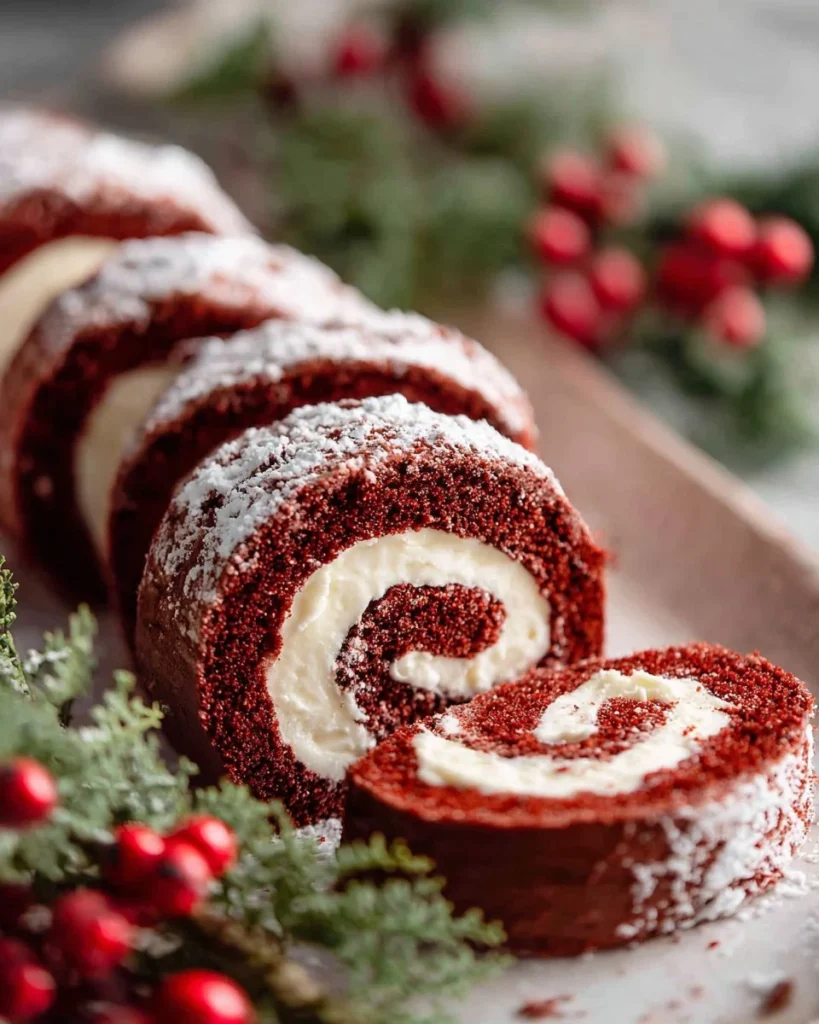
STEP 15. Finish and serve. Prior to serving, dust the cake roll with powdered sugar for an elegant touch, then slice and enjoy!

Pro Tips
To elevate your Red Velvet Cake Roll experience, consider these pro tips. First, always ensure your ingredients are at room temperature for better mixing and a fluffier texture. When incorporating liquid ingredients, be careful to mix gently but thoroughly, preventing overmixing that can toughen the cake. If you’re aiming for a richer flavor profile, consider adding espresso powder to the batter for a delightful depth. Keep your rolled cake wrapped tightly to maintain its shape and moisture, ensuring it stays fresh longer. Lastly, when slicing, use a serrated knife to achieve clean, smooth cuts without squishing the delicate cake layers. Following these tips will guarantee a beautifully executed cake roll that impresses both in appearance and taste!
Common Mistakes to Avoid
Baking can sometimes go awry, but recognizing common pitfalls can guide your success. One major mistake is not measuring ingredients accurately; baking is a science, so scale your measurements precisely. Overbaking is another issue; keep an eye on the timer to ensure the cake remains soft and moist. Additionally, when rolling the cake, be gentle to avoid cracking; cooling the cake slightly before rolling can help it maintain flexibility. Also, avoid spreading the filling too close to the edges to prevent spillage during rolling. Finally, allowing the roll to chill overnight will enhance the flavors, so be patient—this is key to a great dessert. By being mindful of these factors, you’ll craft a cake roll that delights everyone!
Variations
• Opt for a gluten-free flour blend for a flawless gluten-free version.
• For a lighter filling, try whipped cream mixed with cream cheese instead of a thicker filling.
• Experiment with flavor by adding crushed nuts or chocolate chips to the filling.
• Use different food coloring to create a unique twist on the classic red velvet hue.
• Decorate with fresh berries on top for a pop of added flavor and color.
Serving Ideas
This delightful cake roll shines in various settings, making it perfect for diverse occasions. Serve slices alongside a cup of rich coffee or a comforting mug of hot cocoa for a cozy dessert pairing. For a festive twist, garnish the plates with seasonal fruits, like pomegranate seeds or raspberries, adding freshness and color. During holidays, consider plating with whipped cream or a dusting of cocoa powder as an elegant touch. Additionally, sharing this cake at potlucks or parties encourages everyone to savor its delightful taste on communal platters, sparking joy and conversation around the table!
Meal Prep & Storage
To make the most of your cake roll, consider meal prep and storage options. After preparing and rolling the cake, it can be stored wrapped in plastic wrap in the refrigerator for up to three days, preserving both flavor and moisture. For longer storage, it can be frozen by wrapping it in aluminum foil and then placing it in an airtight container; this helps maintain freshness for up to three months. When ready to serve, simply thaw it in the refrigerator overnight for a delightful treat without the need for last-minute baking. Whether enjoyed fresh or frozen, a red velvet cake roll ensures you always have an indulgent dessert on hand!
FAQs
Can I use a different type of food coloring?
Yes, you can experiment with other colors! Just make sure to use gel food coloring to maintain the desired consistency of the batter.
How do I know when the cake is baked?
The cake should be springy to the touch and pull away slightly from the edges of the pan, indicating it’s baked through.
Can I make this cake ahead of time?
Absolutely! The cake can be made a day in advance and simply chilled overnight to enhance flavors and texture.
What can I substitute for cream cheese in the filling?
You can use mascarpone cheese or ricotta for a different flavor, or try a dairy-free cream cheese alternative.
Is it necessary to refrigerate the cake roll?
Refrigeration is recommended to help the flavors meld and keep the cake from drying out. It’s best served chilled.
Conclusion
Indulging in a slice of this flavorful and visually striking dessert will undoubtedly create lasting memories. Whether it’s a celebration or an everyday treat, you’ll be delighted by the amazing flavors and textures of the cake roll. With its creamy filling and soft, luscious cake, this delightful creation invites you to savor each moment. Embrace this baking adventure, and let the magic of Red Velvet Cake Roll elevate your dessert experience!
Red Velvet Cake Roll
Ingredients
Method
- Preheat the oven to 350°F (175°C) and line a 10x15 jelly roll pan with parchment paper.
- In a bowl, combine melted butter and sugar until well incorporated.
- Introduce the eggs one at a time, mixing thoroughly after each addition.
- Blend in the buttermilk, red food coloring, and white vinegar until evenly mixed.
- In a separate bowl, whisk together flour, cocoa powder, baking powder, baking soda, and salt.
- Combine the wet and dry ingredients, mixing gently until the batter is smooth.
- Pour the batter into the lined pan, spreading it evenly.
- Bake in the oven for 10-11 minutes until set and springy.
- Cover immediately with another baking pan or tin foil to trap moisture.
- While the cake is still warm, gently roll it from the short end and wrap in foil to maintain its shape as it cools.
- In a mixing bowl, whip cream cheese, powdered sugar, vanilla extract, and butter together until smooth.
- Carefully unroll the cooled cake and spread the cream cheese filling over it, leaving a border.
- Gently roll the cake back up, ensuring the filling remains intact, and wrap tightly in plastic wrap.
- Refrigerate for at least a few hours or overnight.
- Prior to serving, dust with powdered sugar, then slice and enjoy!