
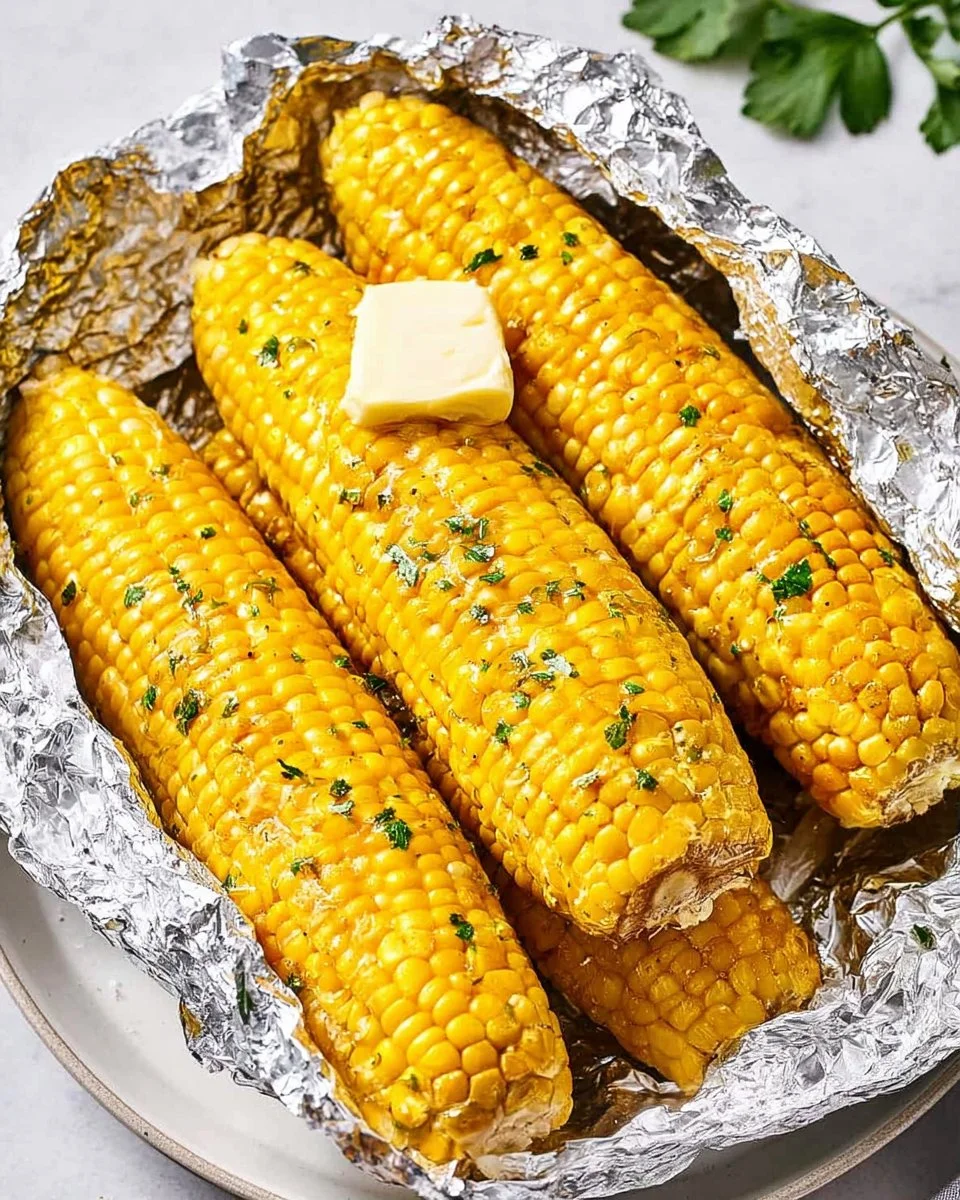
Summer gatherings and backyard barbecues simply wouldn’t be complete without the delightful crunch of grilled corn on the cob. Wrapped in foil and grilled to perfection, this preparation method ensures each ear is juicy and tender, with every bite bursting with flavor. Imagine sinking your teeth into sweet, perfectly charred kernels, enhanced by a rich buttery blend that creates a truly irresistible taste experience. Whether you’re serving it as a side dish or enjoying it as a snack, this grilled corn on the cob recipe promises to elevate any meal. Plus, it’s incredibly easy to make, making it a go-to choice for both novice cooks and seasoned grill masters alike. Get ready to impress your family and friends with this simple yet delectable dish!
Quick Answer
This recipe for grilled corn on the cob in foil features sweet corn coated with a buttery seasoning blend, grilled until tender and smoky. It’s perfect for summer cookouts!
Why You’ll Love This Recipe
If you’re looking for a perfect summer side, this grilled corn on the cob recipe is just what you need. Here’s why:
- Easy to Prepare – With just a few simple ingredients, you’ll have a tasty side ready in no time.
- Perfectly Juicy – The foil packet traps moisture, ensuring your corn stays tender and delicious.
- Flavorful – The buttery blend brings out the natural sweetness of the corn, creating a delightful taste.
- Versatile – Enjoy it plain or add your favorite toppings for a personal touch.
- Great for Grilling Parties – This dish is a crowd-pleaser, making it an ideal addition to any outdoor gathering.
- Minimal Cleanup – Wrapping the corn in foil means fewer dishes to wash afterward!
What Makes This Recipe Special
This grilled corn on the cob recipe stands out for its simplicity and flavor. The use of foil not only makes pouring butter and spices easier but also locks in the natural moisture of the corn, resulting in a tender and juicy texture. Each ear is perfectly seasoned with a buttery mixture that can be adjusted to suit your taste. The grill adds a wonderful smoky flavor that elevates the dish, making it a savory treat that complements a variety of main courses. This recipe is not just about cooking corn; it’s about creating a memorable experience that brings people together around the grill.
Kitchen Tools You’ll Need
- Grill – To cook the corn to perfection with that smoky flavor.
- Aluminum Foil – Essential for wrapping the corn and locking in moisture.
- Mixing Bowl – For combining the butter and seasonings smoothly.
- Butter Knife – To spread the butter mixture evenly on the corn.
- Grill Tongs – To carefully handle the foil packets while grilling.
Ingredients
- butter: Provides rich flavor and moisture, enhancing the sweetness of corn.
- salt: Amplifies the natural taste of the corn and butter, balancing flavors.
- dried garlic powder: (optional) Adds a savory depth, complementing the sweetness of corn.
- ground black pepper: (optional) Introduces mild heat and complexity to the flavor profile.
- corn: The star of the dish, sweet and crisp, direct from the cob.
Ready to cook? Scroll to the recipe card below for exact measurements.
How to Make Grilled Corn on the Cob in Foil
Phase 1 – Prep
STEP 1. Preheat grill. Set your grill to 400 degrees F. for optimal cooking temperature.
STEP 2. Mix butter mixture. Mash butter with salt, garlic powder, and pepper until smooth.
STEP 3. Coat corn. Rub each ear of corn with the butter mixture and place it on large aluminum foil pieces.
Phase 2 – Cook
STEP 4. Create foil packet. Fold the foil up and over the ears of corn to create a foil packet, crimping to seal all edges.
STEP 5. Grill corn. Place corn in foil packets on grill, close the lid, and grill for 10 minutes.
STEP 6. Flip corn. Carefully remove packets, open, and flip each ear of corn, seal packets again, and finish grilling for another 10 to 20 minutes until cooked through.
Phase 3 – Serve
STEP 7. Open and serve. Carefully remove foil packets, open, and serve corn with more butter and salt.
Why This Recipe Works
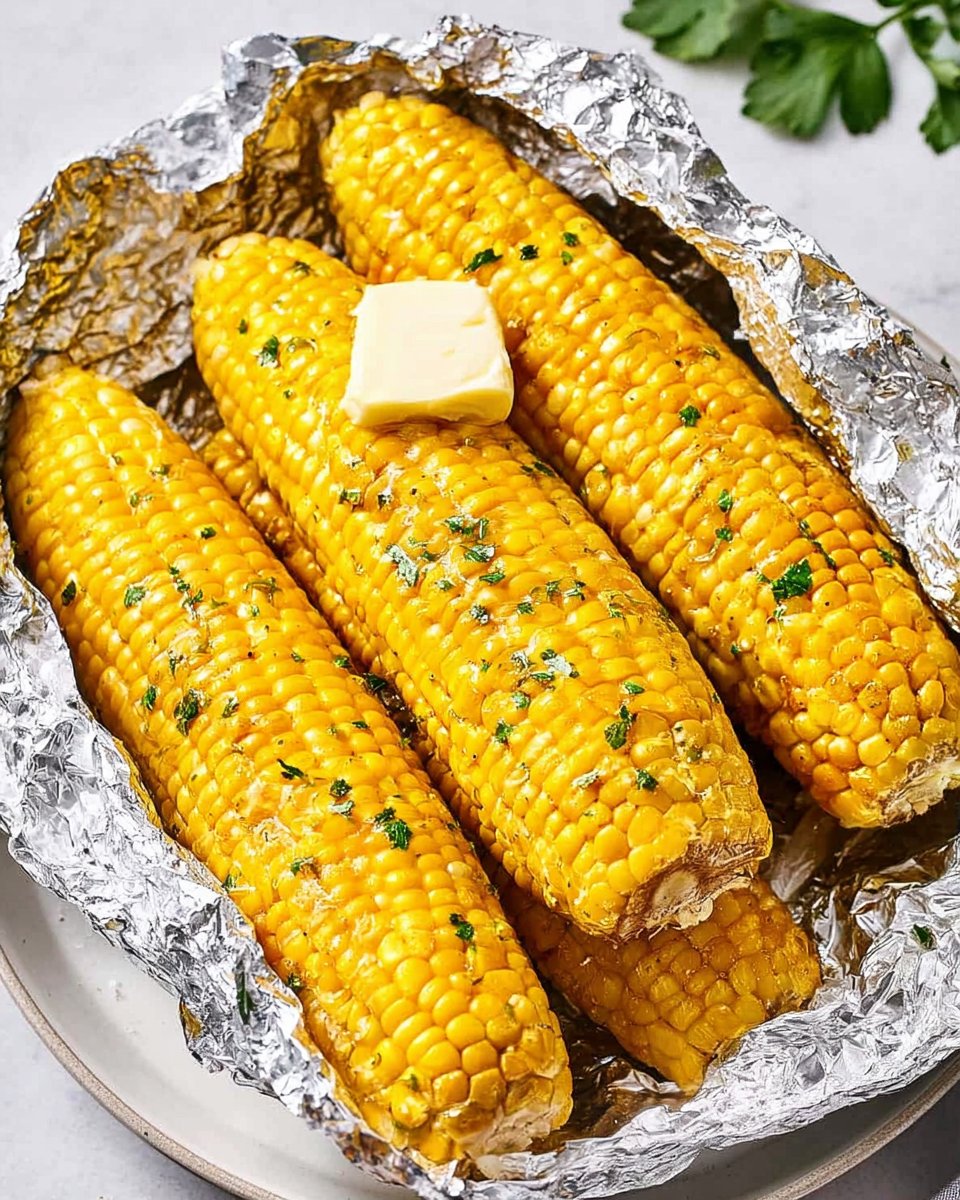
This recipe strikes an excellent balance between texture and flavor. The grilling process enhances the corn’s natural sweetness while the foil traps steam, ensuring tender kernels. The butter creates a luscious coating that adds richness and moistness. Garlic powder offers a subtle aromatic depth without overpowering the dish, while salt enhances overall flavor. The combination of these elements maximizes the sweet, earthy flavors of corn, making each bite a delightful burst of summer goodness.
Pro Tips
To elevate your grilled corn on the cob, consider these professional tips:
- Use fresh corn for the best flavor—look for ears with bright green husks and plump kernels.
- For an extra layer of flavor, infuse the butter with herbs or spices before mashing.
- Ensure the grill is properly preheated; this will give your corn nice grill marks and smoky flavor.
- Don’t overcook; check the corn after 10 minutes, and adjust cooking time as needed for your preferred tenderness.
- Experiment with different seasonings or toppings once you open the foil for a customized taste experience.
Common Mistakes to Avoid
Why it happens: Rushing the cooking process.
How to fix it: Always ensure the grill reaches the desired temperature for optimal cooking.
Why it happens: Trying to cook too many packets at once.
How to fix it: Grill in batches to ensure even cooking and avoid steaming.
Why it happens: Rushing the wrapping process.
How to fix it: Take time to crimp edges securely to prevent steam from escaping.
Variations
- Try adding cheese before sealing the foil for a cheesy variation.
- Brush with spicy chili butter for a kick.
- Add fresh herbs like cilantro or parsley in the butter mixture for brightness.
- Use lime juice for a zesty finish after grilling.
- Experiment with different flavored butters, such as herb or chili-lime.
Nutrition Highlights
| Nutrient | Role |
|---|---|
| Protein | Helps support satiety and balanced meals. |
| Fiber | Promotes digestive health and supports fullness. |
| Vitamins | Rich in essential vitamins like B and C that support overall health. |
Serving Ideas
Pair your delicious grilled corn on the cob with classic barbecue dishes such as grilled chicken, ribs, or burgers for a perfect outdoor meal. Serve it alongside fresh salads or coleslaw for a lighter touch. Adding some grilled vegetables can elevate your plate, creating a colorful and appetizing spread. Garnish with additional butter, herbs, or spices to customize each serving to your guest’s taste preferences.
Best Occasions for This Recipe
This grilled corn on the cob is perfect for summer barbecues, picnics, or family gatherings. It shines at backyard parties, potlucks, and festive celebrations, bringing a sense of nostalgia and joy. Its simplicity makes it a fantastic go-to for quick midweek dinners or a comforting side dish at any casual get-together.
Meal Prep & Storage
Meal Prep
For meal prep, you can shuck and clean the corn ahead of time, storing it in the refrigerator until you’re ready to grill. Prepare the butter mixture in advance and keep it in the fridge as well; just remember to let it soften before use.
Refrigeration
If you have leftovers, store the grilled corn in an airtight container in the refrigerator for up to three days. Reheating can be done in the microwave or on the grill briefly to revive its texture.
Freezing
Grilled corn can be frozen; however, it is best to freeze it plain without the butter. Wrap it tightly in foil or plastic wrap, then store it in a freezer bag for up to three months.
Reheating
To reheat, place corn in the microwave wrapped in a damp paper towel or re-grill it for a few minutes, just until heated through.
FAQs
Can I use frozen corn for this recipe?
You can, but fresh corn will yield the best flavor and texture. If using frozen, make sure it’s thawed and drained first.
How long should I grill the corn?
Grill for about 10 to 20 minutes, depending on your desired tenderness. Flip the corn halfway through for even cooking.
What can I serve with grilled corn on the cob?
It pairs well with grilled meats, salads, and other vegetable sides. It’s also great with dips or sauces.
Can I add other seasonings?
Absolutely! Feel free to experiment with different herbs, spices, or cheese for unique flavor combinations.
How do I store leftover grilled corn?
Store in an airtight container in the refrigerator for up to three days or freeze for longer storage without the butter.
Save This Recipe for Later
If you enjoyed this grilled corn on the cob recipe, make sure to pin it for later and share it with friends! It’s a simple, delicious dish that everyone will love.
Conclusion
Grilled corn on the cob in foil is a timeless favorite that enhances any summer gathering. It’s not just food; it’s a chance to create cherished memories with family and friends around the grill. With its juicy, buttery flavor and simple preparation, this dish is bound to become a staple at your cookouts. Don’t forget to customize it to your liking and enjoy every delicious bite!
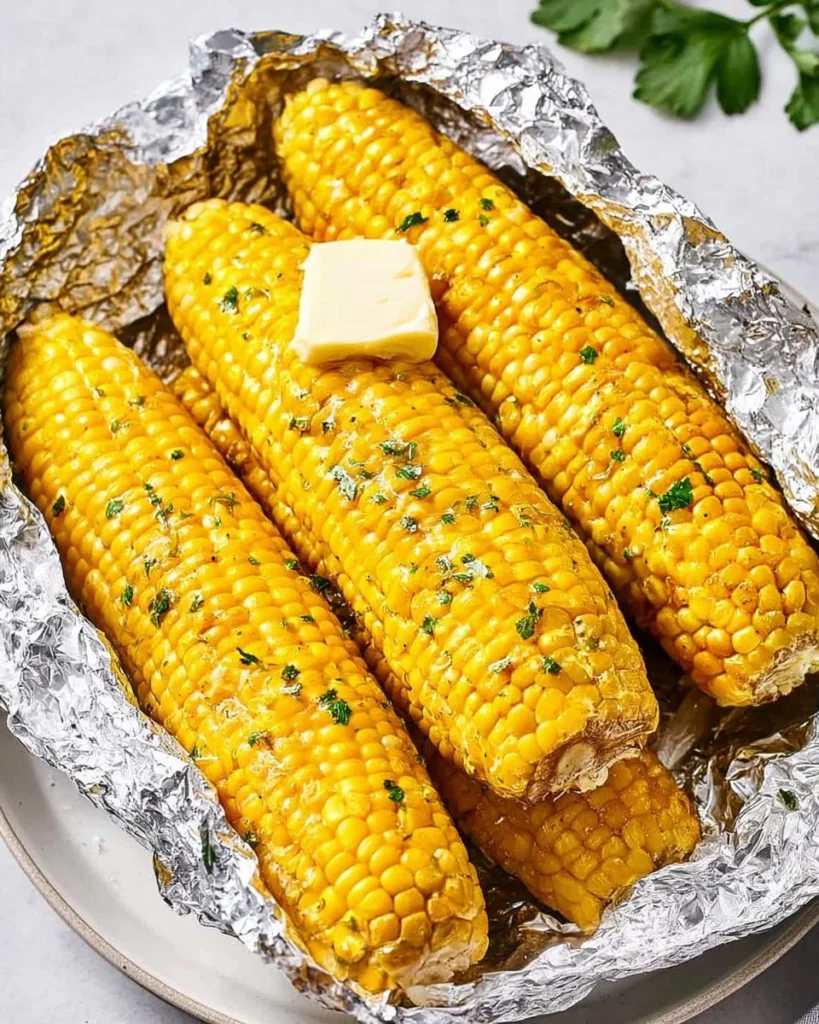
Grilled Corn on the Cob
Ingredients
Method
- Preheat grill to 400 degrees F.
- In a mixing bowl, mash butter with salt, garlic powder, and pepper until smooth.
- Rub each ear of corn with the butter mixture and place it on large aluminum foil pieces.
- Fold the foil up and over the ears of corn to create a foil packet, crimping to seal all edges.
- Place corn in foil packets on the grill, close the lid, and grill for 10 minutes.
- Carefully remove the packets, open, and flip each ear of corn, seal packets again, and finish grilling for another 10 to 20 minutes until cooked through.
- Carefully remove foil packets, open, and serve corn with more butter and salt.