
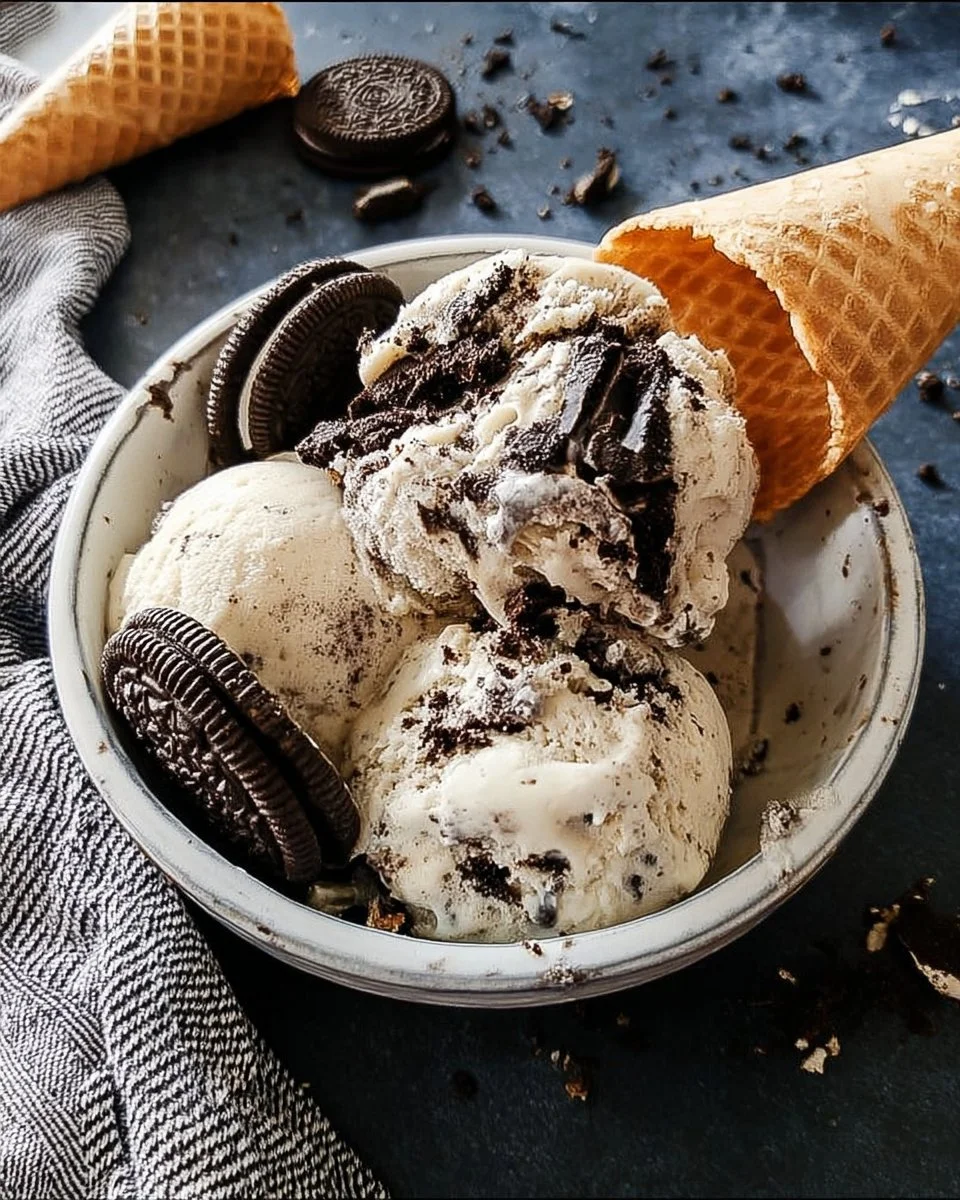
Imagine a warm summer day, the sun shining bright, and the perfect treat to cool you down at your fingertips. The combination of crispy cookie bits and rich, creamy goodness creates a nostalgic delight that takes you back to childhood. This delightful dessert not only satisfies your sweet tooth but also brings joy to gatherings with friends and family. Homemade ice cream is an indulgence that everyone can appreciate, and there’s something extra special about a treat you’ve made yourself—especially when it’s as simple as this creamy cookies and cream concoction. Getting creative in the kitchen can be immensely rewarding, and this recipe makes it effortless. No ice cream maker required, just a few ingredients, and you’re one step closer to a blissful scoop that’ll have everyone asking for seconds. You’ll find that this treat is not only enjoyable but also incredibly simple to whip up, making it a fun project for any day of the week!
Why You’ll Love This Recipe
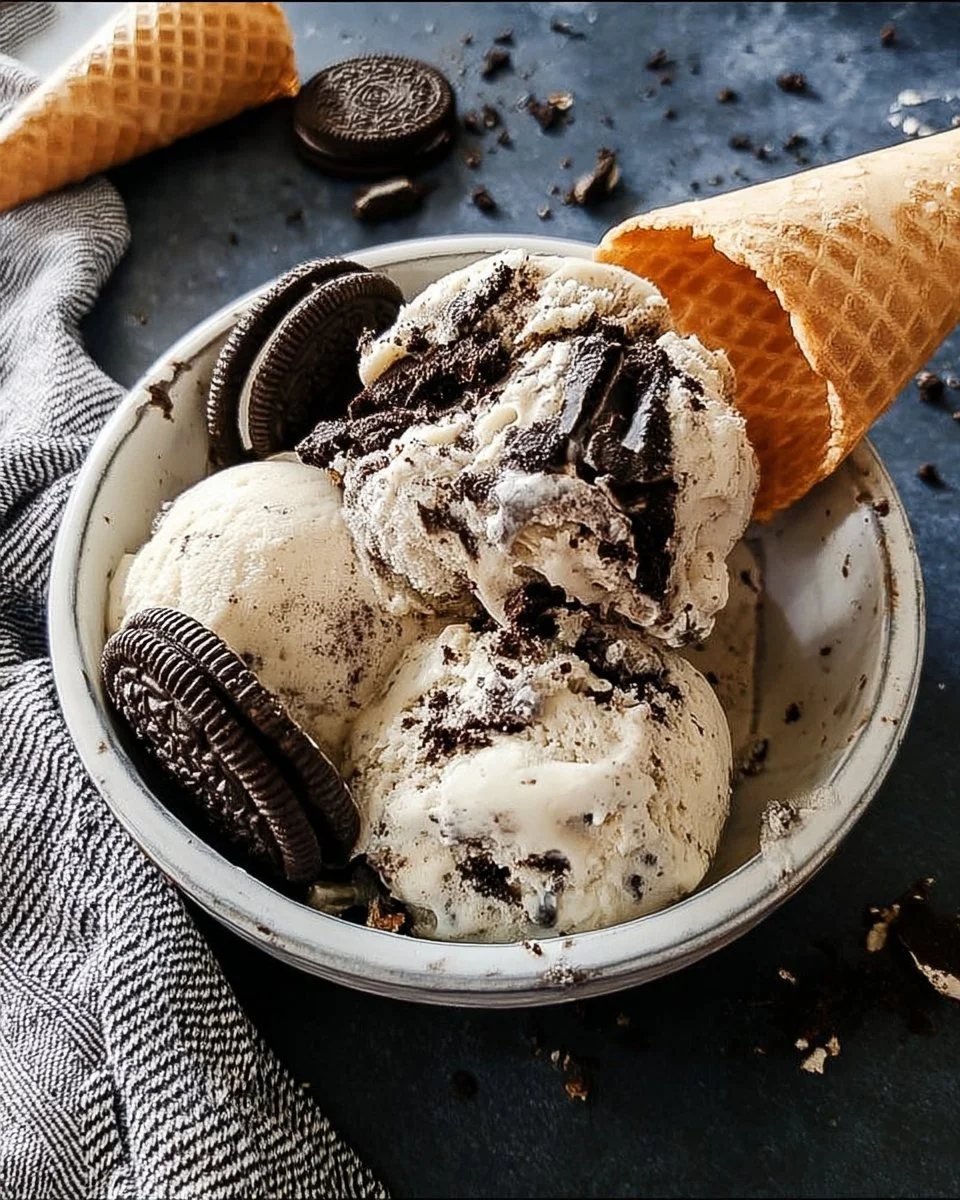
There’s nothing quite like homemade ice cream to elevate your dessert game. First and foremost, this no-churn cookies and cream ice cream is incredibly easy to prepare. The creamy texture is sensational, leaving you with a decadent treat that melts in your mouth. Each spoonful is packed with chunks of your favorite sandwich cookies, providing that perfect blend of creaminess and a delightful crunch. This recipe shines in its simplicity, requiring just a handful of ingredients you likely already have in your kitchen. It’s perfect for gatherings, backyard barbecues, or a cozy night in watching your favorite movie. With such little effort and maximum flavor, this summer staple is definitely destined to become a favorite for your family and friends alike!
What Makes This Recipe Special
What sets this cookies and cream ice cream apart is its uncomplicated nature. Traditional ice cream recipes often involve intricate processes and specialized equipment. However, this no-churn method allows you to skip the fuss while still achieving a luxurious texture that rivals any shop-bought version. The luscious combination of whole milk and heavy cream ensures each bite is rich and satisfying. Additionally, the use of chopped sandwich cookies adds not only flavor but also a fun crunch that keeps things interesting. Perfect for hot days or when you just crave something sweet, having this recipe in your repertoire means you can treat yourself anytime without the wait associated with traditional ice cream-making. It’s homemade indulgence at its finest!
Ingredients
whole milk: Adds a creamy base and helps create a smooth texture.
granulated sugar: Sweetens the mixture and balances the flavors beautifully.
salt: Enhances the overall taste, making the sweetness pop.
heavy whipping cream: Provides a rich, velvety texture for a luxurious ice cream.
vanilla extract: Introduces a warm, aromatic flavor that complements the cookies.
chopped sandwich cookies: Adds chunks of chocolatey goodness and a satisfying crunch.
How to Make No Churn Cookies and Cream Ice Cream
STEP 1. Whisk the base. In a medium bowl, whisk together the milk, sugar, and salt until the sugar is fully dissolved.
STEP 2. Add the cream and vanilla. Stir in the heavy whipping cream and vanilla extract until well combined.
STEP 3. Chill the mixture. Place the mixture in the refrigerator and chill for 1 hour to enhance the flavors.
STEP 4. Prepare for freezing. Pour the chilled cream mixture into a freezer-safe storage container, such as a loaf pan, and cover with plastic wrap.
STEP 5. Initial freeze. Freeze the mixture for about 45 minutes until the edges begin to harden.
STEP 6. Mix the ice cream. Once the edges freeze, mix the ice cream vigorously using a whisk, handheld electric mixer, or immersion blender.
STEP 7. Add the cookies. Stir in the chopped sandwich cookies for that delicious crunch.
STEP 8. Continue freezing. Put the container back in the freezer, mixing the ice cream every 30 minutes (for about 3 hours) until it is fully frozen and creamy.
STEP 9. Serve. Keep the ice cream frozen until you’re ready to serve, and enjoy every scoop!
Pro Tips
To enhance your homemade ice cream experience, focus on using very cold ingredients, as this helps optimize the whipping process. Opt for heavy cream with a higher fat content for extra creaminess. Don’t rush the chilling phase; allowing the mixture to set encourages the flavors to meld beautifully. After the initial freeze, be diligent about mixing every 30 minutes to ensure a light, airy texture as the ice cream sets. Consider tasting the base before adding in the cookies—this way, you can adjust sweetness if needed. For an even more vibrant flavor, feel free to add additional cookie pieces during the mixing stage. Lastly, to achieve the best presentation, scoop the ice cream with a warm spoon to create perfect, beautiful balls!
Common Mistakes to Avoid
When making homemade ice cream, it’s essential to avoid overmixing the base before freezing, which can introduce excess air and result in a less creamy texture. Also, ensure that your freezer is set to the right temperature—ideally at 0°F or -18°C—to freeze the ice cream efficiently. Skipping the chilling process is another common pitfall; this step is crucial for optimal flavor development. Be careful not to let the mixture sit too long in the freezer without stirring, as this can lead to a dense, icy texture. Lastly, remember to cover the ice cream properly to prevent freezer burn, keeping your delicious treat fresh and inviting!
Variations
• Substitute crushed graham crackers for a s’mores version.
• Add peanut butter swirls for a nutty twist.
• Use different flavored cookies like mint or chocolate-filled varieties.
• Fold in mini marshmallows for an extra chewy bite.
• Experiment with different mix-ins like chocolate chips or caramel swirl.
Serving Ideas
This wonderful ice cream can be served in several delightful ways. Scoop it into cones for an old-fashioned treat that takes you back to childhood summers. Serve it alongside homemade brownies for an indulgent dessert pairing. Create an ice cream sundae bar with chocolate syrup, whipped cream, and a sprinkle of nuts for added crunch. Try placing a scoop atop a slice of warm pie for a delicious temperature contrast. You can even incorporate it into milkshakes for a creamy, delightful drink that’s perfect for hot weather!
Meal Prep & Storage
This cookies and cream ice cream can easily be made ahead of time, allowing you to have a delicious treat on hand when the cravings strike. Simply follow the steps outlined to prepare the mixture, and store it in a freezer-safe container with a lid to maintain freshness. When properly stored, it can last up to two weeks in the freezer. However, for the best texture and taste, it’s recommended to consume it within a week. Give the container a good shake before serving to ensure it’s not too icy, and then scoop yourself a satisfying portion whenever the mood strikes!

FAQs
Can I use low-fat milk instead of whole milk?
While low-fat milk can be used, whole milk provides a richer, creamier texture that enhances the overall creaminess of the ice cream.
How can I make this recipe chocolate-flavored?
Simply add unsweetened cocoa powder to the milk and sugar mixture during the whisking phase to create a delicious chocolate base.
What can I substitute for sandwich cookies?
You can try different cookies, granola, or even brownies to add unique flavors and textures to your ice cream.
How long does it take for the ice cream to set fully?
It usually takes about 3 hours, but this can vary based on your freezer’s temperature. It’s crucial to mix every 30 minutes to ensure a smooth consistency.
Can I use non-dairy alternatives?
Yes! You can substitute the heavy whipping cream with coconut cream and use a plant-based milk alternative for a dairy-free option.
Conclusion
Creating your own ice cream at home can be a delightful experience, especially when it requires no special equipment or techniques. This no-churn cookies and cream ice cream will not only satisfy your sweet cravings but also become a go-to treat during warm days. The combination of creamy vanilla and crunchy cookie pieces promises happiness in every scoop. Enjoy this delightful dessert on its own or as part of a more elaborate dessert spread, and don’t be surprised if it quickly disappears!
No Churn Cookies and Cream Ice Cream
Ingredients
Method
- In a medium bowl, whisk together the milk, sugar, and salt until the sugar is fully dissolved.
- Stir in the heavy whipping cream and vanilla extract until well combined.
- Place the mixture in the refrigerator and chill for 1 hour to enhance the flavors.
- Pour the chilled cream mixture into a freezer-safe storage container, such as a loaf pan, and cover with plastic wrap.
- Freeze the mixture for about 45 minutes until the edges begin to harden.
- Once the edges freeze, mix the ice cream vigorously using a whisk, handheld electric mixer, or immersion blender.
- Stir in the chopped sandwich cookies for that delicious crunch.
- Put the container back in the freezer, mixing the ice cream every 30 minutes (for about 3 hours) until it is fully frozen and creamy.
- Keep the ice cream frozen until you’re ready to serve, and enjoy every scoop!