
Buttermilk biscuits are a nostalgic reminder of family gatherings and comforting meals. Whether it’s the early morning aroma wafting through the house or the buttery richness melting on your tongue, these biscuits elevate any mealtime experience. Yet, cooking can sometimes feel like a chore, especially when we juggle busy schedules and meal planning. This buttermilk biscuits recipe serves as a solution for anyone feeling overwhelmed in the kitchen. It combines ease and flavor, allowing you to create a timeless dish that is not only delicious but also supports your meal plan by being calorie-conscious and family-friendly.
Kitchen Frustration That Makes This Recipe a Lifesaver
We’ve all faced those days when the thought of cooking becomes daunting, whether due to fatigue or a packed schedule. Meal prep can often feel monotonous, and the guilt of resorting to takeout can weigh heavily on our minds. This is where a perfect recipe for buttermilk biscuits shines. Not only are they simple to make, but they can also be prepared ahead of time and saved for later, alleviating the stress of daily cooking.
Imagine bringing home overripe vegetables or partial ingredients left over from the week. Instead of letting them go to waste, you can whip up buttermilk biscuits, using the ingredients you have on hand to create something delightful. This recipe can effortlessly return joy to your kitchen routine, offering a way to serve comforting, family-style meals that foster connection and satisfaction.
Tip: Spend some time prepping these biscuits at the beginning of the week to keep your meal plan on track and reduce last-minute cooking woes.
Why This Buttermilk Biscuits Works So Well
Quick Answer: This recipe for buttermilk biscuits works so effectively due to the combination of cold butter and buttermilk, which creates a flaky, tender texture that melts in your mouth.
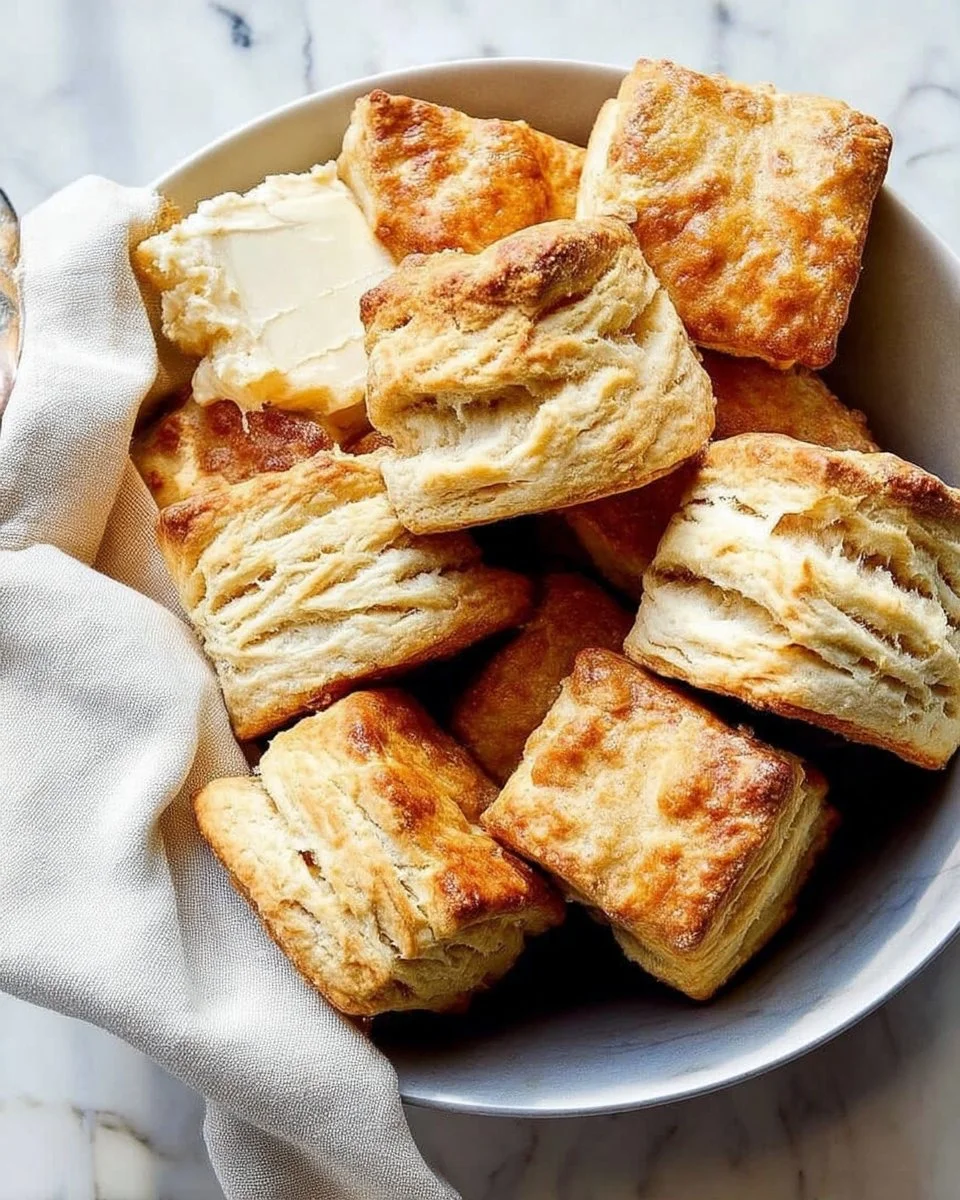
The magic lies in the method; by incorporating cold ingredients, the layers of dough create a deliciously flaky biscuit. With a slight tang from the buttermilk, the flavor profile is deeply satisfying, offering a comforting taste that many of us long for in our meals. Plus, these biscuits rise beautifully in the oven, transforming into golden-brown delights that are perfect for breakfast, brunch, or alongside dinner.
Being health-conscious doesn’t mean sacrificing flavor! With buttermilk biscuits, you can enjoy a comforting dish that fits into your macro-balanced diet. And let’s not forget: these biscuits are a true time-saver. In just under an hour, you’ll have freshly baked biscuits to accompany your meals.
Ingredients, Substitutions & Foolproof Tips
- 3 1/4 cups all-purpose flour: The foundation of the biscuits. For a gluten-free version, try using a 1:1 gluten-free flour blend.
- 2 tablespoons sugar: Helps brown the biscuits and adds a hint of sweetness.
- 1 tablespoon baking powder: Provides lift for fluffy texture.
- 2 1/2 teaspoons kosher salt: Enhances flavor; adjust to your taste.
- 1/2 teaspoon baking soda: Works with buttermilk for leavening.
- 8 ounces unsalted butter, very cold: The key to flaky layers.
- 1 1/4 cups full-fat buttermilk, chilled and shaken well: Adds tenderness and flavor.
- 1 egg (optional for egg wash): Creates a lovely golden glaze.
- Flaky sea salt (optional for baking): Provides a gourmet touch.
- 2 tablespoons buttermilk (for egg wash): Ensures a nice finish.
- 4 tablespoons salted butter (melted, for brushing the biscuits after baking): Adds richness after baking.
Step-by-Step Directions
- Preheat the oven to 375°F. This allows your biscuits to rise quickly, creating a flaky texture.
- Mix dry ingredients. In a large bowl, add the flour, sugar, baking powder, baking soda, and salt. Stir to combine thoroughly. This ensures even distribution of ingredients for the best flavor.
- Incorporate the butter. Grate the very cold butter into the flour mixture. Mix gently until all the pieces are evenly coated with flour, creating a crumb-like texture.
- Add buttermilk. Drizzle half of the buttermilk into the mixture. Stir gently to incorporate. Then, add the rest, mixing until clumps form. This creates a moist dough.
- Knead the dough. Turn the dough onto a floured surface. Knead gently for about 30 seconds until it comes together, being careful not to overwork it.
- Shape the dough. Roll the dough into a square, then fold it in half and shape it repeatedly to create layers, ensuring extra flakiness.
- Cut and chill. Cut the shaped dough into squares and chill in the freezer for 15 minutes. This helps maintain the integrity of the dough during baking.
- Prepare the egg wash. If using, whisk the egg and buttermilk together. Brush the top of the biscuits for a beautiful sheen.
- Bake. Sprinkle with flaky sea salt if desired and place in the oven for 20-25 minutes until golden brown.
- Brush with butter. Once out of the oven, brush the biscuits with melted salted butter for a decadent finish. Serve warm.
Common Mistakes to Avoid & Pro Tips
- Over-mixing the dough. This can lead to tough biscuits. Mix just until combined.
- Using warm butter. Ensure your butter is very cold for the best texture.
- Skipping the chill time. Chilling helps maintain the butter’s structure for flaky layers.
Pro Tips:
- Use a pastry cutter for mixing in the butter for a quicker and even process.
- Brush on the egg wash right before baking for a perfectly golden finish.
Serving, Storage & Freezer Guide
How to Serve Buttermilk Biscuits
These buttermilk biscuits are incredibly versatile. They make a fantastic base for breakfast sandwiches, can be layered with ham and cheese for a savory treat, or enjoyed with butter and jam for a sweet snack. Serve them warm, straight from the oven, to each family member for a heartwarming experience.
How to Store Buttermilk Biscuits
To store leftover biscuits, allow them to cool completely, then place them in an airtight container. They will stay fresh at room temperature for about two days. If you want to extend their shelf life, consider freezing them instead.
Can You Freeze Buttermilk Biscuits?
Yes, you can freeze buttermilk biscuits! Once baked and cooled, place them in a single layer on a baking sheet to freeze solid. Then, transfer them to a freezer bag or container for up to three months. When you’re ready to enjoy, simply reheat them in a warm oven.

placeholder
Frequently Asked Questions
Can I make these biscuits without buttermilk?
Absolutely! You can substitute buttermilk with regular milk by adding a teaspoon of vinegar or lemon juice to sour it slightly.
How can I make the biscuits more savory?
To make these buttermilk biscuits more savory, consider adding cheese, herbs, or spices to the dough for an added flavor boost.
What’s the best way to reheat biscuits?
The best way to reheat biscuits is by placing them in a 350°F oven for about 8-10 minutes to warm through and restore some of their fresh-baked texture.
Can I prepare the dough in advance?
Yes! You can prepare the dough ahead of time and refrigerate it for up to 24 hours. Just make sure to let it sit out for a few minutes before rolling it out to avoid it being too cold.
Conclusion
Buttermilk biscuits can transform any meal into a memorable occasion. They bring the heart of comfort food straight to your table, encouraging family bonding and delightful flavors. If this recipe reminds you of someone you love, share it with them. Your memories keep recipes alive.

Buttermilk Biscuits
Ingredients
Method
- Preheat the oven to 375°F.
- In a large bowl, mix the flour, sugar, baking powder, baking soda, and salt until combined.
- Grate the very cold butter into the flour mixture and mix gently until crumb-like.
- Drizzle half of the buttermilk into the mixture and stir gently. Add the rest and mix until clumps form.
- Turn the dough onto a floured surface and knead gently for about 30 seconds.
- Roll the dough into a square, fold in half, and repeat shaping for layers.
- Cut the dough into squares and chill in the freezer for 15 minutes.
- If using, whisk the egg and buttermilk together and brush the tops of the biscuits.
- Sprinkle with flaky sea salt if desired, then bake for 20-25 minutes until golden brown.
- Brush with melted salted butter after baking and serve warm.