
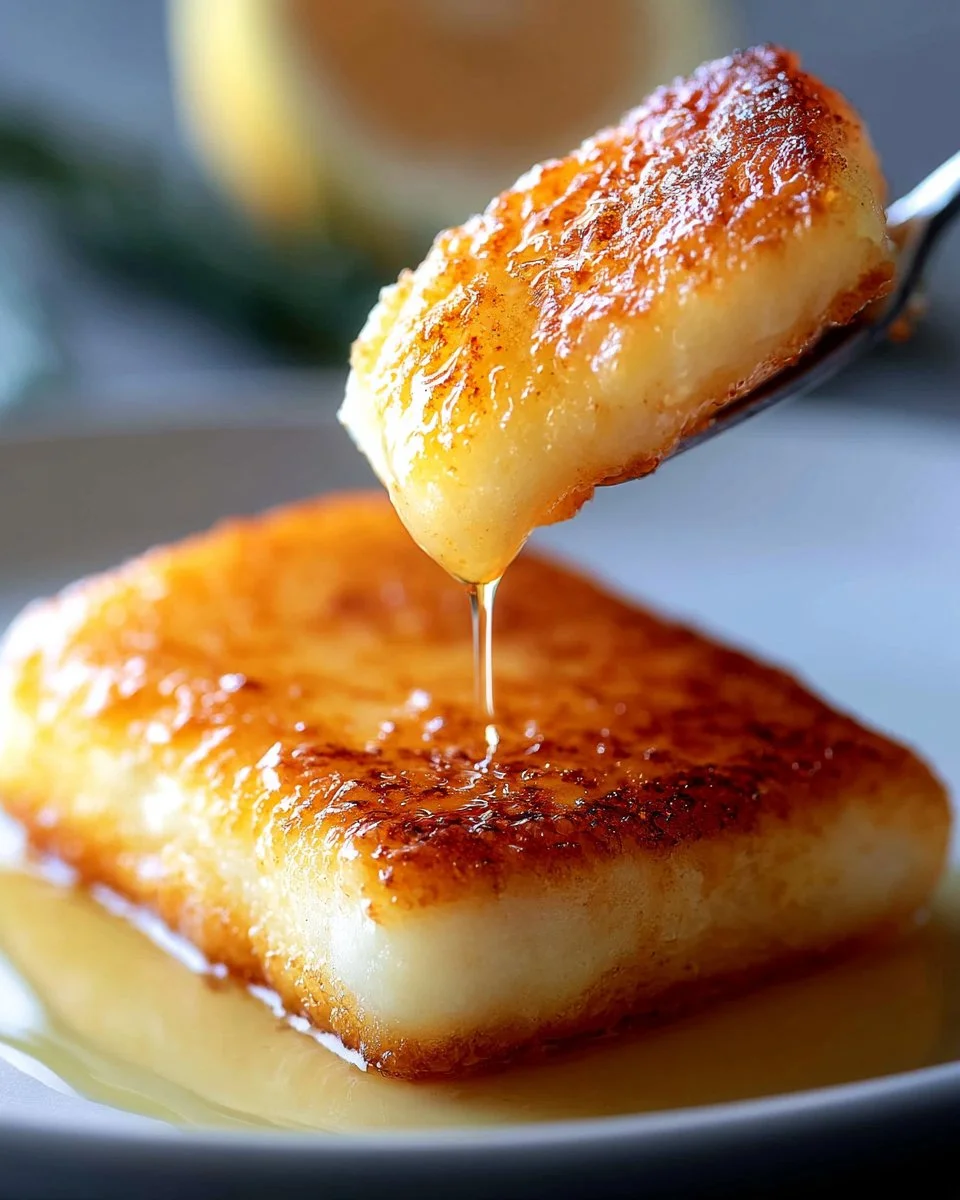
There’s something undeniably delicious about fried cheese that creates an instant comfort food craving. Imagine taking a bite into crispy, golden-brown cheese that’s warm and gooey inside, enticing you with its rich aroma. Every bite delivers a mouthwatering explosion of flavor as the cheese melts into a creamy delight. Whether you serve it as an indulgent appetizer or a side dish, it’s bound to win over your family and friends.
Lightly seasoned and simple to make, this dish pairs wonderfully with a squeeze of fresh lemon juice, enhancing its overall taste with a zesty kick. Get ready to dive into a culinary adventure that is both satisfying and easily shareable, perfect for your next gathering or casual night in. Prepare to impress yourself and others with this delightful fried cheese recipe!
Quick Answer
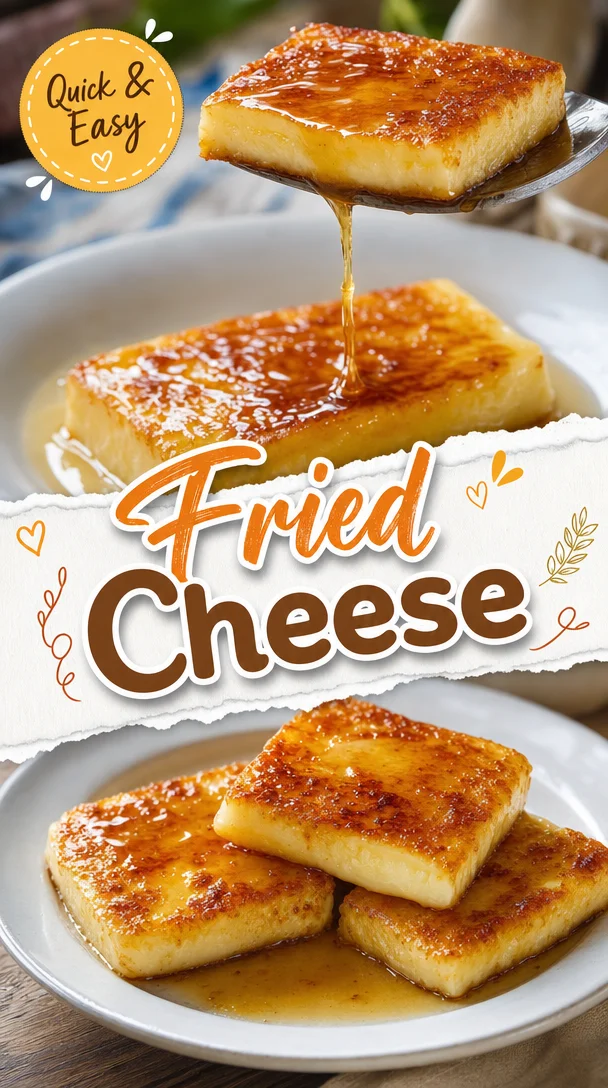
Fried cheese is a crispy and gooey treat that combines the rich flavors of cheese with a crunchy exterior, making it a beloved dish for any occasion.
Why You’ll Love This Recipe
Fried cheese is an irresistible addition to your recipe collection that offers something for everyone. Here’s why you’ll want to try it:
- Crispy exterior: The crispy coating provides a delightful contrast to the soft, melted cheese inside.
- Quick to prepare: This recipe is straightforward, making it perfect for busy weeknights or unexpected guests.
- Customizable: You can use your favorite frying cheese and adjust seasoning to your preference.
- Perfect for gatherings: An appealing appetizer that’s sure to impress at parties or casual get-togethers.
- Comfort food: Comforting and satisfying, it evokes feelings of nostalgia and warmth.
- Goes well with sides: Pair it with dips or sides, enhancing your dining experience.
What Makes This Recipe Special
This fried cheese recipe stands out for its simplicity and deliciousness. The choice of cheese is crucial—using a variety that holds its shape, like halloumi or kasseri, ensures a perfect melt without losing form. The cooking method allows for even browning and a satisfying crunch, delivering a delightful textural contrast. Adding a splash of lemon juice elevates the dish with a refreshing zest, while optional flambeing adds a show-stopping element. Each bite is a harmonious blend of flavors and textures, making it a reliable favorite for all cheese lovers.
Kitchen Tools You’ll Need
- Non-stick pan – Ensures the cheese fries evenly without sticking.
- Shallow dish – Ideal for dredging the cheese in flour and breadcrumbs.
- Paper towels – Useful for drying the cheese after rinsing.
- Serving plate – To showcase your delicious fried cheese.
Ingredients
Cheese suitable for frying: A key ingredient that melts beautifully without losing shape, providing a creamy texture.
Flour: Forms the base coating that adds crunch and helps adhere the other ingredients.
Oil for frying: Essential for achieving that golden, crispy exterior.
Salt to taste: Enhances flavor by balancing the richness of the cheese.
Pepper to taste: Adds a touch of spice to elevate the taste profile.
Lemon juice: Brightens the dish with a zesty twist.
One lightly beaten egg (if using breadcrumbs): Acts as the binding agent for a crispy breadcrumb coating.
Breadcrumbs (if desired): Provides an extra crunch and texture contrast.
Brandy (for flambeing, optional): Adds a dramatic flair when ignited before serving.
Ready to cook? Scroll to the recipe card below for exact measurements.
How to Make Fried Cheese
Phase 1 – Prep
STEP 1. Slice the cheese. Cut the cheese into 1/2 inch thick slices to avoid melting too quickly while frying.
STEP 2. Rinse and blot. Briefly rinse each slice under running water, then gently blot them with a paper towel, leaving them moist for the flour to stick.
STEP 3. Dredge in flour. Place flour in a shallow dish, adding salt and pepper to taste. Coat the cheese slices in flour and shake off excess.
Phase 2 – Cook
STEP 4. Breading (if desired). If you’re breading the cheese, dip the slices in the lightly beaten egg, then dredge in breadcrumbs, shaking off excess.
STEP 5. Heat the oil. Heat oil in a non-stick pan over medium-high heat.
STEP 6. Fry the cheese. Fry the cheese until golden brown on one side, then flip and fry the other side until golden. Lower heat if browning too quickly.
Phase 3 – Serve
STEP 7. Serve immediately. Plate the fried cheese and squeeze lemon juice over the top as desired.
STEP 8. Optional flambeing. For a showy finish, pour brandy over the cheese, ignite carefully, and douse the flame with lemon juice.
Why This Recipe Works
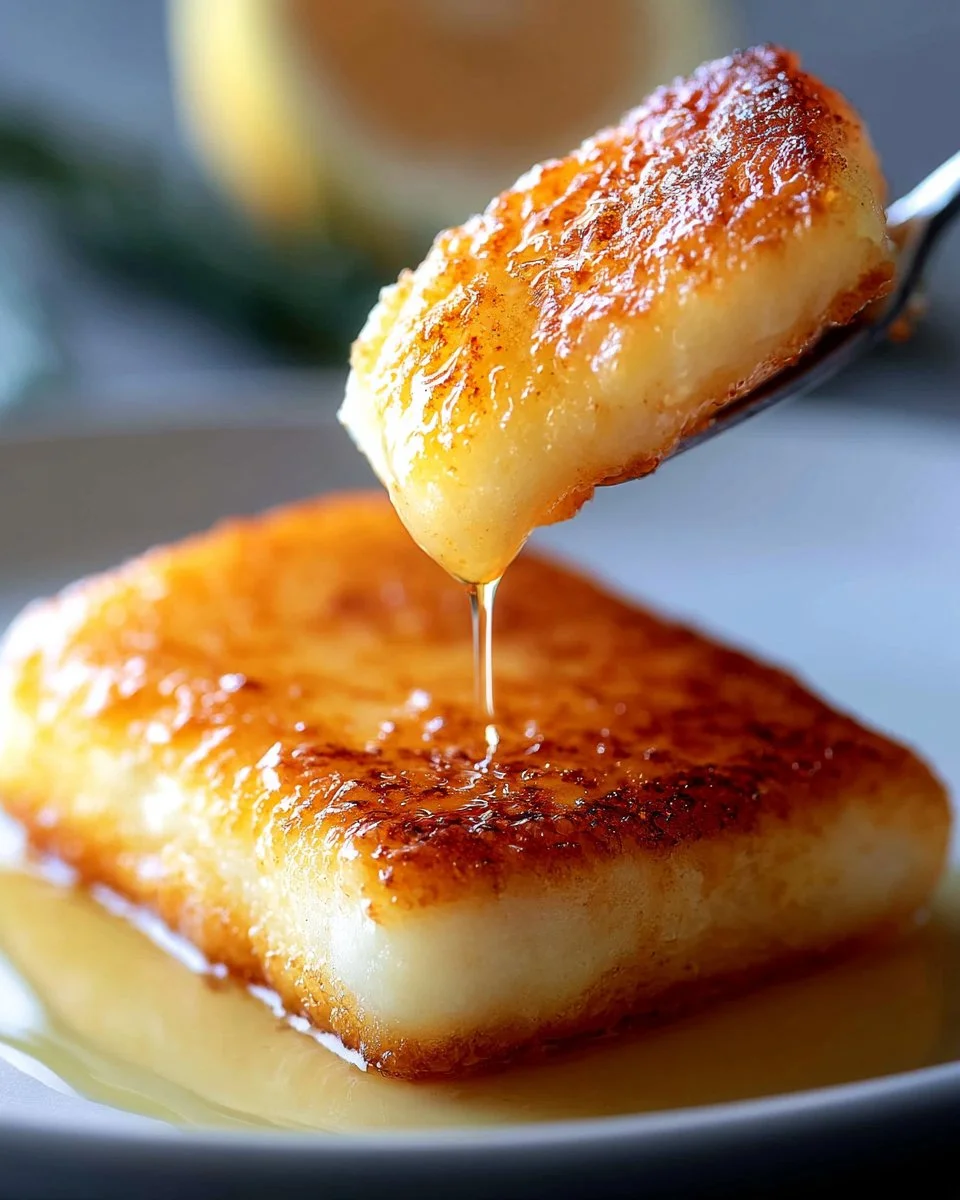
The combination of crispy and gooey textures creates an indulgent experience. The frying process enhances the flavor by developing a rich, golden crust that contrasts beautifully with the soft cheese. Utilizing a cheese that melts well guarantees satisfaction with each bite. The light seasoning allows the cheese’s natural flavor to shine through, while the option to flambe adds excitement. This dish is not only delicious but visually appealing as well, making it perfect for sharing.
Pro Tips
To ensure perfect fried cheese every time, start with cheese that has a high melting point to maintain its shape. Be careful not to slice the cheese too thin, or it may melt too quickly during frying. Rinsing the cheese helps the flour adhere better for a crispier coating. When frying, maintain oil temperature, as too hot of an oil will burn the exterior before the cheese melts. Always serve immediately for the best texture—leftover fried cheese may lose its appeal as it cools down.
Common Mistakes to Avoid
Mistake: Using too soft cheese.
Why it happens: Some cheeses can melt too much and fall apart.
How to fix it: Use firmer varieties like halloumi or kasseri that hold together when fried.
Mistake: Overcrowding the pan.
Why it happens: Adding too many cheese slices at once cools the oil down.
How to fix it: Fry in batches, allowing space for each slice to cook evenly.
Mistake: Skipping the dredging process.
Why it happens: To save time, you might think it’s unnecessary.
How to fix it: Dredge in flour and breadcrumbs for better texture and crunch.
Variations
- Try adding herbs to the flour for extra flavor.
- Experiment with different types of cheese for varied taste experiences.
- Serve with a favorite dipping sauce, like marinara or aioli.
- Make it spicy by adding crushed red pepper to the coating.
- For a healthier option, use an air fryer instead of frying in oil.
Nutrition Highlights
| Nutrient | Role |
|---|---|
| Protein | Helps support satiety and balanced meals. |
Serving Ideas
Fried cheese is perfect for serving alongside a fresh salad or a platter of assorted dips. Pair it with crispy vegetables for added crunch and flavor. Consider offering a selection of sauces, such as marinara, spicy aioli, or a homemade herb dip, to elevate the snacking experience. You can even integrate it into a cheese board for an impressive appetizer display.
Best Occasions for This Recipe
This fried cheese dish is a fantastic addition to casual gatherings like game nights, barbecues, or family reunions. It also shines at festive occasions, serving as an exciting appetizer for holiday parties or potlucks. Its universal appeal ensures it fits beautifully into both cozy family dinners and lively entertaining settings.
Meal Prep & Storage
Meal Prep
Prep your ingredients ahead of time by slicing the cheese and mixing the flour and seasonings. For additional crunch, you can also prepare the breadcrumbs in advance.
Refrigeration
Store any leftover fried cheese in an airtight container in the refrigerator for up to a couple of days.
Freezing
For longer storage, freeze uncooked cheese slices—dredged in flour—on a baking sheet before placing them in a freezer bag for future use.
Reheating
Reheat fried cheese in an oven rather than microwaving to maintain a crispy texture. Place in a preheated oven until warmed through.
FAQs
How can I store leftover fried cheese?
Store any leftovers in an airtight container in the refrigerator for up to a couple of days. For best results, reheat in an oven to maintain crispiness.
Can I use a different type of cheese?
Yes! While firmer cheeses are best for frying, feel free to experiment with your favorites like mozzarella or cheddar.
What’s the best way to reheat fried cheese?
To keep it crispy, reheat in the oven rather than the microwave.
Can I make this dish ahead of time?
You can prepare the cheese and coating ahead of time, but it’s best to fry it just before serving for optimum texture.
Is this recipe suitable for gluten-free diets?
Yes, you can substitute traditional flour and breadcrumbs for gluten-free alternatives to make it suitable.
Save This Recipe for Later
If you enjoyed this fried cheese recipe, don’t forget to save it to your favorite Pinterest boards for easy reference later!
Conclusion
Fried cheese is a delightful culinary treat that brings comfort and joy to any meal. Its combination of creamy, gooey cheese encased in a crispy shell makes it a crowd-pleaser. As you embark on your fried cheese journey, remember that the right cheese and cooking techniques are key to achieving perfection. Try it out for your next gathering and watch as your guests fall in love with this playful yet sophisticated dish!
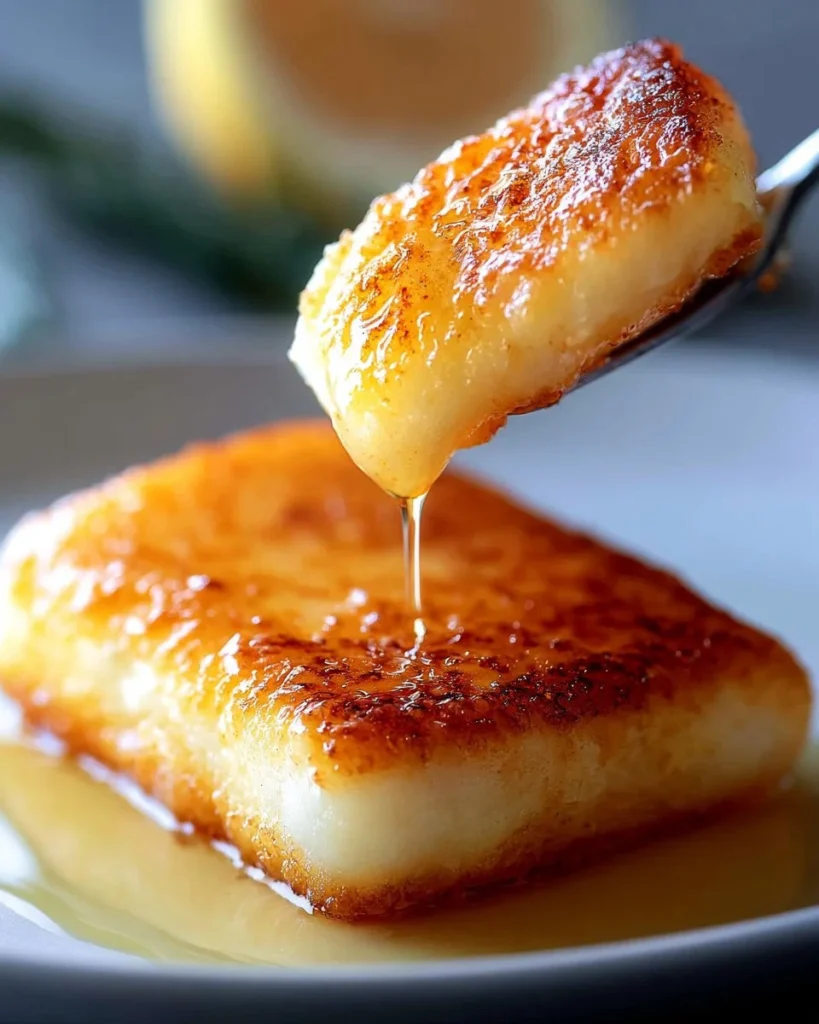
Fried Cheese
Ingredients
Method
- Slice the cheese into 1/2 inch thick slices.
- Rinse each cheese slice under running water and gently blot with a paper towel.
- Dredge the cheese slices in flour mixed with salt and pepper, shaking off any excess.
- If using breadcrumbs, dip the cheese slices in the beaten egg and then dredge in breadcrumbs.
- Heat oil in a non-stick pan over medium-high heat.
- Fry the cheese slices until golden brown on one side, then flip and fry until golden brown on the other side.
- Serve immediately, squeezing lemon juice over the top.
- Optional: For flambeing, pour brandy over the cheese, ignite carefully, and douse the flame with lemon juice.