
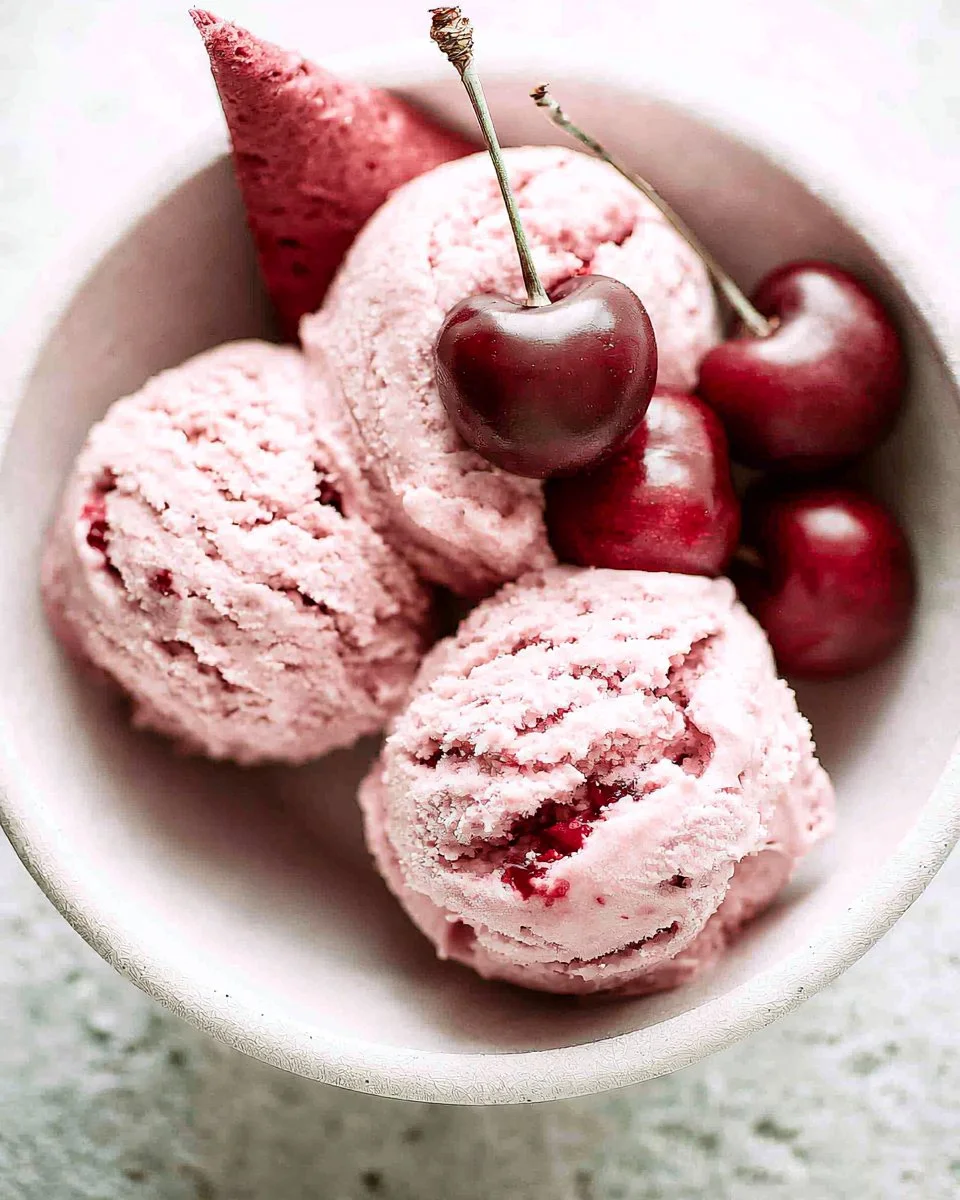
Indulging in a refreshing treat on a warm day is a delightful experience, especially when it’s creamy, rich, and bursting with the vibrant flavors of ripe cherries. Homemade ice cream is not just a sweet dessert; it’s a joyful connection to childhood memories spent on hot summer afternoons. The luscious blend of heavy cream and milk creates a velvety base, while the addition of cherry pieces guarantees a fruity explosion in every bite. This Cherry Ice Cream promises to be a showstopper at any gathering, giving you the perfect reason to break out your ice cream maker. Ready to impress your friends and family with a scoop of homemade goodness? Let’s dive into how to make this dreamy dessert!
Quick Answer
This Cherry Ice Cream recipe combines luscious creaminess with the tart sweetness of fresh cherries for a refreshing homemade treat.
Why You’ll Love This Recipe
This dessert is not only delicious but also comes with numerous benefits:
- Simple ingredients make it easy to whip up at home.
- Rich and creamy texture that melts in your mouth.
- Perfect balance of tartness from cherries and sweetness from sugar.
- Versatile enough to enjoy alone or with other desserts.
- Ideal for both special occasions and everyday treats.
- Can be a great project to do with kids.
- It allows for customization based on seasonal fruits.
What Makes This Recipe Special
This Cherry Ice Cream stands out due to its homemade charm and fresh ingredients. Unlike store-bought varieties that are often loaded with preservatives, this recipe ensures you’re using pure, wholesome components. The combination of heavy cream and milk creates an exceptionally creamy base that’s elevated by the natural sweetness of cherries. The unique touch of almond extract deepens the flavor profile, giving each spoonful a delightful nutty finish. Plus, you can control the sweetness to suit your taste preferences, making each batch truly yours. This isn’t just ice cream; it’s a labor of love that transforms simple ingredients into exceptional joy.
Kitchen Tools You’ll Need
- Ice Cream Maker – Essential for churning your mixture to the perfect consistency.
- Mixing Bowl – Used to combine your ingredients evenly before churning.
- Measuring Cups – Ensures the correct amount of each ingredient for consistent results.
- Freezer-Safe Container – Necessary for storing your finished ice cream.
- Spatula – Useful for scraping down the sides of the bowl.
- Knife – To pit and halve the cherries before mixing.
Ingredients
heavy cream: Creates a rich, velvety consistency that enhances creaminess.
milk: Adds a smooth texture and balances the richness of the cream.
sugar: Sweetens the mixture, allowing the natural flavors of the cherries to shine.
vanilla extract: Introduces a warm, aromatic flavor that complements the cherries.
almond extract: Adds a subtle nutty aroma, enhancing the overall flavor profile.
salt: Elevates the sweetness and balances flavors.
cherries: Provides a burst of fruity sweetness and a pop of color in every scoop.
Ready to cook? Scroll to the recipe card below for exact measurements.
How to Make Cherry Ice Cream
Phase 1 – Prep
STEP 1. Combine ingredients. Mix the cream, milk, sugar, extracts, and salt in a bowl until the sugar dissolves.
Phase 2 – Cook
STEP 2. Prepare the mixture. Pour the mixture into your ice cream maker.
STEP 3. Add cherries. Incorporate the pitted and halved cherries into the ice cream mixture.
STEP 4. Follow instructions. Adhere to the manufacturer’s guidelines for your ice cream maker.
Phase 3 – Serve
STEP 5. Transfer ice cream. Move the ice cream to a freezer-safe container.
STEP 6. Freeze. Freeze for at least 4 hours or until firm, preferably overnight for optimal flavor and texture.
Why This Recipe Works
The success of this Cherry Ice Cream is attributed to a harmonious blend of rich textures and vibrant flavors. The heavy cream creates a luxurious base that pairs beautifully with the milk, ensuring a creamy mouthfeel. By introducing bright cherries, each scoop delivers a refreshing burst of flavor, while the added extracts contribute to a well-rounded taste experience. This method of homemade ice cream churning allows for air incorporation, making it light yet satisfying. The freezing phase ensures the right texture; it’s critical to wait until it’s adequately set for the best enjoyment. Together, these elements create a dessert that is both delicious and memorable.
Pro Tips
To achieve the best results with your Cherry Ice Cream, consider the following tips:
- Ensure all your ingredients are chilled before mixing for a smoother texture.
- Quality cherries are essential; fresh, ripe ones will provide superior flavor.
- Incorporate your cherries gently to avoid breaking them down too much.
- Letting the mixture sit in the refrigerator for an hour before churning can improve its richness.
- For a firmer ice cream, let it freeze longer before serving, up to 24 hours if possible.
- Experiment by adding dark chocolate chips for a delicious twist.
Common Mistakes to Avoid
Mistake: Not allowing the ice cream to churn long enough.
Why it happens: This can lead to a dense texture instead of a light and airy one.
How to fix it: Always follow the ice cream maker’s timing guide for best results.
Mistake: Using overripe cherries.
Why it happens: Overripe fruit can become mushy and lose flavor during the freezing process.
How to fix it: Choose firm, ripe cherries for the best texture and taste.
Mistake: Skipping the freezing step.
Why it happens: Ice cream that hasn’t been frozen adequately will be too soft.
How to fix it: Always give at least four hours in the freezer for optimal firmness.
Variations
- Use frozen cherries for a quicker prep time.
- Substitute half the heavy cream with Greek yogurt for a lighter version.
- Add crushed nuts for extra crunch and flavor.
- Incorporate a swirl of chocolate sauce for added richness.
- Infuse the cream with mint leaves before mixing for a refreshing twist.
Nutrition Highlights
| Nutrient | Role |
|---|---|
| Protein | Helps support satiety and balanced meals. |
Serving Ideas
This Cherry Ice Cream is perfect for a variety of settings. Serve it alongside a warm slice of pie for a comforting dessert experience or enjoy it in a colorful sundae topped with fresh fruits. Pair it with a light sponge cake or simply savor it on its own for a refreshing treat. Consider using it as a filling for homemade ice cream sandwiches or layering it in a parfait with granola for a delightful breakfast. Each serving promises to be a celebration of flavor and texture that your family and friends will love!
Best Occasions for This Recipe
This homemade Cherry Ice Cream is perfect for warm-weather gatherings, such as backyard barbecues, birthday parties, or family reunions. Its refreshing quality makes it an excellent choice for summer picnics or dessert at a holiday celebration. You could even prepare a batch for movie nights, providing a sweet treat that everyone will enjoy. Being both a nostalgic favorite and a crowd-pleaser, it’s ideal for any occasion where you want to create lasting memories around delicious food.
Meal Prep & Storage
Meal Prep
Prepare your ice cream base ahead of time and refrigerate it for an hour before churning. This allows for an even richer flavor.
Refrigeration
Once made, place your ice cream in a sealed freezer-safe container to prevent it from absorbing odors.
Freezing
For best texture and flavor, let your ice cream harden in the freezer for at least four hours before serving.
Reheating
There’s no reheating necessary for ice cream! Simply serve straight from the freezer, allowing it to sit for a few minutes for easier scooping.
FAQs
Can I use frozen cherries instead of fresh?
Yes, you can use frozen cherries, but ensure they are thawed and drained before mixing to avoid excess moisture.
How long can I store the ice cream?
Homemade ice cream can be stored in the freezer for about 2-3 weeks, but it’s best enjoyed within the first week for optimal flavor and texture.
Can I substitute other fruits?
Absolutely! This recipe can work well with many fruits, such as raspberries or strawberries.
What if my ice cream is too hard to scoop?
Let it sit at room temperature for about 5-10 minutes before scooping to soften it slightly.
Save This Recipe for Later
If you love this Cherry Ice Cream recipe, don’t forget to save it to your Pinterest board for easy access later!
Conclusion
Making your own cherry ice cream is a rewarding venture that allows you to enjoy a creamy, delicious treat packed with real fruit flavor. With a few simple ingredients and a little patience, you can create a dessert that not only tastes fantastic but also adds a special touch to any occasion. Whether you’re serving it at a summer party or enjoying a quiet night in, this homemade treat is sure to impress and delight.
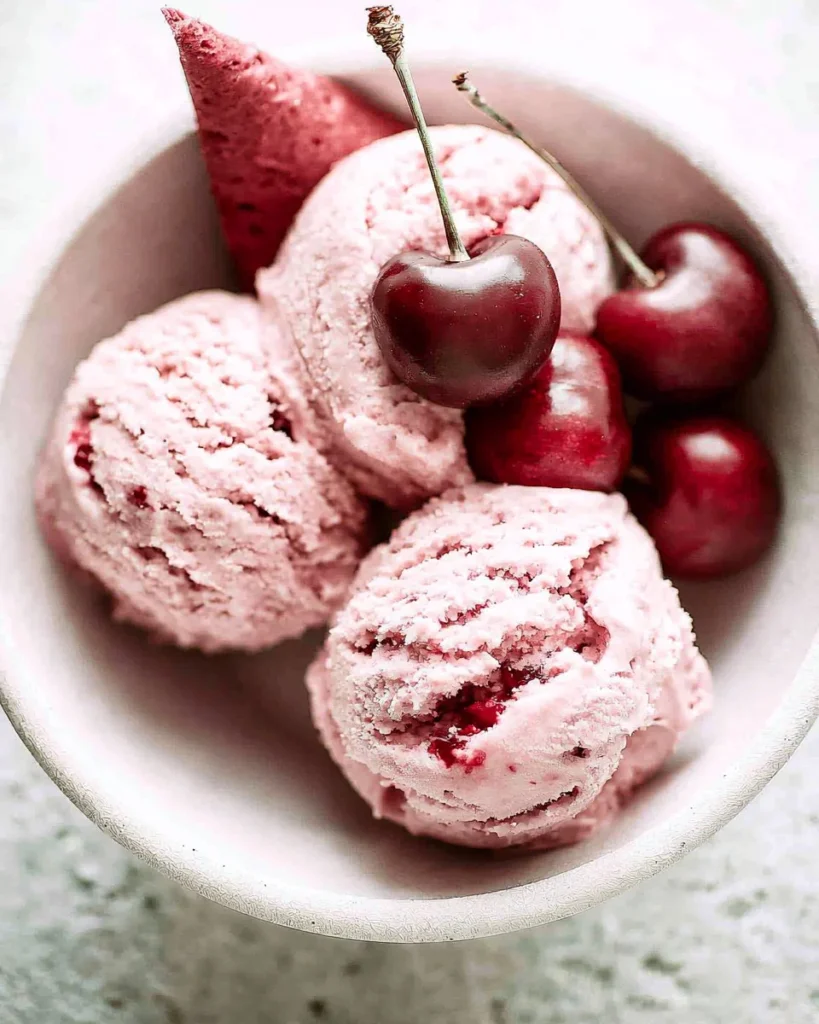
Cherry Ice Cream
Ingredients
Method
- Mix the cream, milk, sugar, extracts, and salt in a bowl until the sugar dissolves.
- Pour the mixture into your ice cream maker.
- Incorporate the pitted and halved cherries into the ice cream mixture.
- Adhere to the manufacturer’s guidelines for your ice cream maker.
- Transfer the ice cream to a freezer-safe container.
- Freeze for at least 4 hours or until firm, preferably overnight for optimal flavor and texture.