
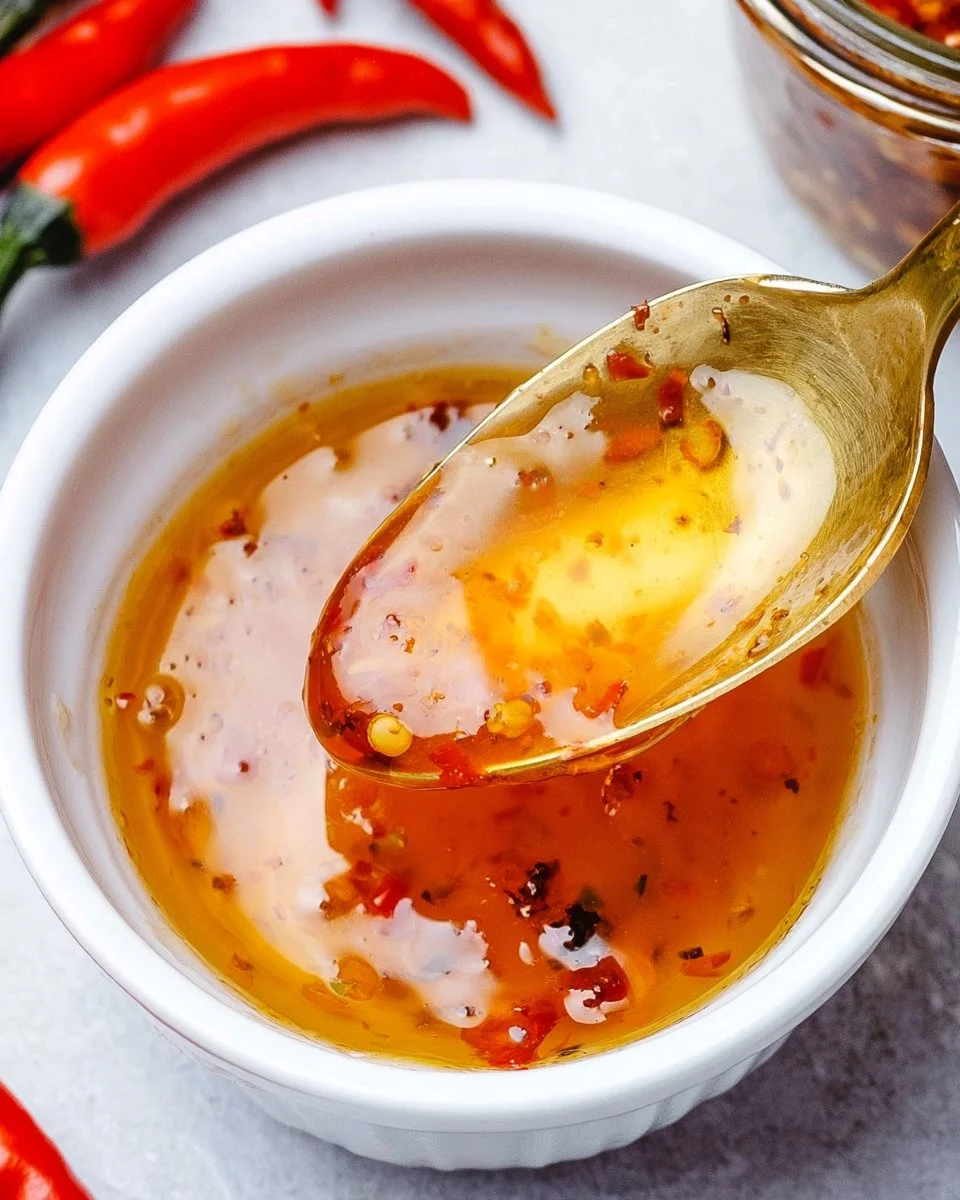
If you’re looking to elevate your dishes with a bold, sweet, and just-the-right-amount-of-spicy sauce, this sweet chili sauce will quickly become a favorite in your kitchen. Imagine dipping crispy spring rolls into a rich, glossy sauce that balances sweetness with just enough heat to keep you coming back for more. This homemade version is not only incredibly easy to make but also packed with fresh flavors that store-bought alternatives often lack.
Perfect for stirring into stir-fries, drizzling over roasted veggies, or using as a glaze for grilled meats, this sauce is versatile enough to make any meal feel a bit more special. A touch of garlic and chili flakes adds depth and complexity, while the maple syrup provides a natural sweetness that perfectly complements the tang of apple cider vinegar. You’ll find yourself reaching for this sauce time and time again, whether you’re hosting a dinner party or just enjoying a quiet meal at home.
Quick Answer
This sweet chili sauce is made with pure maple syrup, apple cider vinegar, minced garlic, and chili flakes, resulting in a deliciously sweet and spicy condiment perfect for dipping or drizzling. It’s easy to make, and you can enjoy it fresh in under 30 minutes!
Why You’ll Love This Recipe
This recipe for sweet chili sauce is a must-try for several reasons:
- Quick to prepare: It comes together in just a few easy steps.
- Natural ingredients: Made with pure maple syrup and fresh garlic, it’s a healthier choice.
- Versatile: Use it as a dipping sauce, marinade, or ingredient in various dishes.
- Customizable heat: Adjust the chili flakes to suit your taste.
- Perfect for meal prep: Make a batch and use it throughout the week to enhance your meals.
- Preserves well: Store it in the fridge, and enjoy it for several days.
- Tasty balance of flavors: Enjoy the harmony of sweetness, tang, and heat.
What Makes This Recipe Special
This sweet chili sauce stands out due to its delightful combination of flavors and textures. The pure maple syrup provides a natural sweetness that balances beautifully with the acidity of the apple cider vinegar, creating a rich and flavorful profile. The minced garlic adds an aromatic depth, while the crushed chili flakes introduce a kick of heat that lingers without overpowering the other flavors. The use of arrowroot powder or cornstarch as a thickening agent gives the sauce a luxurious, glossy finish that clings perfectly to your favorite foods. Together, these elements create a harmonious sauce that is both versatile and delicious, perfect for enhancing any meal.
Kitchen Tools You’ll Need
- Small saucepan – For simmering the ingredients together and developing the sauce.
- Whisk – To mix the arrowroot powder with water for the thickening slurry.
- Measuring cups – To accurately measure your ingredients for balanced flavor.
- Glass jar – For storing the sauce after it has cooled.
Ingredients
pure maple syrup: Offers natural sweetness and depth of flavor.
apple cider vinegar: Provides tanginess and balances the sweetness.
water: Helps to create the desired sauce consistency.
fresh garlic cloves: Adds aromatic depth and flavor.
crushed chili flakes: Introduces heat, enhancing the sauce’s flavor profile.
arrowroot powder: Acts as a thickening agent, giving the sauce a smooth texture.
large minced red chili: For those who prefer a more potent heat instead of flakes.
Ready to cook? Scroll to the recipe card below for exact measurements.
How to Make Sweet Chili Sauce
Phase 1 – Prep
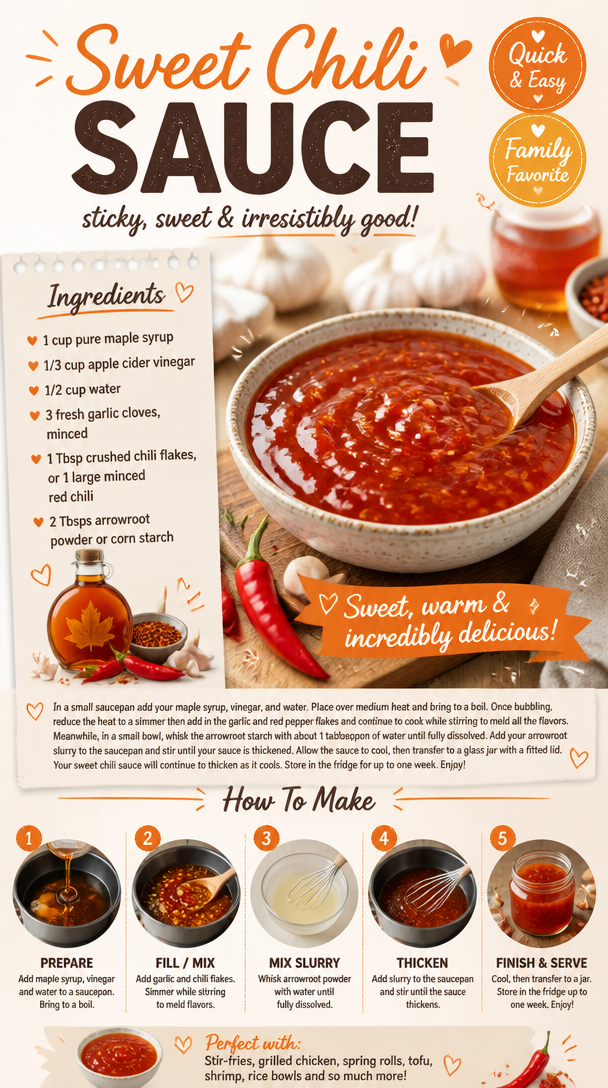
STEP 1. Combine liquids. In a small saucepan add your maple syrup, vinegar, and water.
Phase 2 – Cook
STEP 2. Heat mixture. Place over medium heat and bring to a boil.
STEP 3. Simmer with flavorings. Once bubbling, reduce the heat to a simmer then add in the garlic and red pepper flakes and continue to cook while stirring to meld all the flavors.
STEP 4. Prepare thickening agent. Meanwhile, in a small bowl, whisk the arrowroot starch with about 1 tablespoon of water until fully dissolved.
STEP 5. Thicken sauce. Add your arrowroot slurry to the saucepan and stir until your sauce is thickened.
STEP 6. Cool the sauce. Allow the sauce to cool, then transfer to a glass jar with a fitted lid.
STEP 7. Store and enjoy. Your sweet chili sauce will continue to thicken as it cools. Store in the fridge for up to one week. Enjoy!
Why This Recipe Works
This recipe for sweet chili sauce achieves a perfect texture balance through the combination of liquid ingredients and the thickening agent used. As the sauce simmers, the flavors meld together, creating a layered taste experience that builds on the foundation of sweetness from the maple syrup and the sharpness from the vinegar. The garlic offers aromatic notes while the chili flakes prepare your palate for a delightful kick of heat. By utilizing a simple stovetop method, the cooking maintains the integrity of each ingredient, allowing the flavors to shine through. This entire process not only maximizes flavor but ensures a smooth, cohesive sauce you’ll love to use in various dishes.
Pro Tips
To ensure your sweet chili sauce turns out perfectly every time, consider these pro tips:
- For a smoother sauce, make sure to whisk the arrowroot slurry well before adding it to the saucepan, preventing clumps.
- For heat variation, taste the sauce while cooking and add more chili flakes if you prefer a spicier result.
- Experiment by adding other herbs or spices like ginger for a different flavor twist.
- Be sure to let the sauce cool completely before storing it in your jar to avoid condensation.
- If you find the sauce too thick after cooling, you can stir in a tablespoon of warm water to achieve your desired consistency.
Common Mistakes to Avoid
Like any recipe, there are pitfalls to watch out for when making this sweet chili sauce:
- Mistake: Not whisking the slurry enough.
- Why it happens: Rushing the prep process may lead to clumping.
- How to fix it: Take your time to ensure a smooth mixture before adding it to the saucepan.
- Mistake: Boiling the sauce too long.
- Why it happens: Being distracted can lead to overcooking.
- How to fix it: Monitor closely and reduce heat quickly once it reaches a gentle boil.
- Mistake: Allowing the sauce to cool in a hot pan.
- Why it happens: Forgetting to transfer to a jar can hold in heat and moisture.
- How to fix it: Move the sauce to a glass jar right away to cool thoroughly.
Variations
- Use honey instead of maple syrup for a different sweetness profile.
- Add fresh ginger for an additional zesty kick.
- Incorporate a splash of soy sauce for an umami boost.
- Try using different types of vinegar for a unique flavor twist.
- Substitute chili flakes for fresh chopped chili to enhance the heat level.
Nutrition Highlights
| Nutrient | Role |
|---|---|
| Natural sugars | Provide sweetness and energy without refined ingredients. |
| Garlic | Offers immune-boosting properties and adds flavor complexity. |
Serving Ideas
This sweet chili sauce pairs wonderfully with various foods. Use it as a dip for fresh spring rolls, crispy chicken, or grilled prawns. Drizzle it over stir-fried vegetables or use it as a marinade for roasting meats. It can be an energizing addition to grain bowls, adding richness and intrigue to simple dishes. The possibilities are endless with this versatile condiment!
Best Occasions for This Recipe
Sweet chili sauce is perfect for casual gatherings, lively dinner parties, or weekend family meals. It’s a fantastic addition to any game day spread, where it can elevate your appetizers and snacks. Whether you’re grilling outdoors or preparing a cozy dinner at home, this sauce is a sweet and spicy companion that will impress your guests.
Meal Prep & Storage
Meal Prep
This sweet chili sauce is an excellent option for meal prep. Make a batch ahead of time, and enjoy its delicious flavor throughout the week to enhance various dishes.
Refrigeration
Store the cooled sauce in a sealed glass jar in the refrigerator. It will keep well for up to one week, thickening nicely as it sits.
Freezing
If you want to keep it longer, consider freezing small portions in ice cube trays. Once frozen, transfer the cubes to a freezer-safe bag for easy access later.
Reheating
When ready to use, thaw if frozen, and gently reheat the sauce on the stove over low heat until warm. Stir in a little water if it becomes too thick after refrigeration.
FAQs
How long can I store sweet chili sauce?
You can keep it in the refrigerator for up to one week. It’s best when enjoyed fresh, but it thickens nicely as it sits.
Can I substitute maple syrup with another sweetener?
Yes, honey or agave syrup can be used as alternatives, but they will change the flavor slightly.
How do I spice up the heat level?
Incorporate more chili flakes or fresh chilies based on your spice preferences. Taste and adjust as you go!
Can I use this sauce in a marinade?
Absolutely! This sweet chili sauce makes a fantastic marinade for chicken, seafood, or tofu.
Is it gluten-free?
This recipe is naturally gluten-free; just ensure that your ingredients are certified gluten-free if you have a sensitivity.
Save This Recipe for Later
If you loved this sweet chili sauce, don’t forget to save this recipe for later! It’s sure to become a staple in your kitchen.
Conclusion
This homemade sweet chili sauce is a game-changer, enhancing both simple and intricate dishes with its sweet and spicy depth. The quick preparation and fresh ingredients allow you to enjoy a quality condiment that can take your meals from ordinary to extraordinary. Give this recipe a try, and let your taste buds enjoy the delightful harmony of flavors!
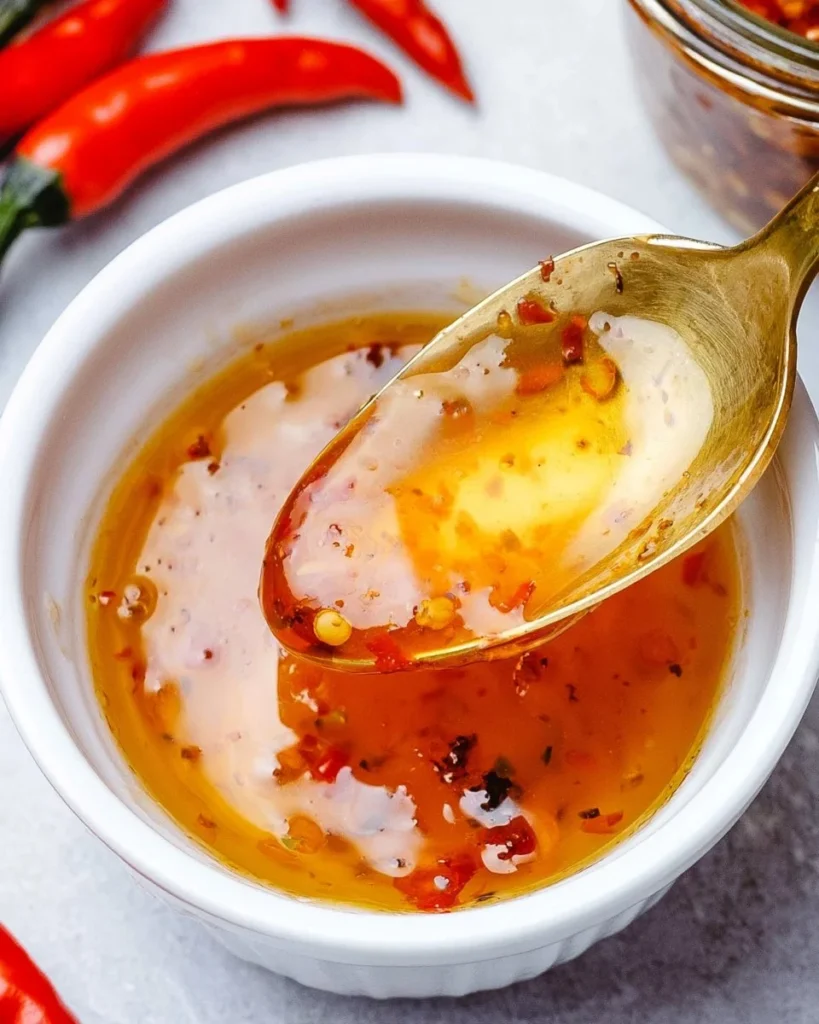
Sweet Chili Sauce
Ingredients
Method
- In a small saucepan, combine the maple syrup, apple cider vinegar, and water.
- Place the saucepan over medium heat and bring the mixture to a boil.
- Once bubbling, reduce heat to a simmer, then add the minced garlic and crushed chili flakes. Continue to cook while stirring to meld all the flavors.
- In a small bowl, whisk the arrowroot powder with about 1 tablespoon of water until fully dissolved.
- Add the arrowroot slurry to the saucepan and stir until the sauce is thickened.
- Allow the sauce to cool, then transfer it to a glass jar with a fitted lid.
- Store in the fridge for up to one week. The sauce will continue to thicken as it cools.