
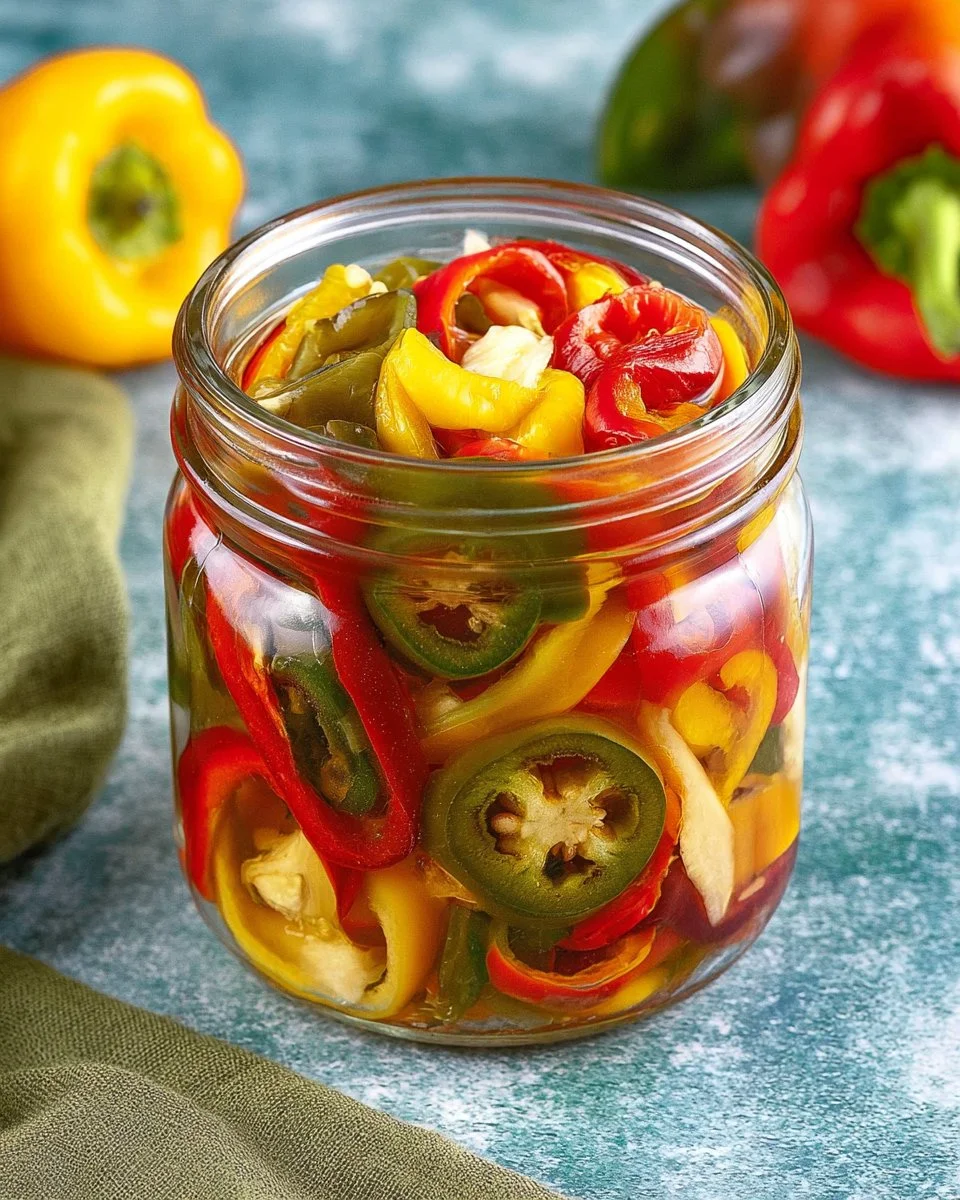
There’s something incredibly satisfying about enjoying a burst of flavor from a perfectly pickled pepper. The vibrant colors and tangy crunch they bring to your meals make them an excellent addition to any dish. Whether you’re adding them to sandwiches, salads, or enjoying them straight from the jar, pickled peppers are the perfect way to elevate your culinary creations. The blend of vinegar, garlic, and spices not only preserves the peppers but also enhances their natural heat, resulting in a deliciously tangy treat that’s sure to please any palate.
Creating your own pickled peppers at home is simpler than you think. With just a handful of ingredients and a little patience, you’ll be able to enjoy these flavorful bites whenever you want. The crunchiness of the peppers combined with the zesty brine creates a dynamic flavor that dances on your taste buds, making them a go-to item for meal prep or snacking. Get ready to transform your kitchen into a space full of delightful aromas and vibrant flavors!
Quick Answer
This pickled peppers recipe is easy to prepare, bursting with flavor, and perfect for adding a zesty kick to any dish. Simply combine fresh chili peppers with vinegar, garlic, and spices for a delicious homemade condiment!
Why You’ll Love This Recipe
Pickled peppers are incredibly versatile and add a unique flavor to various dishes, making them a staple in any home cook’s kitchen. Here are several reasons why you’ll absolutely love making this recipe:
- Quick to prepare with minimal effort.
- Customized heat level based on your choice of peppers.
- Perfect for meal prep and long-term storage.
- Enhances salads, tacos, sandwiches, and more.
- Healthy snack option packed with flavor.
- Budget-friendly compared to store-bought alternatives.
- A fun way to preserve your homegrown peppers.
What Makes This Recipe Special
This pickled peppers recipe stands out because of its simplicity and the way it allows the natural flavors of the peppers to shine. Using chili peppers provides a range of heat levels, from mild to fiery, letting you personalize your pickles. The combination of vinegar and spices creates a vibrant brine that not only preserves the peppers but also infuses them with a zesty flavor profile. By making these in small batches, you can experiment with different types of peppers and adjust the sweetness and saltiness to your personal taste! The result is a delightful condiment that can elevate any meal.
Kitchen Tools You’ll Need
- Quart Jar – Essential for storing the pickled peppers and brine.
- Large Pot – Needed for boiling the brine mixture.
- Chopping Board – For safely cutting the peppers.
- Knife – To chop the garlic and cut the peppers.
- Spoon – Useful for mixing the brine ingredients.
Ingredients
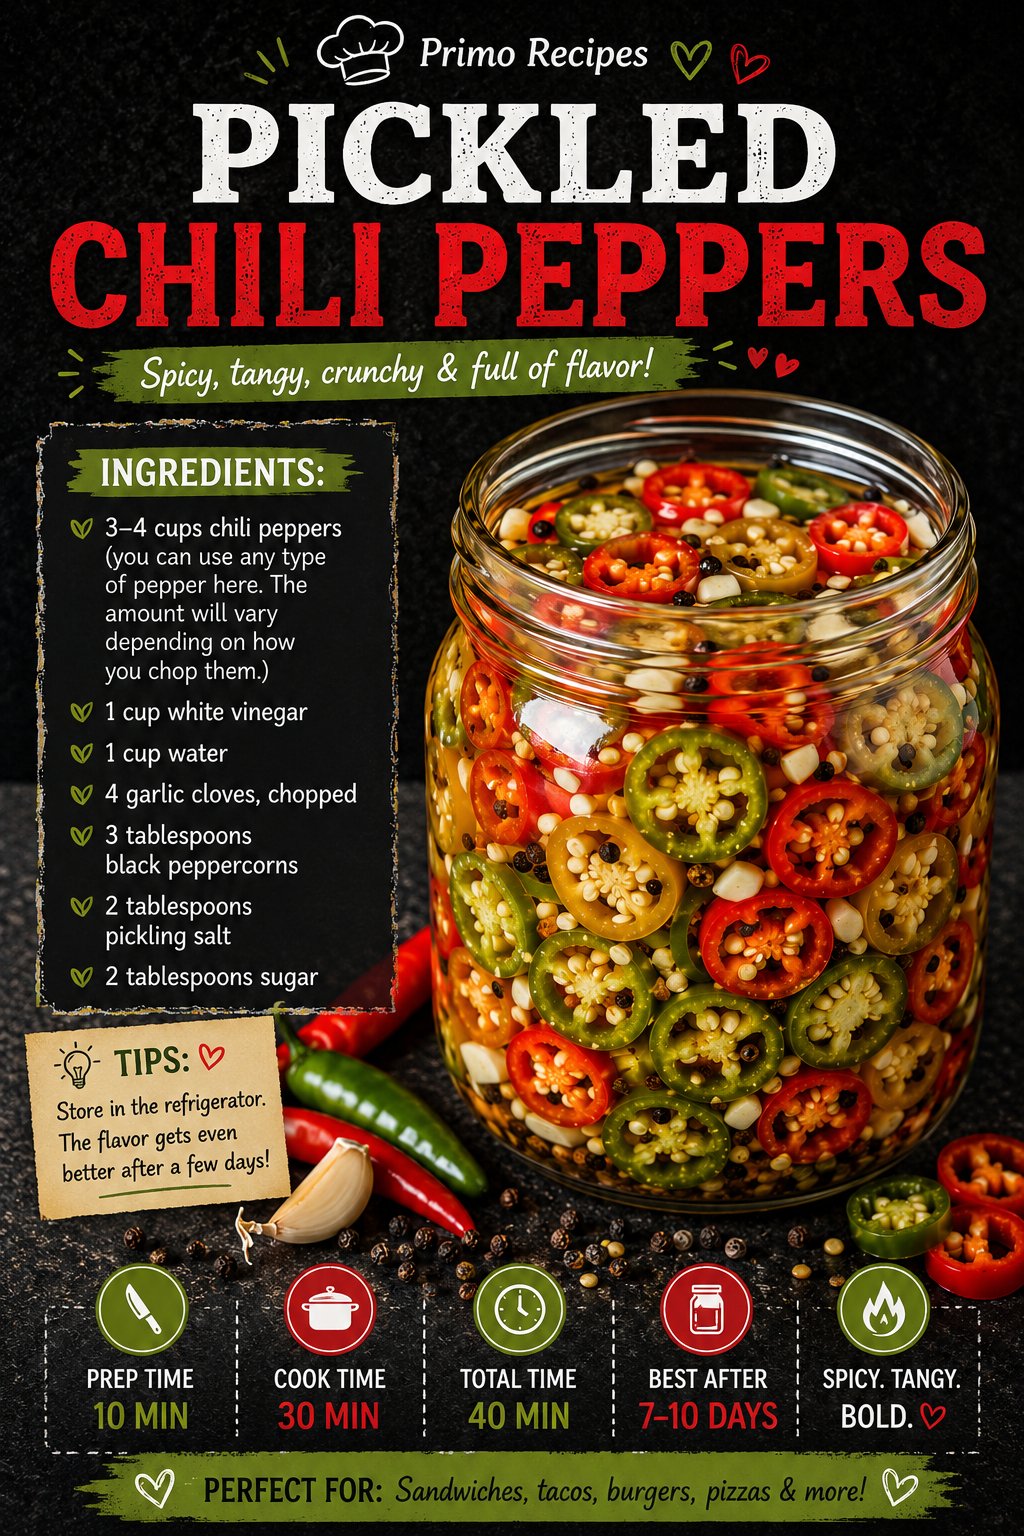
- chili peppers: Provides heat and flavor, with varying levels of spiciness.
- white vinegar: Contributes acidity and acts as a preservative.
- water: Balances the acidity of the vinegar for a smooth brine.
- garlic: Adds a rich, aromatic background flavor to the peppers.
- black peppercorns: Introduces a robust spice that complements the peppers.
- pickling salt: Enhances flavor while helping to preserve the peppers.
- sugar: Balances the acidity with a touch of sweetness.
Ready to cook? Scroll to the recipe card below for exact measurements.
How to Make Pickled Peppers Recipe
Phase 1 – Prep
STEP 1. Wash and dry the chili peppers. Rinse them under cool water and pat them dry with a kitchen towel. STEP 2. Cut the large ones into small chunks. Slice the bigger peppers into bite-sized pieces for easier eating. STEP 3. Prepare small peppers. Leave the smaller peppers whole and poke holes in them to allow the brine to penetrate. STEP 4. Pack the peppers into a cleaned quart jar. Fill the jar tightly with the prepared peppers, ensuring minimal air pockets.
Phase 2 – Cook
STEP 5. Combine ingredients in a pot. In a large pot, mix the vinegar, water, garlic, peppercorns, salt, and sugar. STEP 6. Bring to a boil. Heat the mixture over medium-high until it reaches a rolling boil. STEP 7. Simmer the brine. Reduce the heat and let it simmer for about 2 minutes to meld the flavors. STEP 8. Cool slightly. Remove the pot from heat and let the brine cool for a few moments. STEP 9. Pour brine over peppers. Carefully pour the hot brine over the peppers in the jar until they are fully submerged. STEP 10. Seal the jar tightly. Put the lid on the jar and ensure it’s securely closed.
Phase 3 – Serve
STEP 11. Cool and refrigerate. Allow the jar to cool to room temperature before placing it in the fridge. STEP 12. Let it sit. Allow the peppers to sit for a few weeks for the best flavor, though they can be eaten right away.
Why This Recipe Works
The texture of pickled peppers creates a delightful crunch that contrasts beautifully with dishes they accompany. The method of blanching the peppers in a vinegar brine allows for a balance of soft yet crispy vegetables. Layering flavors like garlic and spices enhances the depth and complexity, resulting in a far more interesting condiment than what you’d find at the store. The simple cooking technique of simmering the brine ensures that your peppers soak in every bit of flavor, making each bite a zesty experience. This recipe not only preserves peppers for an extended time but also transforms them into a vibrant and flavorful accompaniment for various meals.
Pro Tips
To get the best results with your pickled peppers, consider the following tips:
- Select fresh, ripe chili peppers for the best flavor and crunch.
- Experiment with different pepper varieties to discover your favorite flavor combinations.
- Ensure that your jars are thoroughly sterilized to prevent spoilage.
- Adjust the sweetness by adding more or less sugar according to your taste preference.
- Add spices like mustard seeds or dill for more complexity in your pickles.
- Allow the pickled peppers to sit longer than a few weeks if you prefer a stronger flavor.
- Label jars with the date so you know when to enjoy them at their best.
Common Mistakes to Avoid
Mistake: Not sterilizing jars.
Why it happens: It’s often overlooked as an extra step, but it is essential for preventing spoilage.
How to fix it: Sterilize jars by boiling them in water for 10 minutes or running them through the dishwasher.
Mistake: Not letting the peppers sit long enough.
Why it happens: The excitement of tasting your creation can lead to impatience.
How to fix it: Be patient and allow the flavors to develop over a few weeks for optimal taste.
Mistake: Using the wrong type of vinegar.
Why it happens: Some recipes call for different types of vinegar, leading to confusion.
How to fix it: Stick to white vinegar for the best preservation and taste in this recipe.
Mistake: Overcrowding the jar.
Why it happens: Trying to fit in more peppers than the jar can hold can lead to uneven pickling.
How to fix it: Pack the peppers firmly but not so tightly that the brine can’t circulate.
Variations
- Use sweet bell peppers for a milder flavor.
- Add sliced onions or carrots for extra crunch.
- Incorporate spices like cumin or coriander for an exotic twist.
- Try flavored vinegars for unique taste profiles.
- Include herbs like thyme or dill for additional aromatic notes.
Nutrition Highlights
Nutrient Role Vitamins Boosts immune function and overall health. Minerals Supports various metabolic functions in the body. Antioxidants Helps combat oxidative stress and may reduce inflammation. Serving Ideas
Pickled peppers can add a punch of flavor to a variety of dishes. Use them in tacos or burritos for extra zest. Toss them into salads for a crunchy, tangy element. Serve them alongside cheese and charcuterie for a delightful appetizer. They can even be chopped finely and added to dips or spreads for an exciting twist. Their vibrant flavor can brighten up any meal, making them a must-have condiment in your kitchen.
Best Occasions for This Recipe
These pickled peppers are perfect for summer barbecues, picnics, or family gatherings, where their vibrant appearance and taste can shine. They also make for thoughtful homemade gifts during the holiday season, or a delightful addition to any potluck or gathering with friends. Whenever you need to inject some extra flair into your meal, these pickled peppers will fit the bill!
Meal Prep & Storage
Meal Prep
Prepare pickled peppers in advance for easy snacking or meal enhancement throughout the week. Make a batch and store them in the refrigerator for quick access. Home-pickled peppers are fantastic for meal prep, ensuring you have tangy, flavorful additions to salads, sandwiches, or entrees on hand.
Refrigeration
Once your pickled peppers are ready, they should be stored in the refrigerator. They will keep well for about one to two months, allowing you to enjoy them whenever you please. Ensure that the jar is sealed tightly to preserve freshness and flavor.
Freezing
While freezing is not recommended for the pickled peppers due to texture loss, you can freeze fresh peppers before pickling if you wish to preserve a larger harvest for future use. Thaw them when ready, then proceed with the pickling process.
Reheating
Pickled peppers do not require reheating, as they are best enjoyed chilled straight from the jar. If adding to hot dishes, simply toss them on top just before serving to maintain their crunchy texture.
FAQs
Can I use different types of peppers? Yes, feel free to experiment with various chili peppers depending on your heat preference! How long should pickled peppers sit before eating? For optimal flavor, let them sit for at least a few weeks, but they can be consumed right away. What’s the best way to store pickled peppers? Store them in a sealed jar in the refrigerator for the best preservation. Can I change the vinegar used in this recipe? While this recipe calls for white vinegar, you may try flavored vinegars, but it could affect the taste. How spicy are these pickled peppers? The spice level depends on the type of chili peppers you use; milder varieties will yield less heat.
Save This Recipe for Later
If you love this recipe as much as we do, make sure to save it for later! Pin it on Pinterest or bookmark it to revisit anytime you’re craving pickled peppers!
Conclusion
Homemade pickled peppers are not only a simple culinary project but also a rewarding addition to your pantry. With just a few ingredients and a little patience, you can enjoy these zesty bites that enhance every meal. Whether used in salads, sandwiches, or as stand-alone snacks, they are a fantastic way to preserve the flavors of summer. Get ready to elevate your dishes and impress your family and friends with your delicious homemade pickles!
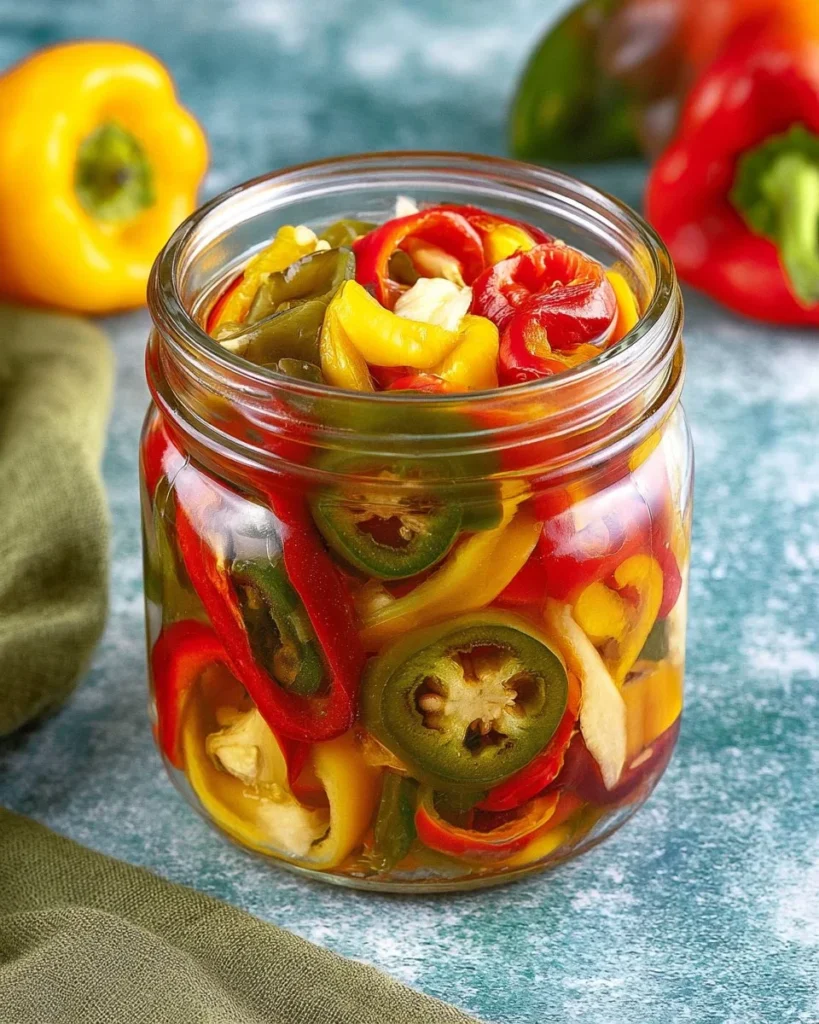
Pickled Peppers
Ingredients
Method
- Wash and dry the chili peppers under cool water and pat them dry with a kitchen towel.
- Cut the large peppers into small chunks and leave the smaller ones whole, poking holes in them.
- Pack the peppers into a cleaned quart jar tightly.
- In a large pot, mix the vinegar, water, garlic, peppercorns, salt, and sugar.
- Heat the mixture over medium-high until it reaches a rolling boil.
- Reduce the heat and let it simmer for about 2 minutes to meld the flavors.
- Remove from heat and let the brine cool slightly.
- Pour the hot brine over the peppers in the jar until they are fully submerged.
- Seal the jar tightly with a lid.
- Allow the jar to cool to room temperature before placing it in the fridge.
- Let the peppers sit for at least a few weeks for the best flavor before enjoying.