
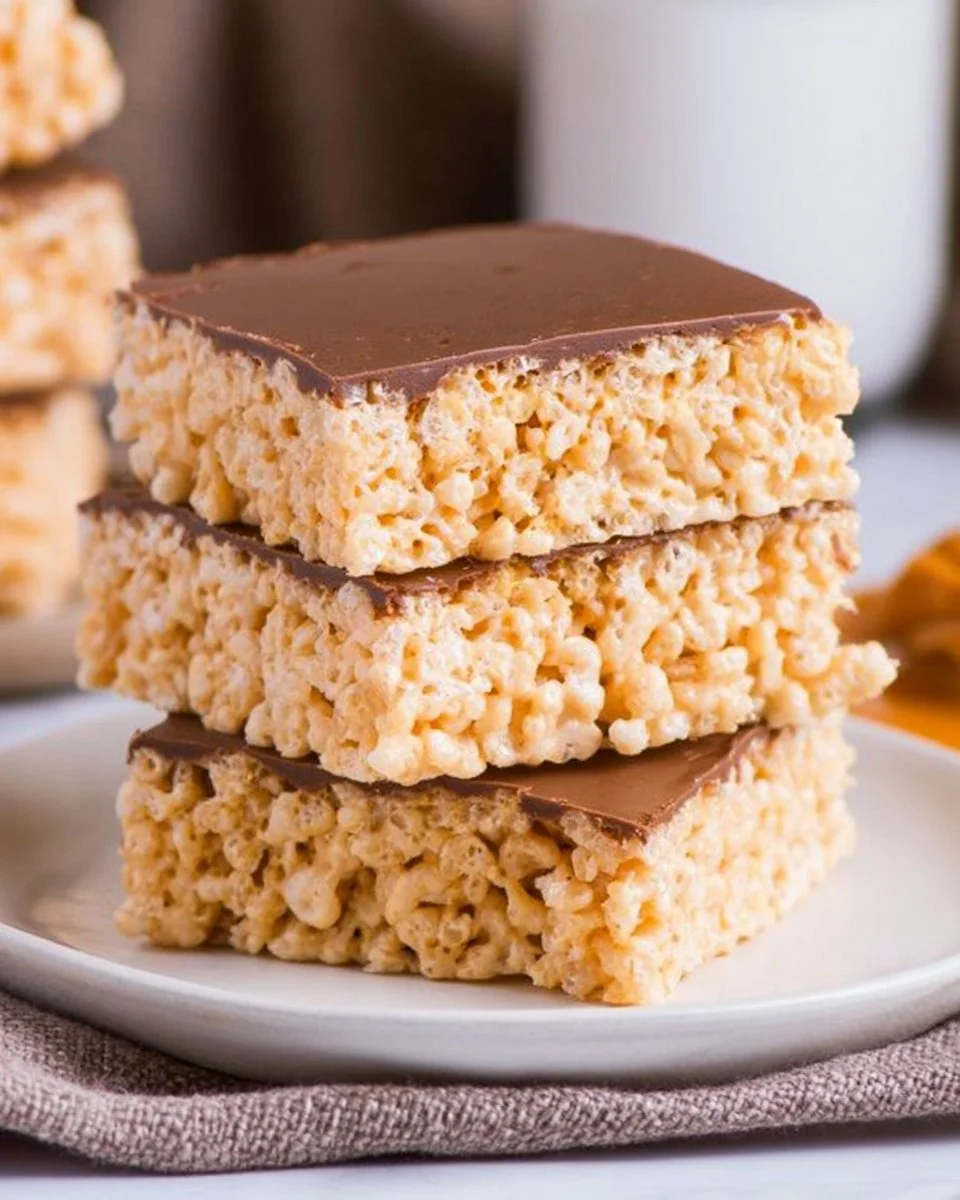
There’s something undeniably comforting about a perfectly gooey and chewy treat that’s loaded with rich flavors. Imagine the combination of creamy peanut butter, melt-in-your-mouth marshmallows, and that satisfying crispy crunch from Rice Krispies. This delightful confection is ideal for both kids and adults alike, making it a favorite for gatherings, lunchboxes, or simply an indulgent snack at home. With its irresistible taste and texture, it’s hard to resist reaching for just one more square. Plus, it’s incredibly easy to make, allowing you to whip up a batch in no time. Get ready to satisfy your sweet cravings with these delicious bars that are bound to be a hit!
Quick Answer
Peanut Butter Rice Krispie Treats are a no-bake dessert combining marshmallows, peanut butter, and Rice Krispies, topped with chocolate for a sweet, crunchy, and chewy experience.
Why You’ll Love This Recipe
This recipe brings together classic flavors with an added twist of peanut butter, creating a delightful treat that everyone loves. Here are a few reasons to adore these Rice Krispie treats:
- Simple ingredients – Easy to find and budget-friendly.
- No baking required – Perfect for quick prep and minimal cleanup.
- Gooey texture – Marshmallows combined with peanut butter create a melt-in-your-mouth experience.
- Customizable – Adjust the Rice Krispies for different textures.
- Perfect for all occasions – Great for parties, family gatherings, or just a cozy night in.
- Kid-friendly – A fun treat for children to help make and enjoy.
- Easy storage – Keep leftovers fresh for days in an airtight container.
What Makes This Recipe Special
What sets these treats apart is the rich combination of peanut butter and marshmallows, which offers layers of flavor and texture. The smoothness of the peanut butter blends seamlessly with the airy marshmallows, creating a uniquely chewy base. The addition of chocolate on top gives each bite a sweet finish that balances wonderfully with the nuttiness of the peanut butter. It’s a nostalgic treat that can be prepared quickly but delivers on flavor and satisfaction. Every bite encapsulates childhood memories while introducing a timeless favorite to a new generation.
Kitchen Tools You’ll Need
- 9×13 inch pan – Perfect size for setting and cutting the treats.
- Large saucepan – Good for melting the butter, marshmallows, and peanut butter evenly.
- Medium heatproof bowl – Ideal for melting the chocolate.
- Microwave – Efficient for melting chocolate in intervals.
- Spatula – Useful for stirring and spreading the mixture evenly.
- Cooking spray – Helps to prevent sticking.
- Measuring cups – Necessary for precise ingredient measurements.
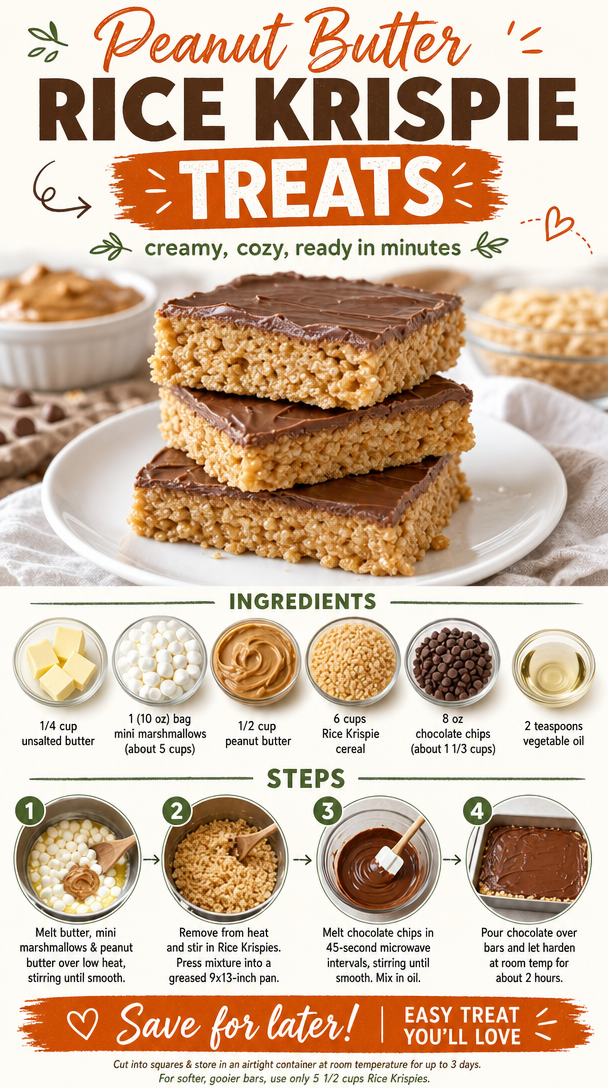
Ingredients
unsalted butter: Provides richness and helps bind the ingredients together.
mini marshmallows: Adds sweetness and a chewy texture, perfect for the base.
peanut butter: Introduces a creamy flavor while aiding in achieving a chewy consistency.
Rice Krispie cereal: Provides that characteristic crunch and airy texture.
chocolate chips: Gives a rich, sweet topping that complements the flavors well.
vegetable oil: Helps the chocolate melt smoothly and adds a nice sheen.
Ready to cook? Scroll to the recipe card below for exact measurements.
How to Make Peanut Butter Rice Krispie Treats
Phase 1 – Prep
STEP 1. Grease the pan. Lightly grease a 9×13 inch pan with butter or non-stick cooking spray.
Phase 2 – Cook
STEP 2. Combine ingredients. In a large saucepan, melt the butter, mini marshmallows, and peanut butter together over low heat while stirring gently.
STEP 3. Add Rice Krispies. Once melted, remove from heat and stir in the Rice Krispies.
STEP 4. Press into pan. Press the mixture into the pan (lightly spray your hands with non-stick cooking spray to avoid sticking).
STEP 5. Prepare chocolate. Add the chocolate chips to a medium-sized heatproof bowl.
STEP 6. Microwave. Microwave in 45-second intervals on medium power, stirring in between until almost melted.
STEP 7. Mix smooth. Stir until smooth and mix in the vegetable oil.
STEP 8. Top the bars. Pour the chocolate over the top of the bars and let harden at room temperature for about 2 hours.
Phase 3 – Serve
STEP 9. Cut and store. Cut into squares and store in an airtight container at room temperature for up to 3 days.
STEP 10. Adjust texture. For softer, gooier bars, only use 5 1/2 cups Rice Krispies.
Why This Recipe Works
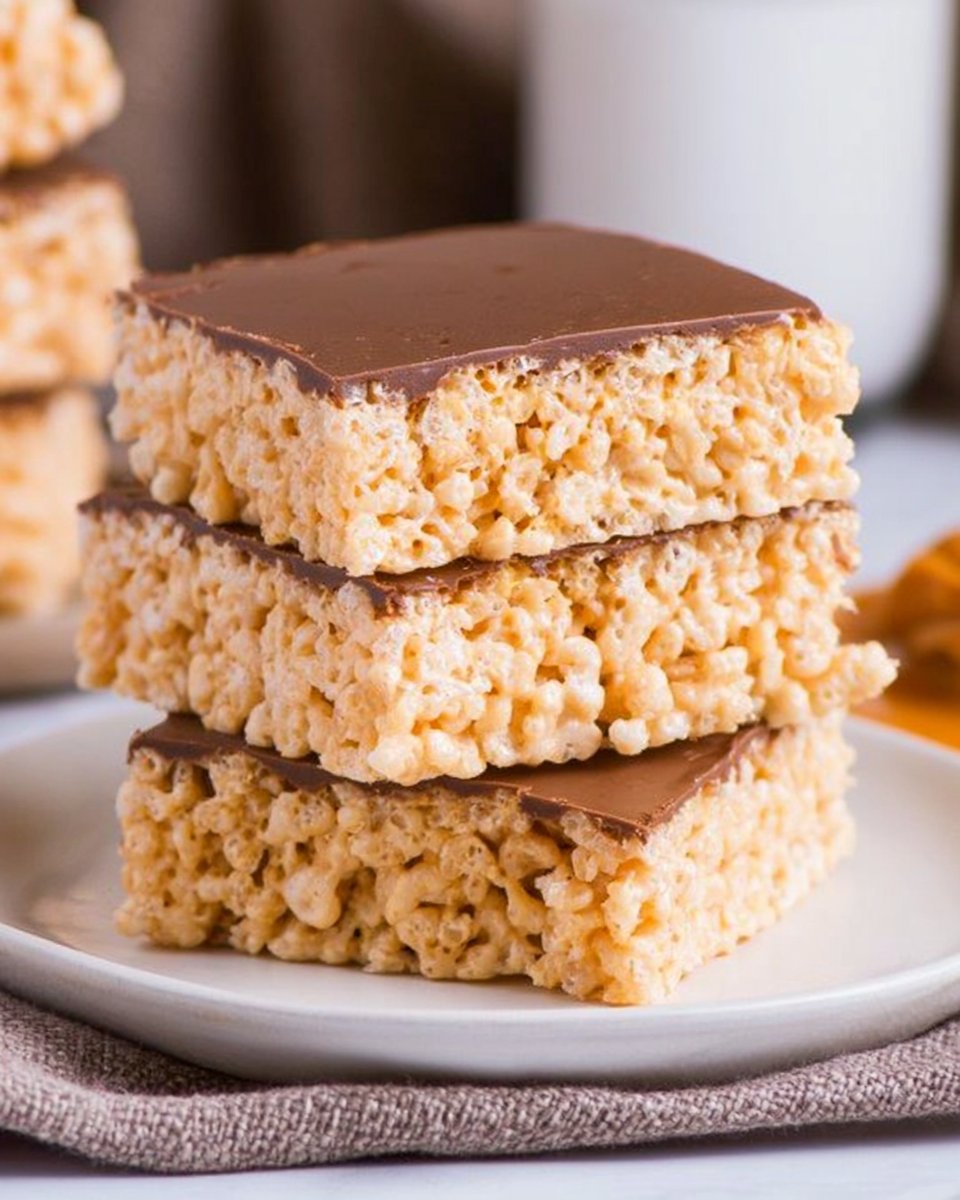
The balance of textures in this recipe is key to its appeal. The crunch of the Rice Krispies contrasts beautifully with the chewy marshmallows and creamy peanut butter, creating a satisfying bite. The richness of the peanut butter enhances the overall flavor, while the melt-in-your-mouth chocolate adds a sweet finish to each square. The simple melting method allows the ingredients to meld together seamlessly, ensuring a delightful treat that is both quick to prepare and deliciously satisfying.
Pro Tips
To achieve the best results with this recipe, consider the following tips:
- For a richer chocolate layer, opt for dark chocolate chips instead of semi-sweet.
- Make sure to stir the mixture continuously over low heat to prevent burning or getting lumpy.
- Allow the bars to set completely at room temperature before cutting to ensure cleaner squares.
- Lightly spray your hands when pressing the mixture into the pan for easier handling.
- Adjust the amount of Rice Krispies based on your desired texture; less will yield gooier bars.
- If you want a fun twist, fold in some chopped nuts or candies before pressing into the pan.
Common Mistakes to Avoid
Mistake: Not greasing the pan adequately.
Why it happens: Rushing through prep can lead to sticky situations.
How to fix it: Always do a thorough job of greasing the pan to ensure easy removal.
Mistake: Overheating the marshmallows.
Why it happens: Using high heat can cause marshmallows to burn or seize.
How to fix it: Melt over low heat and stir constantly for a smooth mixture.
Mistake: Not letting the chocolate cool enough.
Why it happens: Rushing to cut the bars makes them messy.
How to fix it: Allow the chocolate to set completely at room temperature before slicing.
Mistake: Adding too many Rice Krispies.
Why it happens: Trying to make the treats more textured might lead to dryness.
How to fix it: Stick to the recommended amount for optimal chewiness.
Variations
- Use crunchy peanut butter for added texture.
- Substitute chocolate with white chocolate or milk chocolate for a different flavor.
- Add dried fruits or nuts for extra flavor and nutrition.
- Layer with a drizzle of caramel for added sweetness.
- Mix in some candy pieces for a fun twist.
Nutrition Highlights
| Nutrient | Role |
|---|---|
| Protein | Helps support satiety and balanced meals. |
| Carbohydrates | Provides a quick energy source for active lifestyles. |
| Fat | Essential for nutrient absorption and long-lasting energy. |
| Sugar | Offers instant energy and enhances flavor. |
Serving Ideas
Serve these delicious bars at birthday parties, holiday gatherings, or weekend picnics. They’re versatile enough to be enjoyed as an after-school snack, a lunchbox treat, or even as a fun addition to dessert platters. Pair them with a glass of cold milk or a warm cup of hot chocolate for a delightful contrast of temperatures and flavors. They also make wonderful homemade gifts when wrapped in cute packaging, sharing the joy with friends and family.
Best Occasions for This Recipe
This recipe is perfect for various occasions, including kid’s birthday parties, school bake sales, potlucks, and family gatherings. Whether you’re creating a dessert table for a celebration or simply looking for a sweet treat to share with loved ones, these Peanut Butter Rice Krispie Treats are sure to please. They’re also great for quiet nights at home, where a comforting snack can make all the difference.
Meal Prep & Storage
Meal Prep
These Rice Krispie treats can be made ahead of time, making them an excellent option for meal prep. Assemble and cut the bars a couple of days in advance for quick access during busy weeks.
Refrigeration
You can store these treats at room temperature for up to three days in an airtight container. If you prefer, you can also refrigerate them; just make sure to let them come back to room temperature before serving for the best texture.
Freezing
For longer storage, consider freezing the treats. Cut them into squares, layer them between parchment paper, and place them in a freezer-safe container. They should maintain their quality for up to three months.
Reheating
There’s no need to reheat these treats since they are best enjoyed at room temperature. However, if you’d like them warm, you can pop them in the microwave for just a few seconds.
FAQs
How should I store leftover treats?
Store them in an airtight container at room temperature or refrigerate for extended freshness.
Can I use regular marshmallows instead of mini?
Yes, but you’ll need to adjust the melting time as regular marshmallows take longer to melt.
What’s the best way to cut these treats?
Use a sharp knife, and consider spraying it lightly with cooking spray to prevent sticking.
Can I substitute peanut butter?
Absolutely! You can try almond butter or sun butter for a nut-free option.
How long do these treats last?
They can be stored at room temperature for up to three days or frozen for three months.
Can I add mix-ins to the treats?
Definitely! Feel free to fold in your favorite ingredients like nuts, candies, or dried fruit before pressing the mixture into the pan.
Save This Recipe for Later
Don’t forget to save this recipe for Peanut Butter Rice Krispie Treats to your Pinterest boards or bookmark it for easy access later. Your future self will thank you!
Conclusion
These Peanut Butter Rice Krispie Treats are the ultimate treat for anyone with a sweet tooth, thanks to their perfectly chewy texture and delightful flavors. With simple ingredients and an easy preparation process, you can create a delicious snack that satisfies cravings and brings back fond memories. Whether indulging in a special occasion or simply enjoying a quiet day at home, this recipe promises to deliver joy in every bite. Happy cooking!
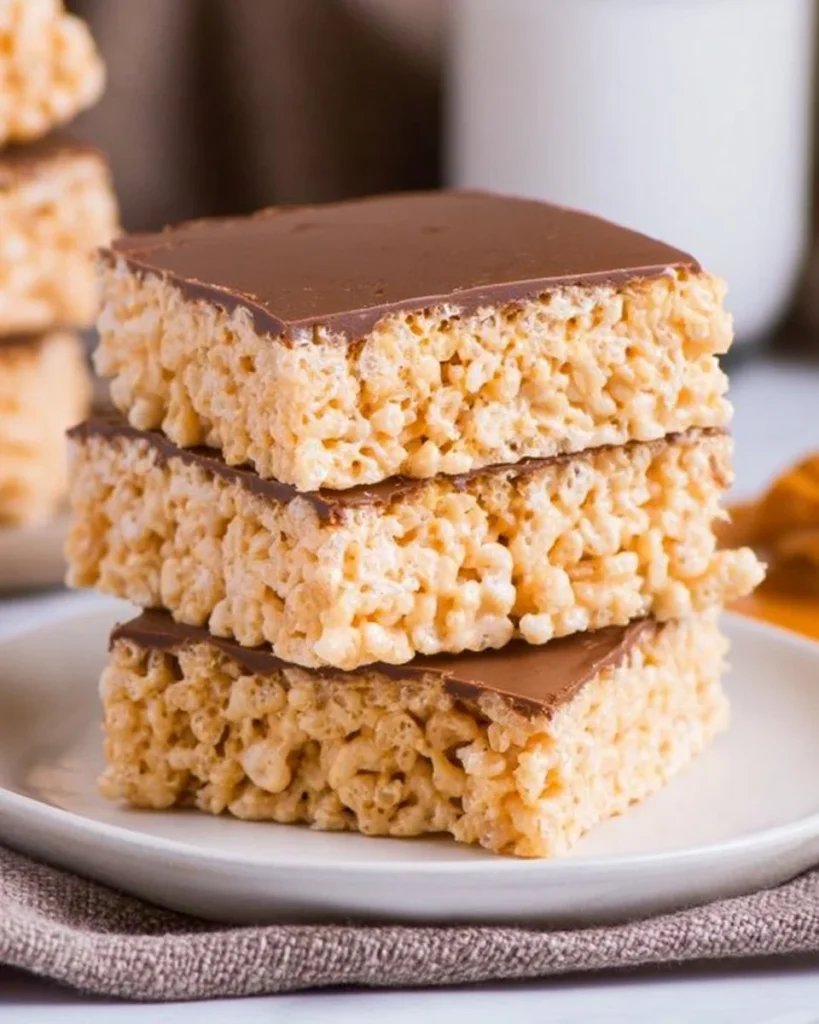
Peanut Butter Rice Krispie Treats
Ingredients
Method
- Grease a 9x13 inch pan with butter or non-stick cooking spray.
- In a large saucepan, melt the butter, mini marshmallows, and peanut butter together over low heat, stirring gently.
- Once melted, remove from heat and stir in the Rice Krispies.
- Press the mixture into the greased pan. Use non-stick cooking spray on your hands to avoid sticking.
- In a medium-sized heatproof bowl, add the chocolate chips.
- Microwave the chocolate chips in 45-second intervals, stirring in between, until almost melted.
- Stir until smooth and mix in the vegetable oil.
- Pour the chocolate over the top of the pressed bars and allow to harden at room temperature for about 2 hours.
- Cut into squares and store in an airtight container at room temperature for up to 3 days.