

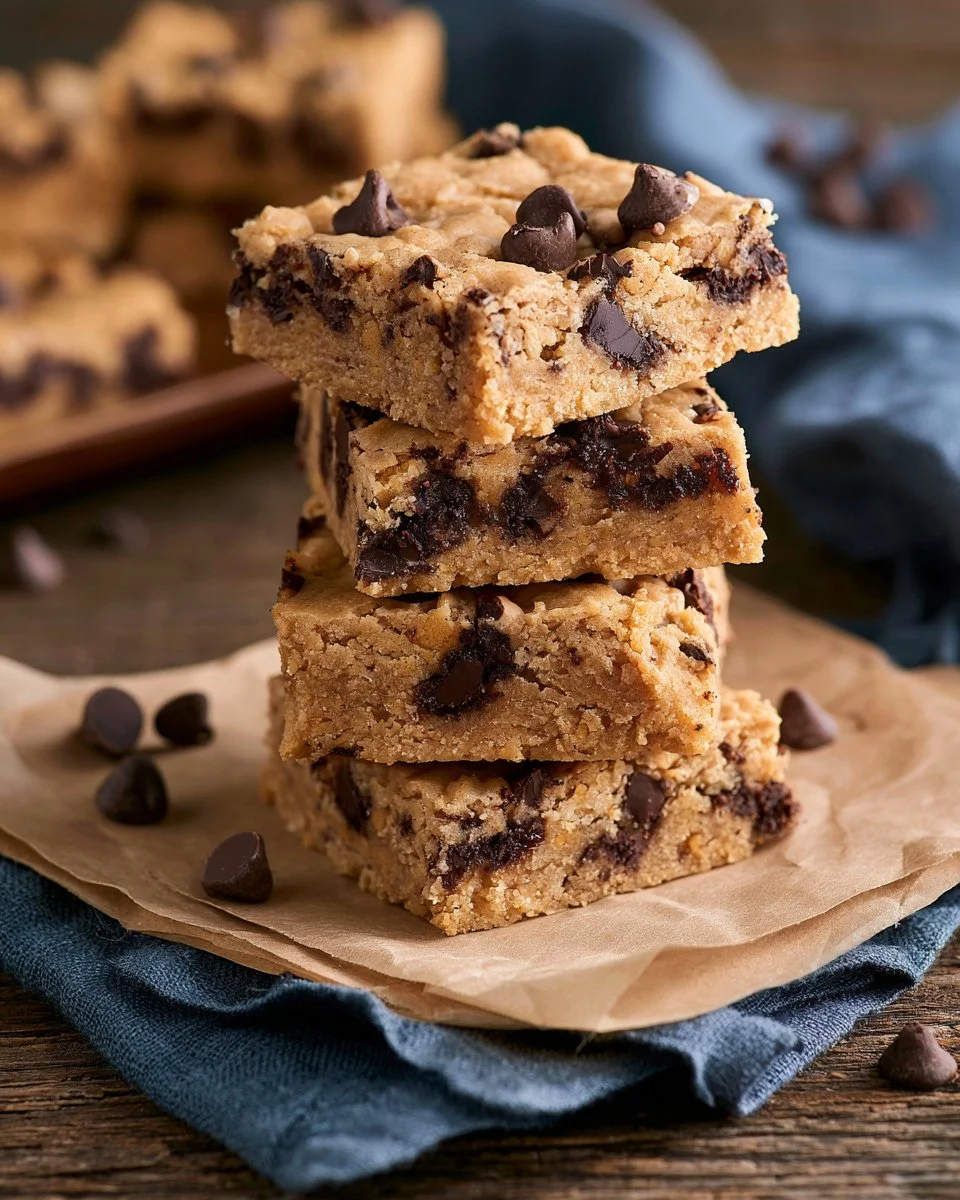
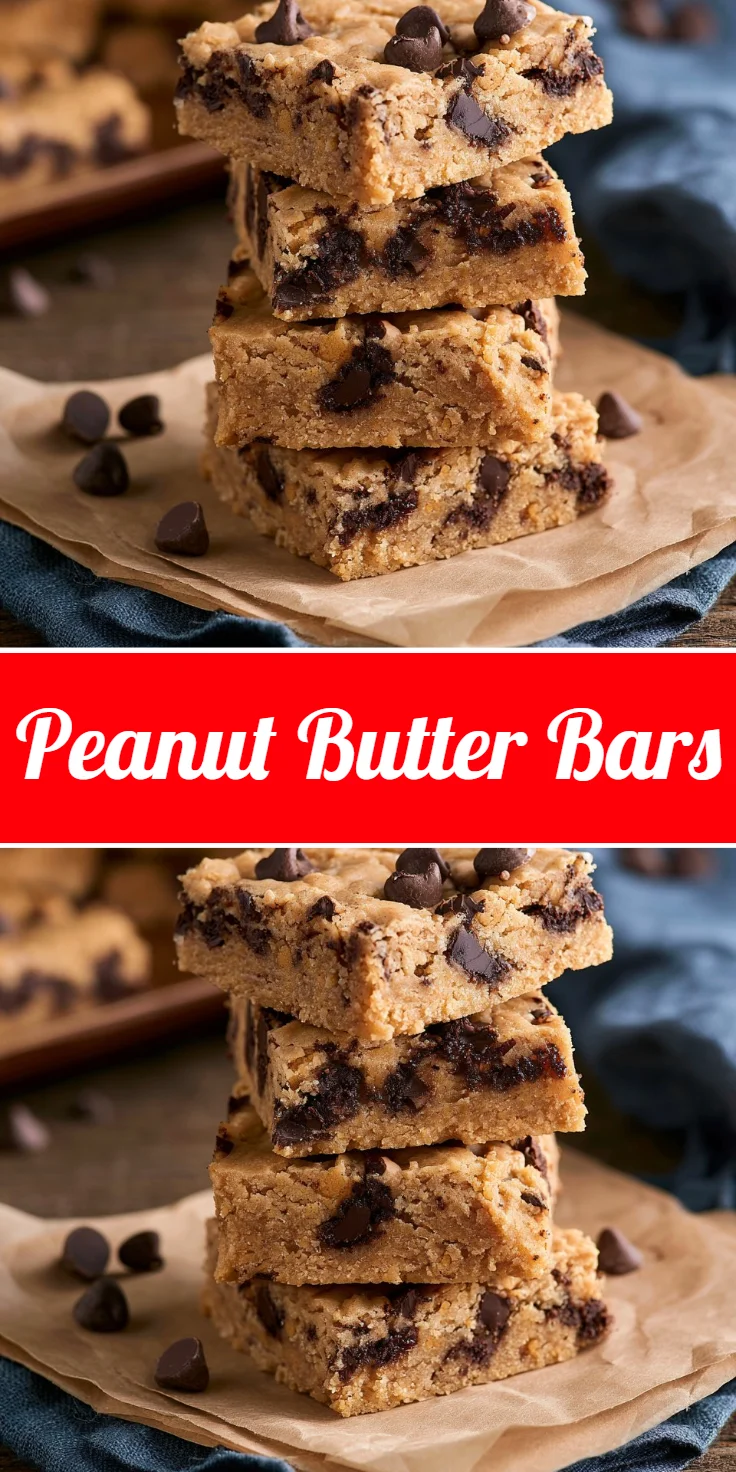
Indulging in a delicious, home-baked treat can be one of life’s simple joys, especially when it combines the rich, nutty flavor of peanut butter with the melt-in-your-mouth goodness of chocolate. These delightful squares are perfect for tackling those afternoon cravings or sharing with friends and family during any gathering. With a soft, chewy texture complemented by a light crunch from the chocolate chips, every bite promises to deliver a wave of comfort that can warm the heart.
These peanut butter bars are not just a treat; they’re a celebration of flavors that whip up quickly and easily. As the aroma fills your kitchen, you’ll find yourself anticipating the moment you can dive into these sweet, satisfying morsels. Whether you’re a seasoned baker or someone who simply enjoys homemade treats, these bars are sure to become a staple in your dessert repertoire. So, let’s delve into what makes this recipe a must-try!
Why You’ll Love This Recipe
Making peanut butter bars is incredibly rewarding, mixing harmoniously the simplicity of everyday ingredients with the excitement of baking. These bars are versatile—they can be enjoyed as an after-school snack, a cozy dessert, or a sweet addition to any potluck. The balance between the creamy, decadent peanut butter and the sweet chocolate chips creates a flavor profile that everyone loves.
Not to mention, they are easy to prepare! With straightforward steps, you can have a batch ready in no time to satisfy your sweet tooth. Moreover, these bars lend themselves well to personal touches and adding your favorite mix-ins or toppings, meaning you can adapt them to suit any occasion or taste preference. You’ll quickly realize this is a recipe that you’ll return to again and again.
What Makes This Recipe Special
In the world of quick treats and desserts, these peanut butter bars stand out for their mouthwatering flavor and delightful texture. They are perfectly chewy yet remain light enough to make you want another piece. The use of butter and sugar in the dough creates a beautiful base that enhances the richness of peanut butter while allowing the chocolate to shine through.
Additionally, this recipe doesn’t require specialized baking skills or equipment. With just a mixing bowl and a baking sheet, you can create a fun and satisfying dessert that will impress everyone. With their shorter bake time, these bars come together quickly, making them a go-to choice for last-minute gatherings or unexpected guests. Each time you bake them, you’ll savor the joy these bars bring to any occasion.
Ingredients
all-purpose flour: The foundation for structure that holds the bars together.
salt: Enhances flavor and balances the sweetness.
baking powder: Helps the bars rise and achieve a light texture.
butter: Provides richness and moisture for a tender bite.
granulated sugar: Sweetens the mixture and contributes to the desired texture.
peanut butter: Adds a creamy, nutty flavor essential to the bars.
vanilla: Offers a warm, aromatic note that elevates the overall taste.
egg: Binds the ingredients and adds richness.
chocolate chips or chunks: Provide pockets of sweet chocolatey goodness throughout.
How to Make Peanut Butter Bars
STEP 1. Preheat the oven. Set your oven to 350°F (190°C) to prepare for baking.
STEP 2. Prepare the baking sheet. Line a 15×10 inch (38×25 cm) baking sheet or jelly roll pan for easy removal of the bars.
STEP 3. Mix dry ingredients. In a medium bowl, whisk together the flour, salt, and baking powder until well combined.
STEP 4. Cream butter and sugar. In a large bowl or stand mixer bowl, beat the softened butter and sugar for about 2 minutes until light and fluffy.
STEP 5. Add peanut butter and egg. Stir in the peanut butter, vanilla, and egg until well mixed.
STEP 6. Incorporate dry ingredients. Gradually add the dry ingredients, half a cup at a time, mixing on low speed.
STEP 7. Add chocolate chips. Once the dough is almost combined, fold in the chocolate chips using a spatula or your hands; avoid overmixing.
STEP 8. Spread the dough. Transfer the dough to the prepared pan, using parchment paper on top to press it evenly into place.
STEP 9. Bake the bars. Place the pan in the preheated oven and bake for 18-20 minutes or until the bars are lightly browned; avoid overbaking.
STEP 10. Cool and slice. Let the pan cool on a wire rack before cutting the bars into squares.
STEP 11. Enjoy and store. Keep the bars in an airtight container at room temperature for up to 3 days, refrigerate for about a week, or freeze for up to 2 months.
Pro Tips
To ensure your peanut butter bars turn out perfectly every time, consider these helpful tips. First, make sure your butter is softened at room temperature to achieve a smooth and creamy mixture while creaming it with sugar. Second, be cautious with mixing; overmixing can lead to tough bars, so mix just until the ingredients are combined. Using a spatula to incorporate the chocolate chips allows for a gentler approach, ensuring they remain intact and distribute evenly.
Third, watch the baking time closely; since ovens vary, it’s a good idea to start checking at the 18-minute mark to avoid overbaking. The bars are ready when they are slightly golden and a toothpick inserted in the center comes out with a few moist crumbs. Lastly, let the bars cool completely before storing them to prevent sogginess and to maintain their chewy texture.
Common Mistakes to Avoid
Baking can sometimes be tricky, and avoiding common pitfalls will improve your results. One frequent mistake is not measuring ingredients accurately; even a small miscalculation can impact texture and flavor. Make sure you use standard measuring cups and spoons, and level off dry ingredients for precision.
Another common error is skipping the cooling period before slicing the bars. Allowing them to cool properly helps to set their structure, making it easier to cut into neat squares. Additionally, keep an eye on your baking time; removing the bars too early can leave them gooey in the center, while too long can result in dry treats. Lastly, avoid using natural peanut butter, which can affect the consistency; stick with regular smooth peanut butter for best results.
Variations
• Add chopped nuts for extra crunch.
• Use milk chocolate chips for a sweeter profile.
• Swirl in a layer of marshmallow fluff for added richness.
• Incorporate oats for a heartier texture.
• Drizzle melted chocolate on top before serving for a decorative finish.
Serving Ideas
These peanut butter bars are incredibly versatile and can be served in numerous ways. For a fun treat, serve them warm with a scoop of vanilla ice cream on top for a delightful dessert experience. They also pair wonderfully with a steaming cup of coffee or a glass of cold milk, perfect for an afternoon snack.
Consider cutting them into bite-size squares for a party platter, making them ideal for gatherings or celebrations. You can top them with whipped cream or a sprinkle of sea salt to elevate their flavor. For a cozy movie night, place them in a decorative container for a charming presentation that invites sharing.
Meal Prep & Storage
Meal prepping these peanut butter bars is a breeze; they can be made ahead and stored for those busy weeks ahead. Once baked and cooled, slice the bars and place them in an airtight container, storing them at room temperature for up to three days. To maintain freshness, refrigerate them for a week or freeze them for longer storage.
To freeze, wrap each bar individually with plastic wrap and place them in a freezer-safe bag or container. They can be frozen for up to two months. For best results, allow them to thaw at room temperature before serving or enjoy them straight from the freezer for a delightful icy treat.
FAQs
Can I use crunchy peanut butter instead of smooth?
Yes, crunchy peanut butter can be used for a different texture; just keep in mind it will change the consistency slightly.
Are these bars gluten-free?
To make them gluten-free, substitute the all-purpose flour with a gluten-free flour blend.
Can I add protein powder to the bars?
Absolutely! You can incorporate protein powder for a nutritious boost; just reduce the amount of flour accordingly.
How do I ensure the bars don’t stick to the pan?
Lining the baking pan with parchment paper and greasing it will help prevent sticking.
Can I double the recipe?
Yes, you can double the ingredients to make a larger batch. Just use a bigger pan and adjust the baking time as needed.
Conclusion
Whether you’re hosting a gathering, celebrating a special occasion, or simply indulging your sweet tooth, these delightful bars make an irresistible treat. Their rich flavor and satisfying texture are sure to please all ages, making them a crowd favorite. Enjoy making and sharing this recipe, and let every bite remind you of the comforts of home-baked goodness.