
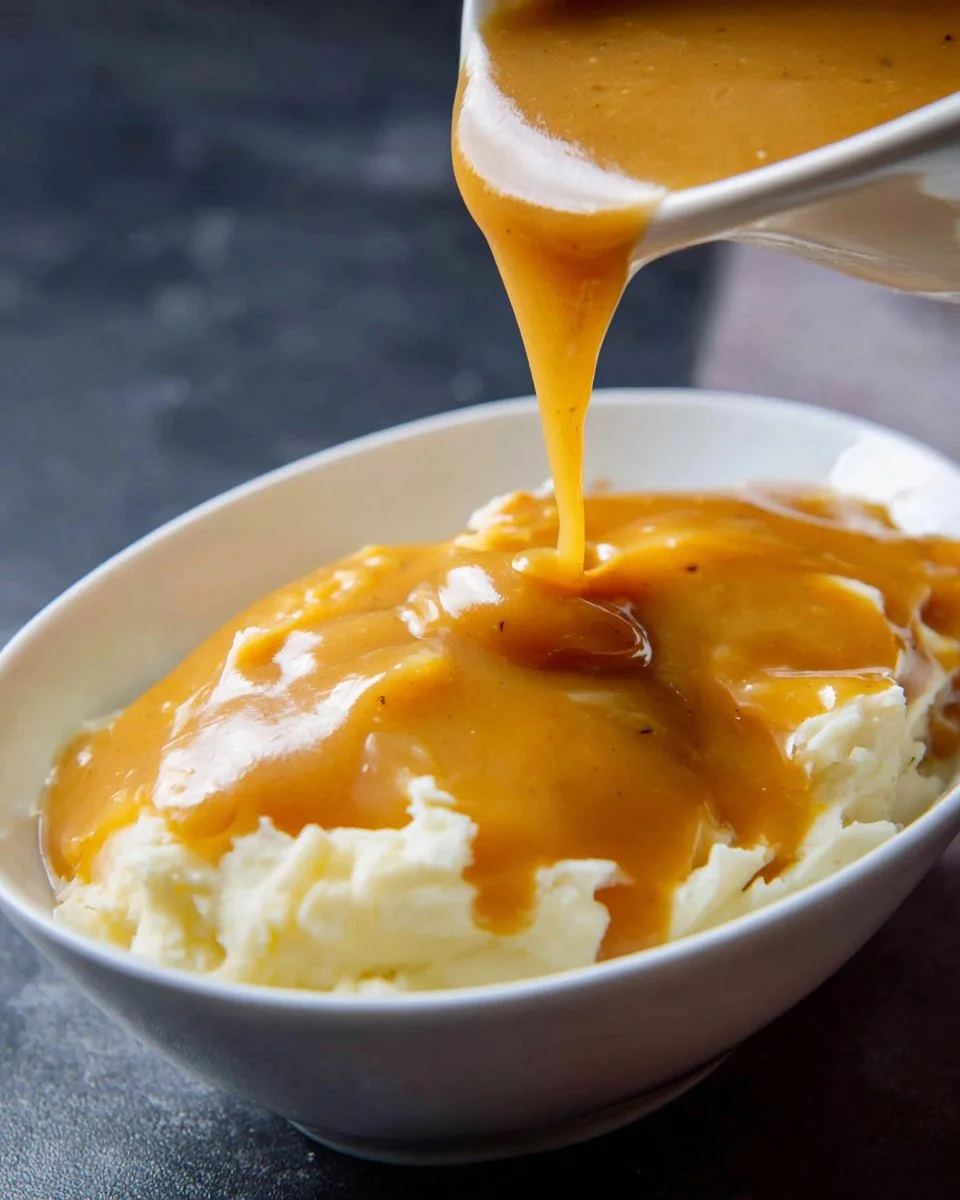
There’s something truly magical about homemade gravies that elevate a meal. Whether drizzled over mashed potatoes or used as a dipping sauce, a rich, flavorful brown gravy can make any dish feel like a comforting embrace. This one pot recipe captures the essence of homemade goodness without the fuss. Imagine the delightful aroma of butter and beef drippings mingling, creating a smooth and silky sauce that’s both rich and inviting. You’ll savor the deep flavors with every spoonful, transforming your dinners into memorable feasts. Perfect for family gatherings or cozy nights in, it’s an essential recipe that offers both convenience and satisfaction. Ready to create your own deliciously thick brown gravy? Let’s dive in!
Quick Answer
If you’re in search of a quick, comforting sauce to enhance your meals, this one-pot homemade brown gravy is the answer. It requires minimal ingredients and time while delivering maximum flavor.
Why You’ll Love This Recipe
This homemade brown gravy recipe ticks all the boxes for comfort and convenience.
- Simplicity – Made in one pot with just a few ingredients.
- Quick Preparation – Perfect for those busy weeknight dinners.
- Flavor-Filled – Rich beef drippings provide unmatched taste.
- Versatile – Pairs wonderfully with a variety of dishes.
- Customizable – Easily adjust thickness to suit your preference.
- Healthy Option – Control the ingredients for a nutritious meal.
- Comfort Food – Elevates any dish to a satisfying experience.
What Makes This Recipe Special
What sets this brown gravy apart is its simplicity and depth of flavor. Using just a few core ingredients, you can create a sauce that packs a punch. The combination of unsalted butter and beef drippings lays a solid foundation for the gravy, offering a rich mouthfeel and hearty taste. The all-purpose flour thickens the gravy beautifully, resulting in a velvety texture that clings to meats and potatoes alike. Plus, with low-sodium beef broth, you can enjoy all the flavor without compromising on health. This method also allows for easy adjustments based on your preferences, making it a go-to recipe for any home cook.
Kitchen Tools You’ll Need
- Non-stick saucepan – Ensures even heating and prevents sticking.
- Whisk – Essential for mixing ingredients and preventing lumps.
- Hand-held blender – Handy for smoothing out any lumps, if necessary.
- Measuring spoons – For accurate ingredient measurements.
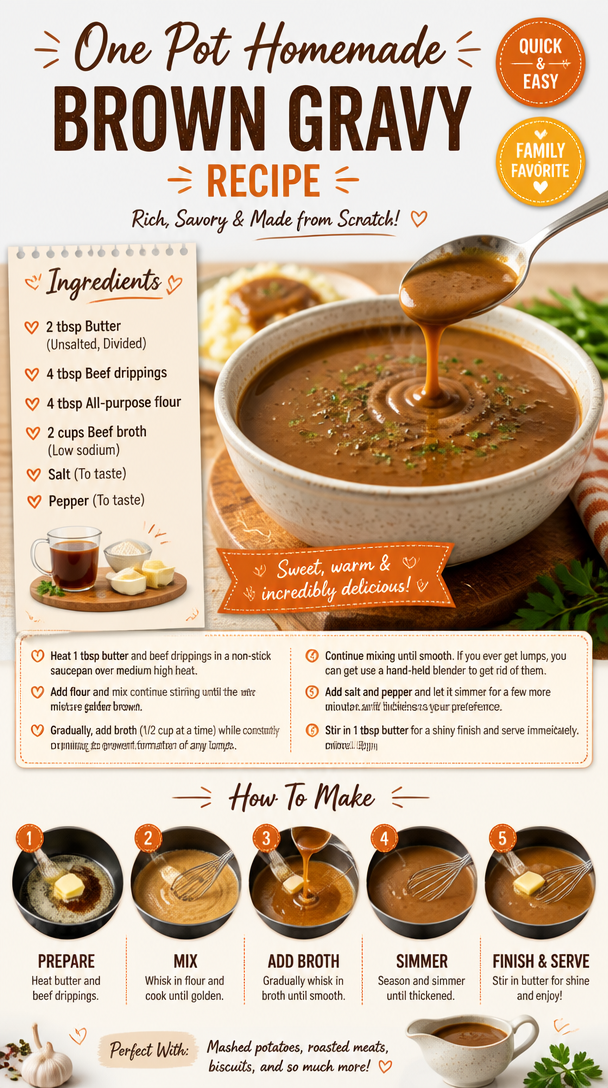
Ingredients
Butter (Unsalted, Divided): Adds richness and creaminess to the gravy, enhancing flavor.
Beef drippings: Infuses the gravy with a deep, savory flavor profile.
All-purpose flour: Acts as a thickening agent, giving the gravy its luscious texture.
Beef broth (Low sodium): Provides a flavorful liquid base while keeping sodium levels in check.
Salt: Enhances overall flavor balance in the dish.
Pepper: Adds a touch of heat and depth to the gravy’s flavor.
Ready to cook? Scroll to the recipe card below for exact measurements.
How to Make One Pot Homemade Brown Gravy Recipe
Phase 1 – Prep
STEP 1. Heat butter and drippings. Heat 1 tbsp butter and beef drippings in a non-stick saucepan over medium high heat.
Phase 2 – Cook
STEP 2. Add flour. Add flour and mix continue stirring until the mixture golden brown.
STEP 3. Incorporate broth. Gradually, add broth (1/2 cup at a time) while constantly mixing to prevent formation of any lumps.
STEP 4. Mix until smooth. Continue mixing until smooth. If you ever get lumps, you can get use a hand-held blender to get rid of them.
STEP 5. Add seasoning and simmer. Add salt and pepper and let it simmer for a few more minutes until it thickens to your preference.
Phase 3 – Serve
STEP 6. Finish and serve. Stir in 1 tbsp butter for a shiny finish and serve immediately. Enjoy!
Why This Recipe Works
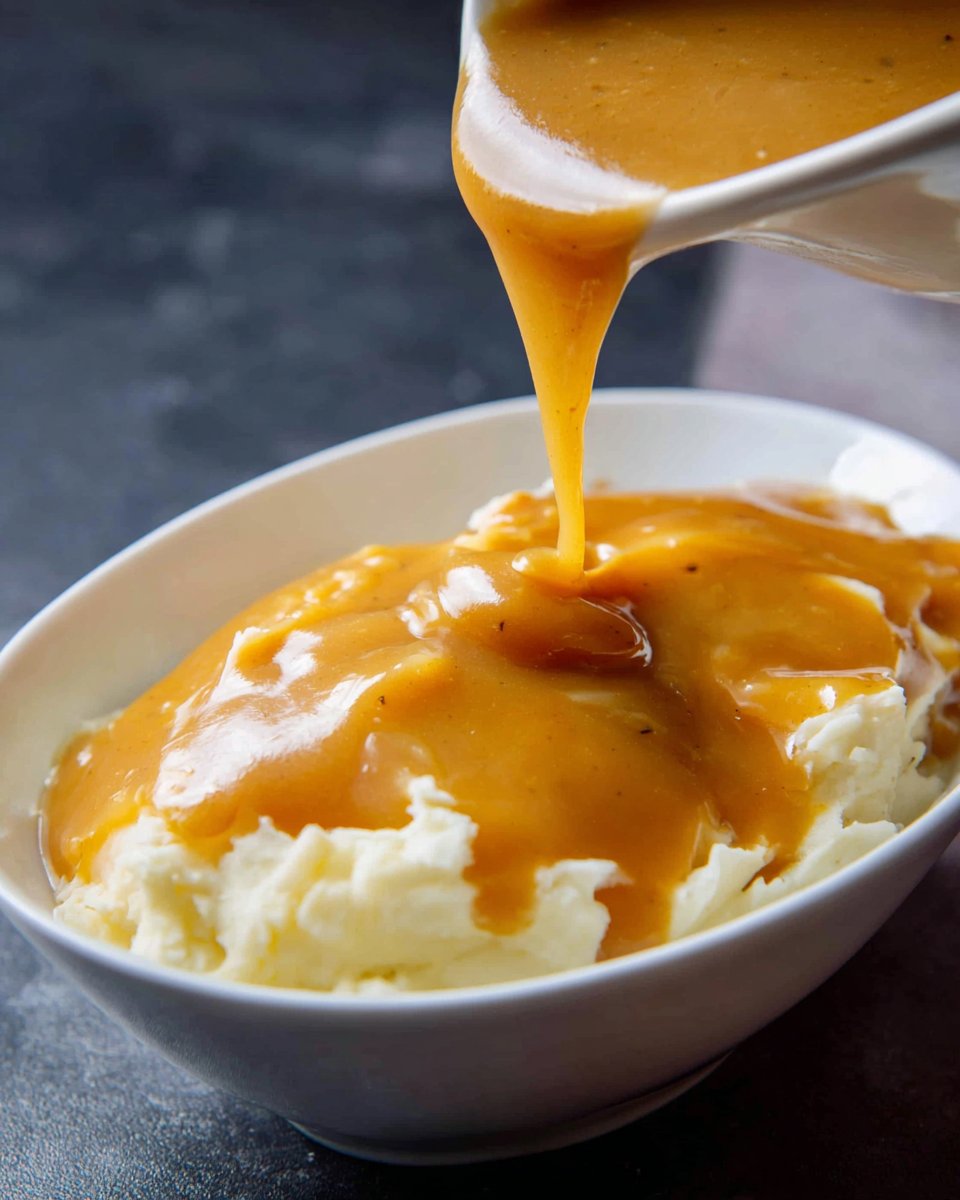
The balance of flavors in this homemade brown gravy comes from the harmonious blend of beef drippings and butter, which creates a deep, savory undertone. The all-purpose flour contributes to a silky texture, allowing the gravy to coat foods beautifully. Gradual incorporation of the beef broth ensures a smooth, lump-free sauce that thickens perfectly as it simmers. This method not only binds the flavors together but also enhances the overall enjoyment of your dishes, making every bite feel like a warm hug.
Pro Tips
1. Always stir continuously when adding the broth. This prevents lumps and ensures a smooth consistency.
2. If you notice lumps forming, don’t panic! A quick blitz with a hand-held blender can rescue your gravy in seconds.
3. For a richer flavor, consider using pan drippings if you’re cooking meat beforehand.
4. If the gravy is too thick for your liking, simply whisk in a little more broth until it reaches your desired consistency.
5. Keep an eye on the heat; too high can scorch the gravy, while too low may not achieve the desired thickness.
Common Mistakes to Avoid
Mistake: Not stirring enough while adding broth.
Why it happens: It can be easy to get distracted when cooking.
How to fix it: Stay focused and stir constantly to ensure a smooth gravy.
Mistake: Overheating the mixture.
Why it happens: High heat can cause the flour to burn.
How to fix it: Use medium-high heat and control the cooking speed to avoid scorching.
Mistake: Not allowing enough time for simmering.
Why it happens: Rushing can lead to a thinner sauce.
How to fix it: Allow the gravy to simmer a few extra minutes until it thickens to your liking.
Mistake: Under-seasoning.
Why it happens: Skipping salt and pepper can lead to bland taste.
How to fix it: Taste and adjust seasoning to enhance the flavors.
Variations
- Add sautéed mushrooms for an earthy twist.
- Incorporate fresh herbs like thyme or rosemary for aromatic notes.
- Use chicken or vegetable broth instead for a lighter gravy.
- Add a splash of Worcestershire sauce for extra depth.
- Mix in caramelized onions for a sweeter flavor profile.
Nutrition Highlights
| Nutrient | Role |
|---|---|
| Protein | Helps support satiety and balanced meals. |
Serving Ideas
This homemade brown gravy is incredibly versatile. Pour it over a steaming plate of mashed potatoes for a classic comfort food experience. It pairs beautifully with meatloaf or roasted chicken, adding an extra layer of flavor to these dishes. For a heartier meal, serve it alongside meat and vegetable dishes, allowing the gravy to enhance every bite. It can even be used as a dipping sauce for biscuits or bread, making it an all-purpose sauce that elevates any meal.
Best Occasions for This Recipe
This comforting gravy shines at family gatherings, holiday feasts, or casual dinners at home. It’s ideal for Thanksgiving dinners poured over turkey and mashed potatoes, or Christmas feasts beside roast beef. You’ll also find it fitting for weeknight family meals when you want to add a touch of warmth and nostalgia to simple dishes.
Meal Prep & Storage
Meal Prep
Preparing this gravy in advance is simple; it can be made on the weekend and stored for use throughout the week.
Refrigeration
To refrigerate, allow the gravy to cool completely and then transfer it to an airtight container. Store in the refrigerator for up to three days.
Freezing
Gravy can be frozen for longer storage. Pour cooled gravy into freezer-safe bags or containers, leaving room for expansion. It can be kept frozen for up to three months.
Reheating
To reheat, simply thaw in the fridge overnight if frozen, then warm on the stove over low heat. Stir occasionally to ensure even heating and restore creaminess.
FAQs
How can I make this gravy gluten-free?
Use a gluten-free flour substitute like cornstarch or a gluten-free all-purpose blend in place of regular flour.
Can I use vegetable broth instead of beef broth?
Yes, vegetable broth will work for a lighter, vegetarian version of this gravy, although the flavor will be different.
How do I store leftover gravy?
Let it cool, then place it in an airtight container and refrigerate for up to three days or freeze for up to three months.
What should I do if my gravy is too thin?
You can thicken it by whisking in a bit more flour or cornstarch mixed with cold water, or allow it to simmer longer to reduce.
Can this gravy be made ahead of time?
Absolutely! Prepare it in advance and store it in the fridge or freeze for future meals.
Save This Recipe for Later
If you love this homemade brown gravy recipe, make sure to save it for later! It’s a timeless classic that you’ll want to come back to again and again.
Conclusion
Incorporating this one pot homemade brown gravy into your cooking repertoire is sure to bring joy to your meals. With its easy preparation and comforting flavor, it transforms ordinary dinners into extraordinary feasts. Whether you’re hosting a holiday celebration or enjoying a cozy family dinner, this gravy will be your secret weapon for deliciousness. So grab your ingredients and get ready to savor every delicious drop!
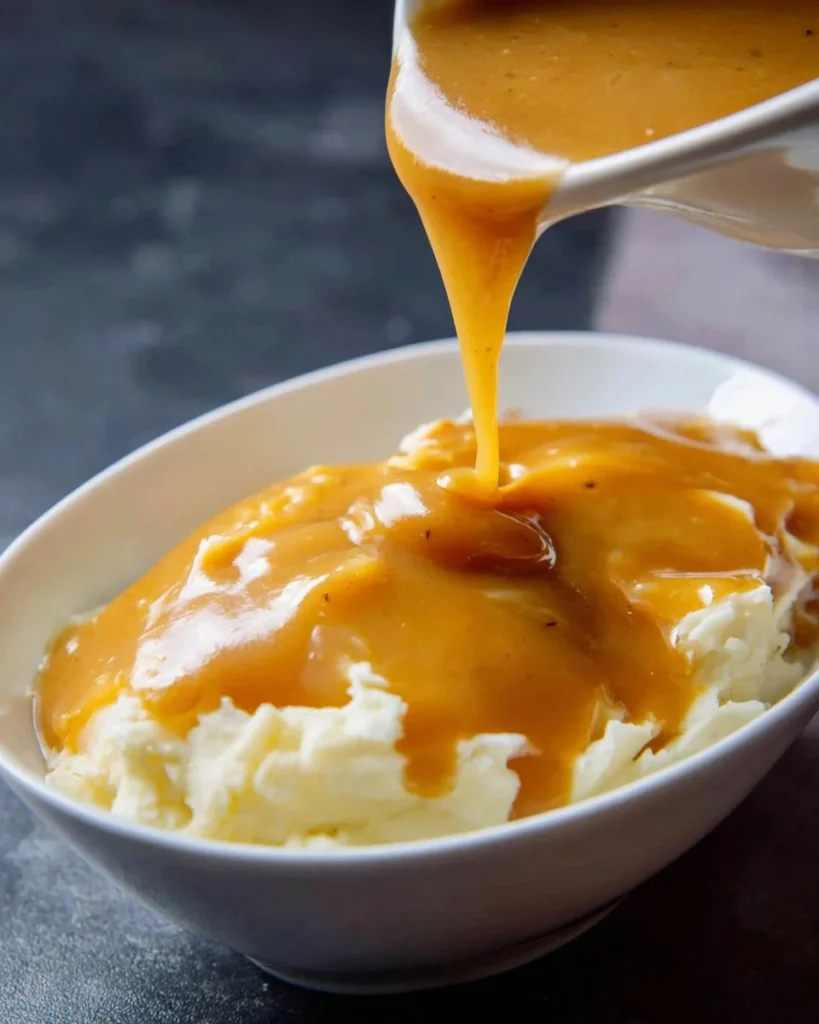
Homemade Brown Gravy
Ingredients
Method
- Heat 1 tablespoon of butter and beef drippings in a non-stick saucepan over medium-high heat.
- Add flour and mix, continuing to stir until the mixture turns golden brown.
- Gradually add broth (1/2 cup at a time) while constantly mixing to prevent lumps.
- Continue mixing until smooth. If lumps form, use a hand-held blender to smooth the gravy.
- Add salt and pepper, then let it simmer for a few more minutes until it thickens to your liking.
- Stir in the remaining 1 tablespoon of butter for a shiny finish and serve immediately.