
Cooking fatigue is a common challenge for many of us, especially as we juggle family demands and nutrition goals. With the hustle and bustle of daily life, it’s easy to fall into a routine of repetitive meals that fail to excite our taste buds. Enter the solution: Homemade French Toast Sticks. This delightful dish not only captures the nostalgia of childhood breakfasts but also serves as a perfect answer to meal planning fatigue. Made with simple ingredients like thick bread, eggs, milk, vanilla, and cinnamon, these French toast sticks provide a comforting yet healthy option for breakfast.
Kitchen Frustration That Makes This Recipe a Lifesaver
Many of us can relate to the chaos of preparing meals that everyone in the family will enjoy while trying to remain budget-friendly. You might find yourself staring at a loaf of bread, wondering what to make for breakfast, only to end up with the same monotonous options. Yet, when you embrace Homemade French Toast Sticks, you’re not just creating a scrumptious meal; you’re fusing together comfort and convenience.
These sticks are remarkably easy to whip up with ingredients you probably have on hand! Feel free to involve your kids; they’ll love dipping the sticks into the egg mixture, allowing you to create cherished family memories. Cooking in the kitchen can transform any weekday morning into a delightful occasion. A quick tip: prepare the egg mixture the night before to save time in the morning!
Why This Homemade French Toast Sticks Works So Well
Featured Snippet: Homemade French Toast Sticks are quick to prepare, deliciously versatile, and perfect for feeding a crowd or meal prepping.
There’s something incredibly gratifying about the satisfying crunch of golden-brown French toast sticks, paired with the sweet aroma of cinnamon wafting through your kitchen. They’re not just a treat for the taste buds; they also serve as a great source of protein and can be easily adapted to your health-conscious needs.
This recipe allows the flexibility of serving them as a quick snack or a hearty breakfast, making it a versatile addition to your meal plan. Plus, they can be stored for later, making busy mornings feel manageable. With just a few ingredients, you can create a dish that meets your family’s nutritional needs while keeping them smiling.
Ingredients, Substitutions & Foolproof Tips
- 4 slices of thick bread: Choose your favorite type—sourdough, brioche, or whole grain for added nutrition.
- 2 large eggs: Eggs add protein and richness to the batter.
- 1/2 cup milk: Dairy or a non-dairy alternative can be used for a lighter version.
- 1 teaspoon vanilla extract: This enhances flavor and adds warmth.
- 1 teaspoon ground cinnamon: Classic flavor that evokes nostalgia.
- Butter or oil for frying: Helps to achieve that golden crust; use a heart-healthy option if preferred.
- Maple syrup for serving: Adds sweetness—consider a sugar-free option for calorie consciousness.
Step-by-Step Directions
- Cut the bread into sticks: Slice the thick bread into 1-inch wide sticks to ensure even cooking.
- Whisk the egg mixture: In a bowl, whisk together the eggs, milk, vanilla extract, and ground cinnamon. The mixture should be homogenous and slightly frothy.
- Heat the skillet: Heat butter or oil in a skillet over medium heat. Wait until the butter bubbles before proceeding.
- Dip the bread sticks: Dip each bread stick into the egg mixture, allowing excess to drip off; this will prevent soggy pieces.
- Cook the sticks: Place the sticks in the skillet and cook until golden brown on all sides, about 2-3 minutes per side. The aroma will be inviting!
- Serve warm: Serve immediately with maple syrup to dip. You can also sprinkle with powdered sugar or additional cinnamon for flair.
Common Mistakes to Avoid & Pro Tips
- Using stale bread: Fresh bread results in a better texture; day-old bread works, but avoid overly dry loaves.
- Not whisking thoroughly: Ensure your egg mixture is fully combined to coat the sticks evenly.
- Tip 1: For extra flavor, consider adding a pinch of nutmeg or baking it in the oven to achieve a smoother finish.
- Tip 2: Experiment with different breads for variety—try cinnamon-raisin or even gluten-free options.
Serving, Storage & Freezer Guide
How to Serve Homemade French Toast Sticks
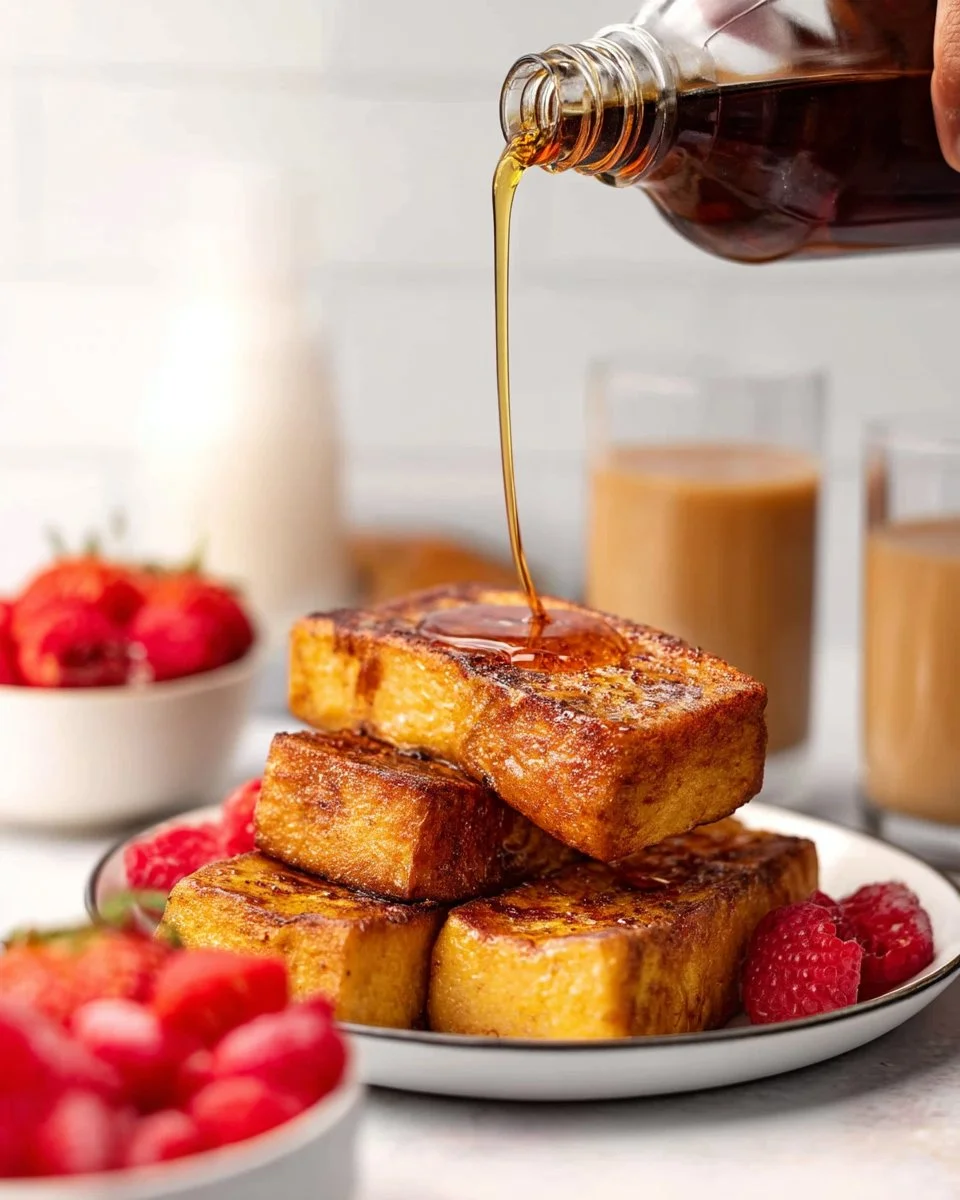
Homemade French Toast Sticks are versatile; serve them warm with a side of maple syrup for dipping. You can also pair them with fresh fruits like strawberries, blueberries, or banana slices to increase nutritional value. A sprinkle of chopped nuts or a dollop of yogurt can elevate this dish, making it even more satisfying.
How to Store Homemade French Toast Sticks
If you have leftovers (though that’s rare!), let them cool completely before storing them in an airtight container in the refrigerator. They will keep for up to three days. Reheat in a skillet or microwave for best results.
Can You Freeze Homemade French Toast Sticks?
Absolutely! To freeze, let the sticks cool, then place them in a single layer on a baking sheet until firm, and transfer to a freezer-safe bag. They can be stored in the freezer for up to three months, making them a perfect make-ahead breakfast option. Simply reheat in the toaster or oven when ready to enjoy.

Frequently Asked Questions
Can I use different types of bread?
Yes, feel free to use any bread that suits your taste! Sourdough, brioche, or even a hearty whole-grain bread works well for this recipe.
Can I make this recipe dairy-free?
Absolutely! Substitute the milk with a non-dairy alternative, and you can use vegan butter or oil for frying to keep it dairy-free.
How do I know when the French toast sticks are done?
When golden brown on all sides and firm to the touch, they are ready. You can also give one a quick taste to check for doneness!
Can I prepare these ahead of time?
Yes! You can make the egg mixture a day in advance, and you can also freeze the cooked sticks for later enjoyment.
Conclusion
Homemade French Toast Sticks are a comforting, protein-packed solution for those busy mornings when meal planning may feel overwhelming. They celebrate simplicity while igniting cherished memories of family breakfast experiences. If this recipe reminds you of someone you love, share it with them. Your memories keep recipes alive.

Homemade French Toast Sticks
Ingredients
Method
- Slice the thick bread into 1-inch wide sticks to ensure even cooking.
- In a bowl, whisk together the eggs, milk, vanilla extract, and ground cinnamon until homogenous and slightly frothy.
- Heat butter or oil in a skillet over medium heat until the butter bubbles.
- Dip each bread stick into the egg mixture, allowing excess to drip off to prevent soggy pieces.
- Place the sticks in the skillet and cook until golden brown on all sides, about 2-3 minutes per side.
- Serve immediately with maple syrup for dipping. Optionally, sprinkle with powdered sugar or additional cinnamon.