
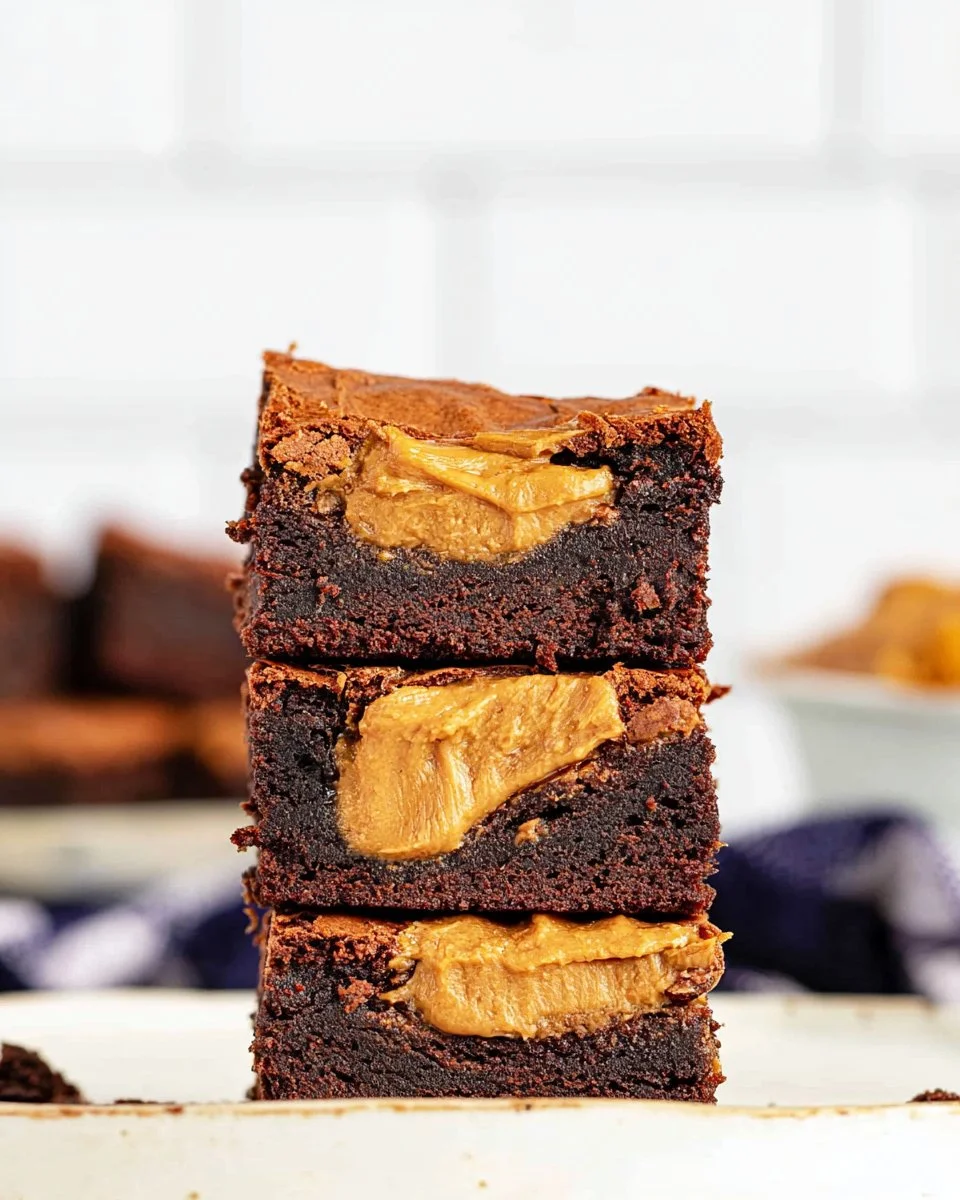
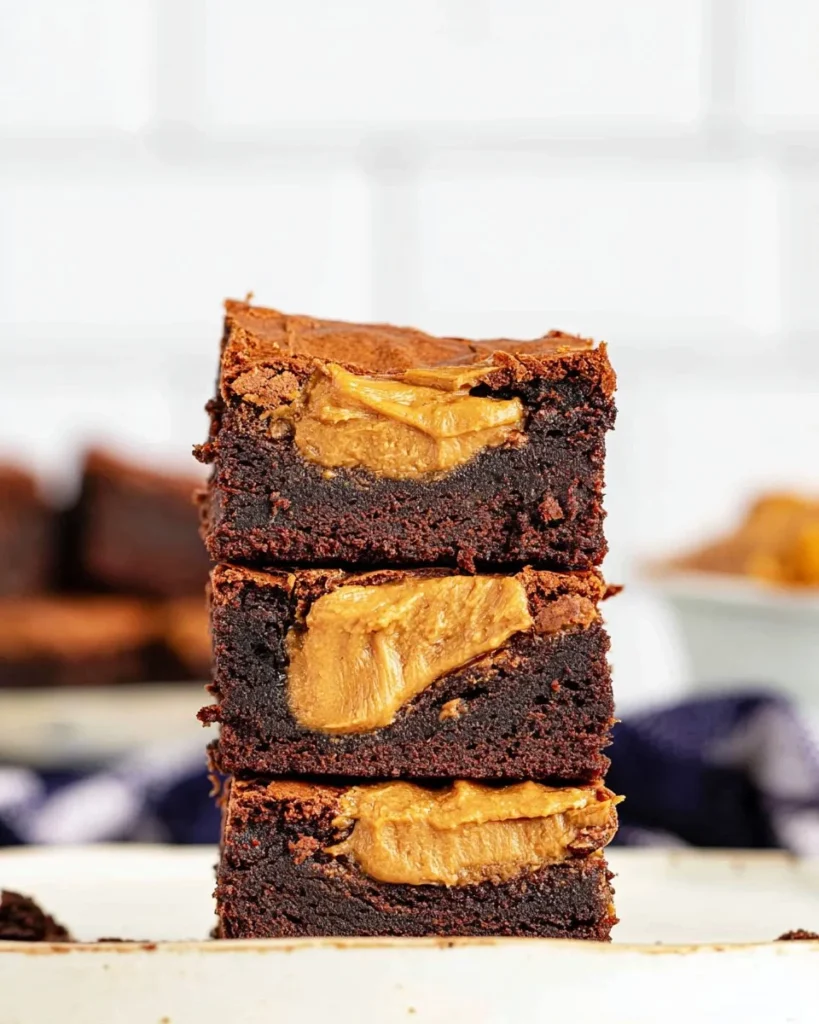
Indulging in a sweet treat made from scratch has never been easier or more satisfying. Imagine cutting into a rich, fudgy brownie that melts in your mouth, layered with the iconic flavor of cookie butter. This special treat is not just a dessert; it’s an experience that combines the comforting nostalgia of brownies with a unique twist. With every bite, you’ll enjoy the deep notes of dark chocolate complemented by the creamy richness of Biscoff cookie butter, making it a perfect choice for any occasion.
Whether you’re baking for a family gathering or simply treating yourself after a long day, these brownies are a delightful experience. The gooey texture, enhanced by the crunchy Lotus cookie pieces, delivers that satisfying nostalgia while introducing an innovative flavor profile. You’ll want to save this recipe, as it guarantees to become a favorite in your baking repertoire!
Quick Answer
This Biscoff Brownies recipe is a quick and easy way to satisfy your sweet tooth, combining dark chocolate and cookie butter for a deliciously unique dessert the whole family will love.
Why You’ll Love This Recipe
If you’re searching for the perfect treat, this recipe is sure to impress. Not only does it provide a mouthwatering flavor combination, but it also offers several benefits.
- Decadent Flavor: Rich chocolate pairs beautifully with the unique spices of cookie butter.
- Easy Preparation: Simple steps make these brownies a quick bake-fest!
- Texture Variety: The contrast between fudgy brownies and crunchy cookie pieces elevates the dessert.
- Shareable Treat: Perfect for parties, potlucks, or a cozy night in.
- Versatile Serving Options: Enjoy warm with ice cream or at room temperature for a delicious snack.
What Makes This Recipe Special
What sets these brownies apart is their use of cookie butter, which infuses the traditional brownie with a unique flavor and richness. The balance of dark chocolate and sweet cookie butter creates a dessert that is both indulgent and comforting. The incorporation of crushed Lotus cookies not only enhances the brownie’s aesthetic appeal but also adds delightful texture. Each bite offers a little crunch alongside the gooey chocolate, making this recipe truly stand out. These brownies are a fusion of classic and innovative, destined to make anyone’s day a bit sweeter!
Kitchen Tools You’ll Need
- Mixing Bowl – To combine ingredients smoothly.
- Measuring Cups – For accurate ingredient measures.
- Whisk – To achieve a well-mixed batter.
- Spatula – For smoothing the batter in the pan.
- Parchment Paper – To line the baking pan for easy removal.
Ingredients
unsalted butter: Provides richness and helps create a fudgy texture.
dark chocolate: Gives a deep, rich chocolate flavor that is essential for brownies.
granulated sugar: Enhances sweetness and contributes to the chewy texture.
eggs: Binds the ingredients and adds moisture.
egg yolk: Adds richness and improves the texture of the brownies.
vanilla extract: Infuses a warm, aromatic flavor that enhances the overall taste.
all-purpose flour: Provides structure for the brownies.
cocoa powder: Intensifies the chocolate flavor and enhances the color.
cornstarch: Helps create a light, tender texture.
salt: Balances sweetness and enhances flavor.
cookie butter: Adds unique flavor and creaminess.
Lotus cookies: Crunchy texture that complements the soft brownie.
Ready to cook? Scroll to the recipe card below for exact measurements.
How to Make Biscoff Brownies
Phase 1 – Prep
STEP 1. Preheat the oven. Set to 350F (180C).
STEP 2. Prepare the pan. Line an 8×8 inch (20×20 cm) pan with parchment paper, leaving an overhang.
STEP 3. Combine chocolate and butter. Add chopped chocolate and unsalted butter to a large heatproof bowl.
Phase 2 – Cook
STEP 4. Melt the mixture. Heat in the microwave for 45-second intervals, stirring between, or use a double boiler over low to medium heat.
STEP 5. Make the batter. Ensure the mixture isn’t hot, then whisk in granulated sugar, eggs, additional yolk, and vanilla until smooth.
STEP 6. Add dry ingredients. Sift in flour, cocoa powder, cornstarch, and salt, whisking until just combined.
STEP 7. Transfer to the pan. Pour the batter into the prepared pan and smooth the top.
STEP 8. Swirl the cookie butter. Warm cookie butter in the microwave for about 15 seconds, drop spoonfuls into the batter, and swirl with a skewer.
STEP 9. Add cookie pieces. Sprinkle crushed Lotus cookies on top.
STEP 10. Bake. Place in the oven and bake for about 30 minutes, until a toothpick comes out clean or with a few damp brownie crumbs.
Phase 3 – Serve
STEP 11. Cool and slice. Let cool in the pan until no longer warm, then lift out using the parchment overhang and slice.
Why This Recipe Works
The texture of these brownies strikes the perfect balance between dense and fudgy, and the addition of cookie butter enhances the overall moisture. The layered flavors of dark chocolate with cookie butter create a dessert that is delightfully complex. Plus, the baking method helps ensure the edges are slightly crisp while the center remains gooey. Each ingredient interacts harmoniously, ensuring that every bite is a rewarding experience filled with comforting chocolate and uniquely spiced cookie butter.
Pro Tips
To achieve the best results with these brownies, consider the following tips:
- Invest time in measuring your ingredients accurately to attain the ideal consistency and texture.
- When melting the chocolate and butter, avoid overheating to ensure the smoothest mix.
- Let the brownies cool long enough before slicing; this helps maintain their shape and texture.
- Consider adding a pinch of espresso powder to intensify the chocolate flavor even further.
- For enhanced presentation, add a sprinkle of sea salt on top before serving for a sweet and salty contrast.
Common Mistakes to Avoid
Mistake: Overmixing the batter.
Why it happens: Many bakers think mixing well guarantees a smooth batter.
How to fix it: Mix until ingredients are just combined to avoid tough brownies.
Mistake: Not measuring ingredients correctly.
Why it happens: A quick grab-and-pour method can lead to mistakes.
How to fix it: Use measuring cups and spoons for accuracy.
Mistake: Baking time issues.
Why it happens: Ovens can vary in temperature accuracy.
How to fix it: Check for doneness a few minutes before the recipe states to prevent overbaking.
Variations
- Substituting brownie batter with your favorite nuts for added crunch.
- Using milk chocolate instead of dark chocolate for a sweeter flavor.
- Drizzling additional cookie butter on top after baking for a decorative touch.
- Incorporating white chocolate chips for a sweeter contrast.
- Serving with vanilla ice cream for a decadent dessert.
Nutrition Highlights
| Nutrient | Role |
|---|---|
| Protein | Helps support satiety and balanced meals. |
Serving Ideas
These Biscoff brownies are versatile enough to suit various occasions. Serve them warm with a scoop of vanilla ice cream for an indulgent dessert after dinner. They can also be a delightful addition to a picnic or enjoyed as a sweet snack during movie night. Pair with coffee or a glass of milk for a comforting treat through afternoon breaks!
Best Occasions for This Recipe
These brownies are perfect for any gathering, such as birthday parties or holiday celebrations, where sweet treats are cherished. They are also delightful for casual get-togethers with friends or as a special dessert for family dinners. Whenever you want to add a touch of sweetness, these brownies will surely impress!
Meal Prep & Storage
Meal Prep
These brownies can be prepared ahead of time and stored for later enjoyment. Just make sure they are completely cool before storing!
Refrigeration
Store brownies in an airtight container in the refrigerator to maintain freshness for up to a week.
Freezing
To freeze, wrap the brownies tightly in plastic wrap and place in a freezer-safe container. They can last up to three months in the freezer.
Reheating
To enjoy frozen brownies, simply thaw them in the refrigerator overnight. For a warm treat, microwave for a few seconds before serving.
FAQs
How long do these brownies last?
They can last up to a week in the refrigerator when stored properly in an airtight container.
Can I substitute the cookie butter?
If you don’t have cookie butter, try trying nut butter for a different flavor profile.
What if I want to make them gluten-free?
You can substitute all-purpose flour with a good gluten-free blend in the same measure, ensuring the consistency remains smooth.
Can I use different types of chocolate?
Yes! Feel free to experiment with milk chocolate or a mixture of dark and milk chocolate for a different taste.
How do I store the brownies after baking?
Make sure they cool completely, then transfer to an airtight container and store in the refrigerator or freezer.
Save This Recipe for Later
Don’t forget to pin this recipe for later to enjoy these delightful brownies any time you’re craving something sweet!
Conclusion
Baking can be both an art and a comforting ritual, and this recipe is a perfect reflection of that. With the delightful combination of chocolate and cookie butter, these Biscoff brownies will cater to your sweet cravings while impressing anyone lucky enough to have a bite. So, gather your ingredients and create a batch today; your taste buds will thank you!
Biscoff Brownies
Ingredients
Method
- Preheat the oven to 350°F (180°C).
- Line an 8x8 inch (20x20 cm) pan with parchment paper, leaving an overhang.
- Add chopped chocolate and unsalted butter to a large heatproof bowl.
- Melt the mixture in the microwave for 45-second intervals, stirring between, or use a double boiler.
- Ensure the mixture isn’t hot, then whisk in the granulated sugar, eggs, additional yolk, and vanilla until smooth.
- Sift in the flour, cocoa powder, cornstarch, and salt, whisking until just combined.
- Pour the batter into the prepared pan and smooth the top.
- Warm cookie butter in the microwave for about 15 seconds, drop spoonfuls into the batter, and swirl with a skewer.
- Sprinkle crushed Lotus cookies on top.
- Bake for about 30 minutes, until a toothpick comes out clean or with a few damp brownie crumbs.
- Let cool in the pan until no longer warm, then lift out using the parchment overhang and slice.