
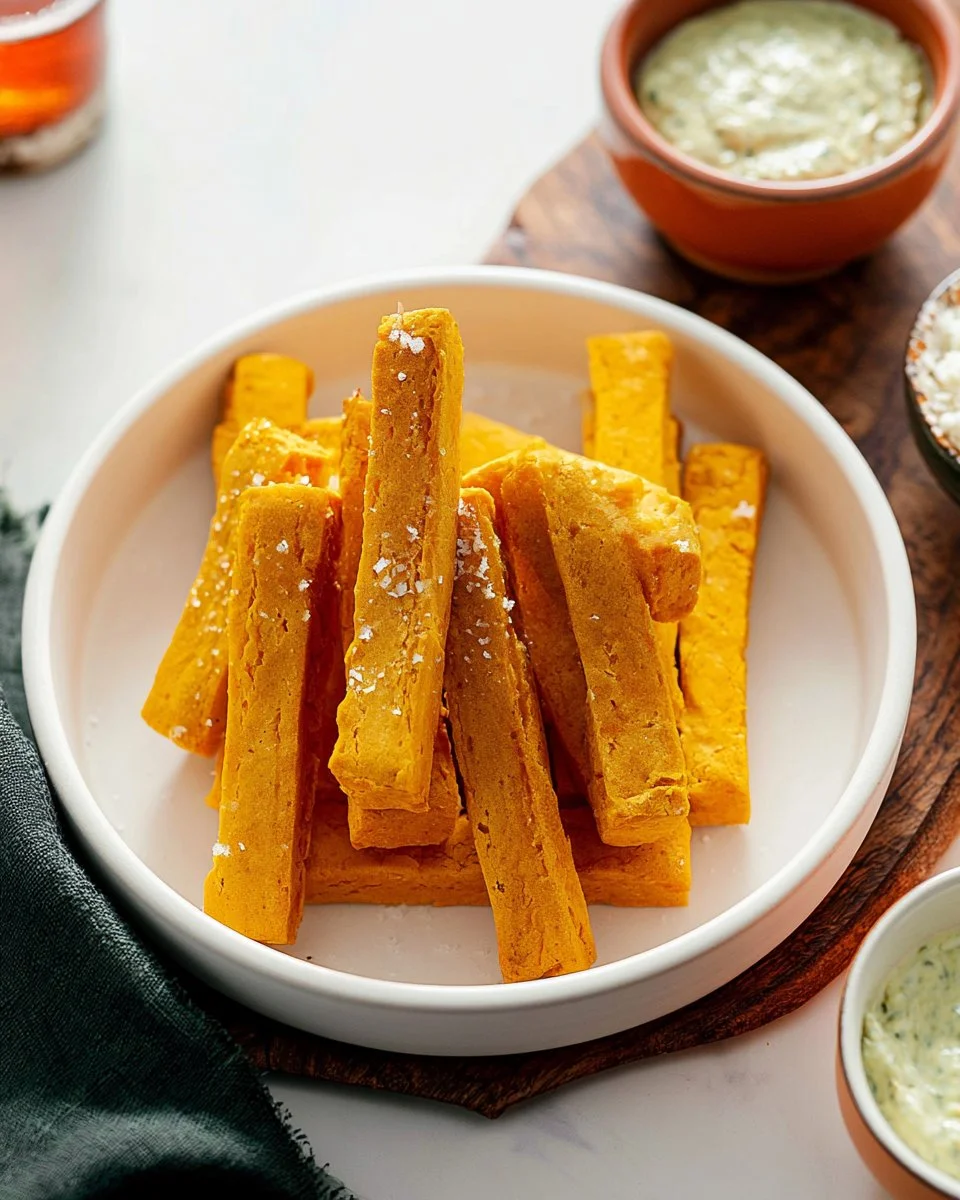
If you’re on the hunt for a delectable snack that offers both crunch and flavor, you’re in for a treat! These delightful stick-shaped treats, made from chickpea flour, strike the perfect balance between crispy on the outside and creamy on the inside. They’re not only a breeze to prepare but also pack a punch when it comes to nutrition, making them an ideal alternative to traditional fries.
Perfect for dipping into your favorite sauce, whether it’s a rich aioli or a zesty creamy basil sauce, these chickpea fries are sure to become a household favorite. They’re a fantastic option for healthy meal prep, allowing you to enjoy a nutritious, high-protein snack that complements any meal. Save these for your next gathering, movie night, or simply when you need a satisfying and hearty bite!
Quick Answer
Chickpea fries are a delicious and nutritious alternative to regular fries, offering a unique flavor and texture enjoyed by all. They’re easy to prepare and customizable with various sauces!
Why You’ll Love This Recipe
Chickpea fries are not just a trendy snack; they bring a world of excitement to your taste buds. Here’s why you’ll love making them:
- High in protein – Chickpeas boost the protein content, making these fries a satisfying option for a quick meal or snack.
- Gluten-free – Made from chickpea flour, these fries are a safe choice for those with gluten sensitivities.
- Customizable – Pair with your favorite sauces, from aioli to yogurt dips for a unique twist.
- Easy preparation – With simple ingredients and straightforward methods, these fries are quick to whip up.
- Deliciously versatile – Perfect as an appetizer, side dish, or healthy snack for any occasion.
- Meal prep friendly – Enjoy them fresh or store them for later without losing their wonderful flavor and texture.
What Makes This Recipe Special
This recipe for chickpea fries stands out due to its use of chickpea flour, which not only imparts a nutty flavor but also contributes to the fry’s unique texture. The process of cooking the mixture until thick ensures a firm consistency that holds up beautifully during baking or frying. Plus, the option to choose between baking and frying caters to different dietary preferences and cooking styles, allowing for added versatility. The finishing touch of flaky sea salt takes these fries to another level, enhancing their taste with that satisfying crunch.
Kitchen Tools You’ll Need
- 9-inch square baking dish – This is essential for shaping the chickpea mixture before cooking.
- Heavy-bottomed saucepan – A sturdy saucepan helps evenly distribute heat for cooking the chickpea mixture.
- Whisk – Perfect for combining ingredients without lumps.
- Baking sheet – Necessary for the baked version, allows for even cooking.
- Parchment paper – Keeps the fries from sticking, making cleanup a breeze.
- Skillet – For those who prefer frying, a good skillet ensures even frying.
- Paper towels – Useful for draining excess oil after frying.
Ingredients
chickpea flour: Provides a nutty flavor and creamy texture, creating a satisfying fry.
fine salt: Enhances the overall flavor of the fries.
freshly ground black pepper: Adds a touch of warmth and depth to the flavor profile.
extra-virgin olive oil: Infuses richness and helps achieve a golden color when baking or frying.
water: Acts as the binder for the chickpea mixture, influencing its final texture.
flaky sea salt or kosher salt: A finishing touch that provides bursts of salty flavor.
cream basil sauce: An optional, delicious dip that pairs perfectly with the fries.
aioli: Another delicious dipping option that adds creaminess and flavor.
Ready to cook? Scroll to the recipe card below for exact measurements.
How to Make Chickpea Fries
Phase 1 – Prep
STEP 1. Prepare the baking dish. Lightly oil a 9-inch square baking dish and set aside. If frying, line a baking sheet with paper towels.
STEP 2. Combine ingredients. In a saucepan, mix chickpea flour, salt, pepper, and 2 teaspoons olive oil. Gradually add half of the water, whisking until smooth, then add the remaining water and whisk again.
Phase 2 – Cook
STEP 3. Cook the mixture. Bring the mixture to a boil over high heat, whisking frequently. Once it boils, reduce the heat and cook for 10 minutes until thickened.
STEP 4. Set the mixture. Scrape the mixture into the prepared pan, smooth the top, and let cool for about one hour. Once cooled, slice into ¾-inch wide pieces.
Phase 3 – Serve
STEP 5. For baked fries. Preheat oven to 425°F and line a baking sheet with parchment paper. Transfer panisses to the sheet, brush with 2 tablespoons olive oil, and bake for 25-30 minutes. Flip and bake for another 15-20 minutes until golden, then sprinkle with flaky salt and pepper before serving.
STEP 6. For fried fries. Heat ¼ to ½ inch of oil in a skillet. Fry panisses in batches until golden on all sides, about 5-8 minutes per batch. Transfer to a paper towel-lined pan and sprinkle with flaky salt and pepper before serving.
Why This Recipe Works
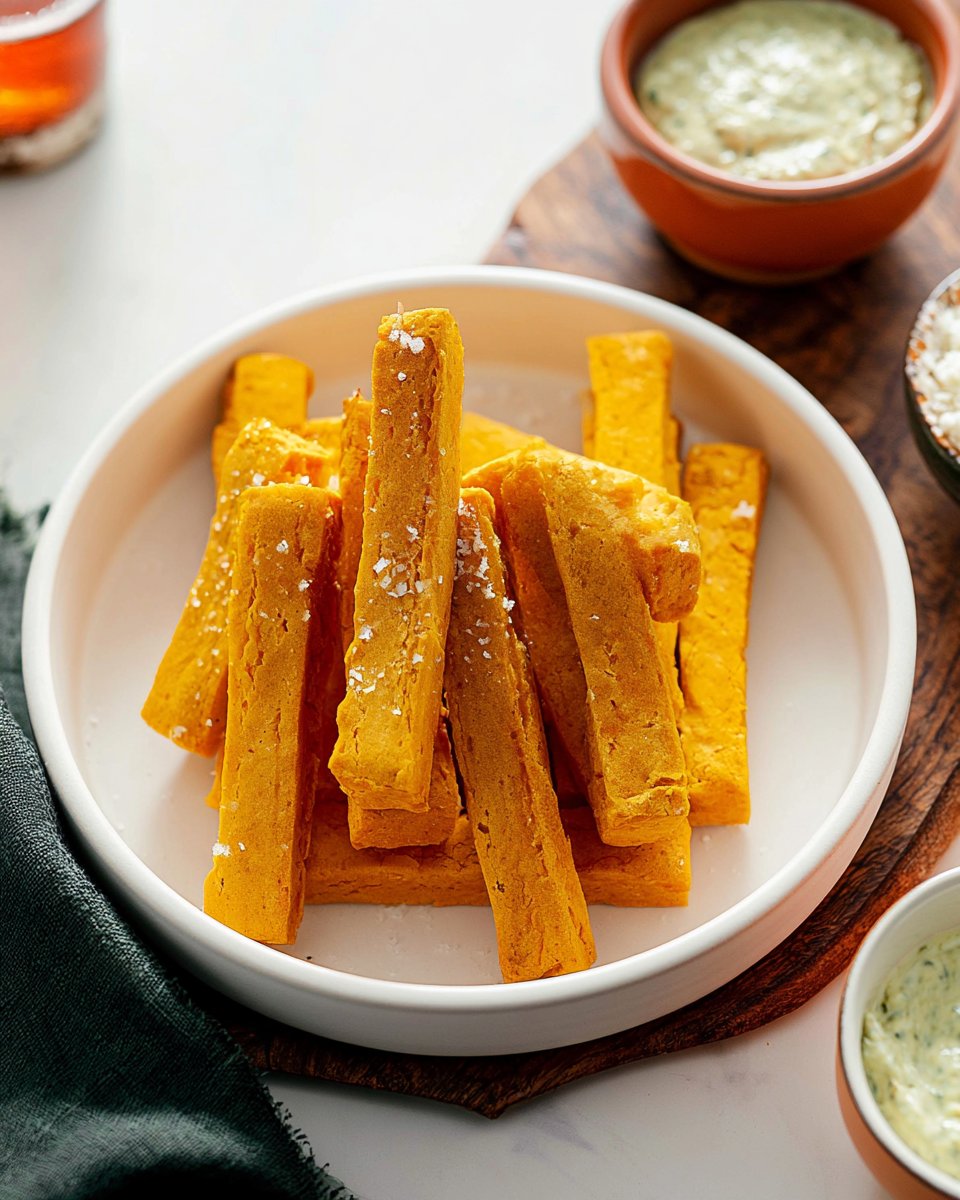
The texture of chickpea fries is one of their best features. The chickpea flour’s density gives them a satisfying firmness, while the cooking method enhances this by creating a crisp exterior. Flavor layering comes into play with the addition of olive oil and seasoning, ensuring each bite is as delicious as the last. The option to bake or fry adds flexibility, allowing you to choose a method that suits your preferences or dietary needs. Not to mention, they are incredibly satisfying, making them a perfect comfort food without the guilt.
Pro Tips
To achieve the best results with your chickpea fries, consider these tips: First, ensure your saucepan is heavy-bottomed to prevent the mixture from burning while cooking. Stir continuously as it thickens to achieve a smooth consistency. When baking, make sure to spread the fries evenly on the baking sheet to promote uniform cooking. For fried fries, maintain the oil temperature to achieve a crisp outer layer without sogginess. Finally, experiment with different dipping sauces to find your perfect pairing!
Common Mistakes to Avoid
Mistake: Not whisking enough while cooking.
Why it happens: Many people underestimate the importance of continuous stirring in preventing lumps.
How to fix it: Use a whisk constantly while heating the mixture to keep it smooth.
Mistake: Overcrowding the frying pan.
Why it happens: Frying too many pieces at once can lower the oil temperature.
How to fix it: Fry in smaller batches to maintain optimal frying conditions.
Mistake: Skipping cooling time.
Why it happens: Rushing can lead to fries that fall apart during cooking.
How to fix it: Allow the mixture to cool thoroughly before slicing it into pieces.
Variations
- Add herbs to the chickpea mixture for extra flavor.
- Try seasoning with smoked paprika for a smoky taste.
- Incorporate nutritional yeast for a cheesy flavor.
- Serve with different dipping sauces for added excitement.
- Add finely chopped vegetables to the mixture for extra texture.
Nutrition Highlights
| Nutrient | Role |
|---|---|
| Protein | Helps support satiety and balanced meals. |
Serving Ideas
Chickpea fries make a great appetizer, served with an array of dips like creamy aioli or tangy sauces. Pair them with salads for a delicious side dish, or enjoy them on their own as a rich snack. They also fit beautifully alongside a charcuterie board for a balanced gathering meal, effortlessly delighting your guests.
Best Occasions for This Recipe
These chickpea fries are perfect for casual get-togethers, movie nights, or even as a fun addition to a potluck. Their crispy texture and satisfying flavor make them an excellent choice for parties and family gatherings, ensuring that everyone leaves happy. Plus, they suit various dietary preferences, making them a reliable crowd-pleaser.
Meal Prep & Storage
Meal Prep
Chickpea fries can easily fit into your weekly meal prep plans. Make a batch ahead of time, slice them up, and store them in an airtight container for quick snacks or sides throughout the week.
Refrigeration
Store any leftovers in the fridge in an airtight container for up to three days. Reheat them in the oven or air fryer for a quick snack.
Freezing
They can also be frozen for longer storage. Place the cooked fries in a single layer on a baking sheet to freeze, then transfer them to a freezer-safe container.
Reheating
To reheat, place frozen fries on a baking sheet in a preheated oven until heated through and crispy, ensuring they regain their delightful texture.
{image_template}
FAQs
How do I store chickpea fries?
Store in an airtight container in the refrigerator for up to three days.
Can I freeze chickpea fries?
Yes, freeze them in a single layer before transferring to a container for long-term storage.
What can I dip chickpea fries in?
They’re perfect with creamy basil sauce, aioli, or any dipping sauce of your choice.
Can I make chickpea fries ahead of time?
Absolutely! They’re great for meal prep, just store them properly after cooking.
Why are my chickpea fries falling apart?
This can occur if they’re not cooled sufficiently before slicing or if the mixture is too thin. Ensure to let them cool fully and follow cooking instructions closely.
Save This Recipe for Later
Don’t forget to pin this recipe for later! You’ll want to refer back to these tasty chickpea fries time and again.
Conclusion
Chickpea fries are not just a healthier substitute for traditional fries; they bring an exciting new flavor and texture to your plate. Easy to prepare and great for dipping, these fries are destined to be a staple in your recipe collection. Whether you choose to bake or fry them, their deliciousness will not disappoint. Enjoy indulging in these crispy, creamy treats!
Chickpea Fries
Ingredients
Method
- Lightly oil a 9-inch square baking dish and set aside.
- In a saucepan, mix chickpea flour, salt, pepper, and 2 teaspoons olive oil. Gradually add half of the water, whisking until smooth, then add the remaining water and whisk again.
- Bring the mixture to a boil over high heat, whisking frequently. Once it boils, reduce the heat and cook for 10 minutes until thickened.
- Scrape the mixture into the prepared pan, smooth the top, and let cool for about one hour. Once cooled, slice into ¾-inch wide pieces.
- For baked fries: Preheat oven to 425°F and line a baking sheet with parchment paper. Transfer panisses to the sheet, brush with 2 tablespoons olive oil, and bake for 25-30 minutes. Flip and bake for another 15-20 minutes until golden, then sprinkle with flaky salt and pepper before serving.
- For fried fries: Heat ¼ to ½ inch of oil in a skillet. Fry panisses in batches until golden on all sides, about 5-8 minutes per batch. Transfer to a paper towel-lined pan and sprinkle with flaky salt and pepper before serving.