
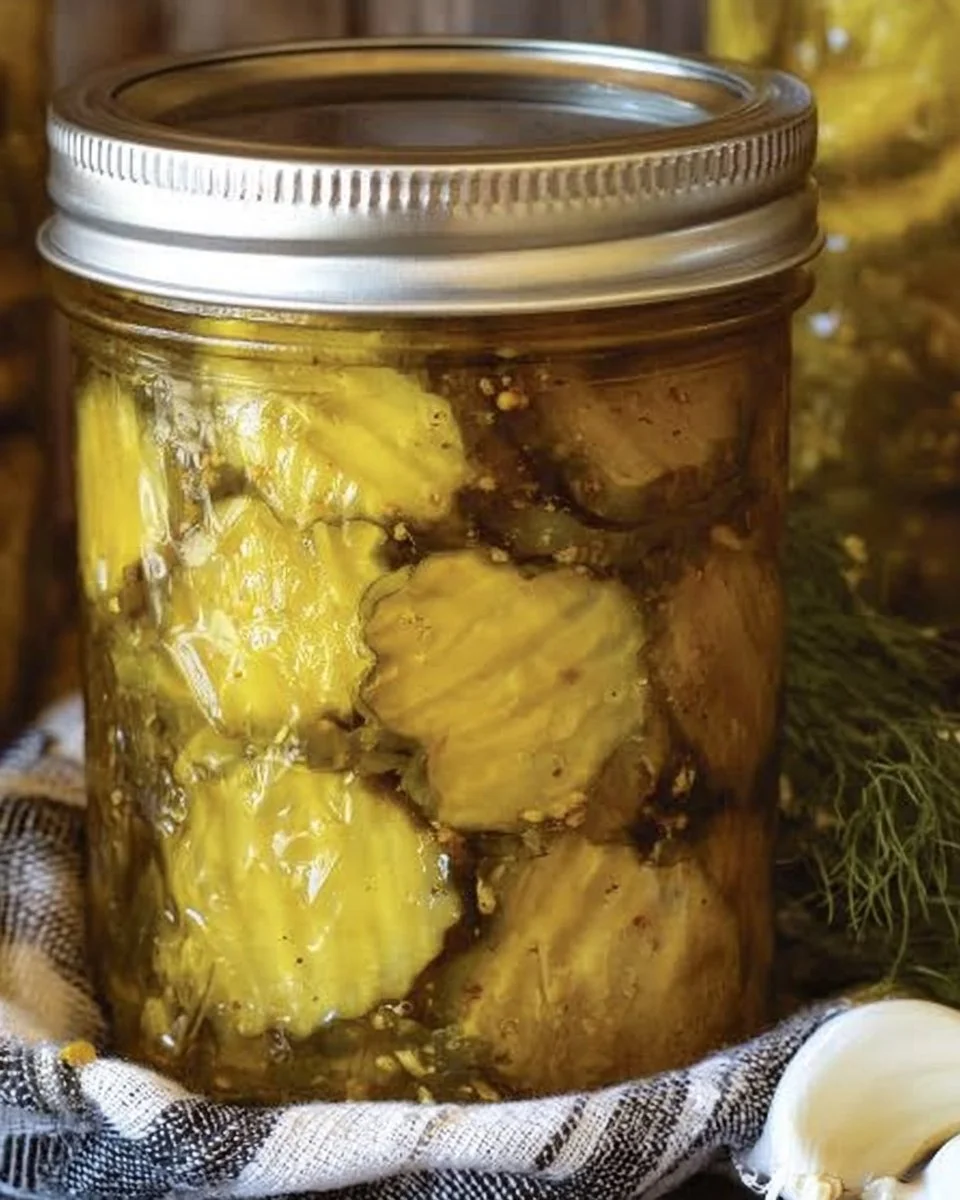
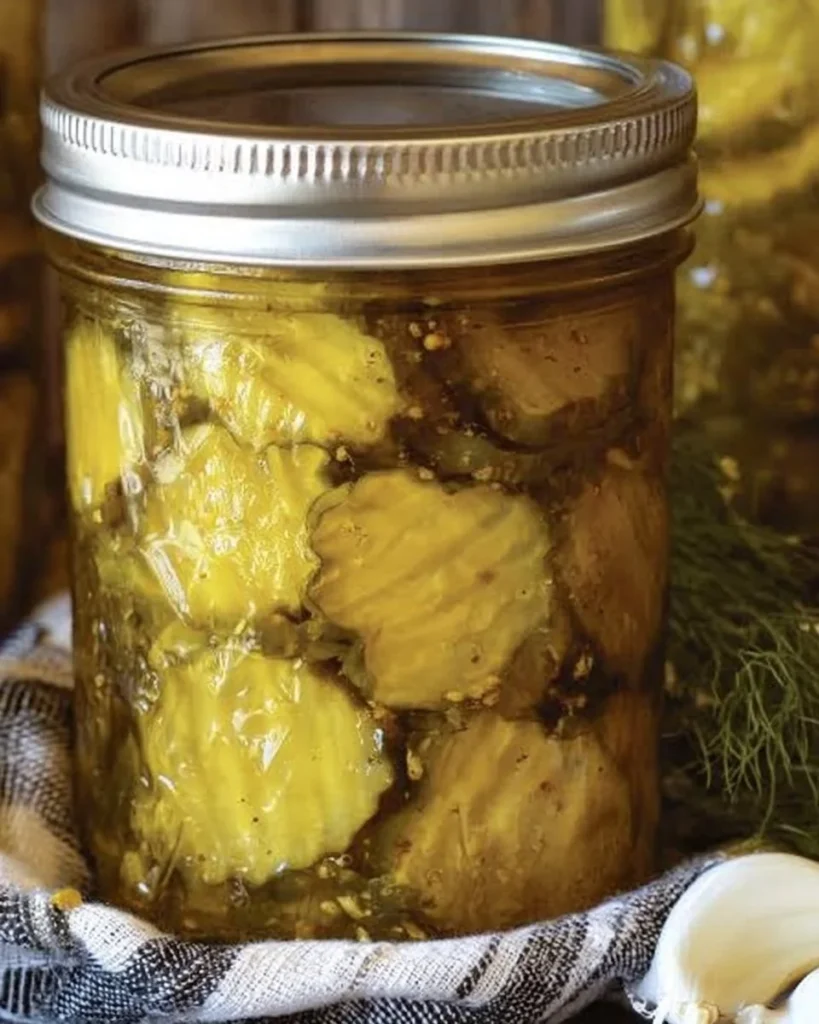
If you’re looking for a way to elevate your summer salads or add a zesty crunch to your sandwiches, then mastering the art of pickling is essential. The tangy bite of homemade canned dill pickle slices captures the essence of summertime, bringing a burst of flavor and joy to any meal. These delightful, crisp cucumber slices are not only easy to make but also incredibly rewarding. Imagine the satisfying snap as you bite into a slice that’s marinated in a perfect blend of spices and acid, creating a balance that’s both refreshing and tangy. Ideal for picnics, barbecues, or just as a late-night snack, these pickles will definitely be a crowd-pleaser. Ready to dive into the world of pickling? Let’s get started!
Quick Answer
Crafting homemade canned dill pickle slices is a simple process that preserves the fresh taste of cucumbers, making them a delightful addition to any dish. Just follow our straightforward recipe for perfect pickles!
Why You’ll Love This Recipe
This canned dill pickle slices recipe stands out for so many reasons:
- Fresh Taste: Enjoy the vibrant flavors of ripe pickling cucumbers.
- Easy Method: Simple steps make the canning process manageable for everyone.
- Customizable Flavor: Adjust the spices to create your ideal pickle.
- Healthy Snack: A low-calorie option packed with flavor.
- Perfect for Meal Prep: Make a big batch and store for later enjoyment.
What Makes This Recipe Special
What truly sets this canned dill pickle slices recipe apart is the combination of freshness and flavor that pickling offers. The crunchiness of the cucumbers creates a satisfying texture, while the brine develops a tangy burst that revitalizes even the simplest dishes. The balance between the vinegar and spices introduces an herbal note, with dill providing that classic pickle taste. This recipe celebrates the essence of fresh ingredients, making it an unbeatable addition to your culinary repertoire.
Kitchen Tools You’ll Need
- Canning Jars – Essential for preserving your pickles and ensuring safety.
- Water Bath Canner – Helps process the jars and seal them correctly.
- Large Saucepan – For heating the brine mixture.
- Jar Lifters – Necessary for handling hot jars safely.
- Funnels – Makes it easier to pour brine into jars without spills.
Ingredients
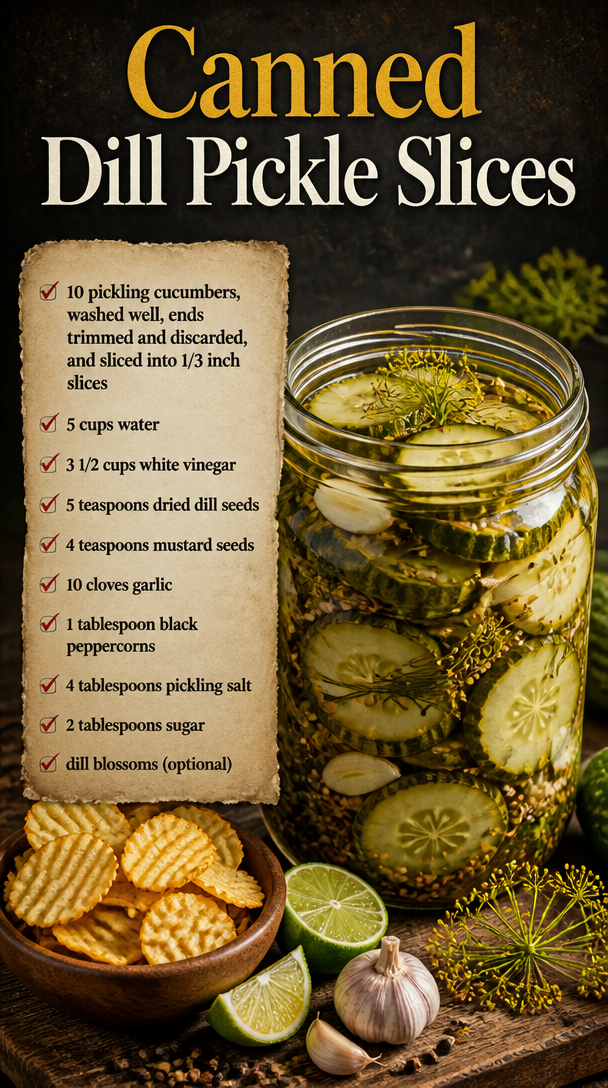
pickling cucumbers: Fresh cucumbers create a crunchy texture that’s ideal for pickling.
water: Acts as a base for the brine and balances flavors.
white vinegar: Provides the tangy acidity essential for preservation.
dried dill seeds: Offers a classic dill flavor that enhances the pickles.
mustard seeds: Adds a slight spiciness and depth to the flavor profile.
garlic: Infuses a rich aroma and savory taste into the pickles.
black peppercorns: Adds a subtle warmth and complexity to the brine.
pickling salt: Essential for proper preservation and flavoring without additives.
sugar: Balances acidity and enhances overall taste, adding a hint of sweetness.
dill blossoms (optional): Provides an aromatic flair and visual appeal.
Ready to cook? Scroll to the recipe card below for exact measurements.
How to Make Canned Dill Pickle Slices
Phase 1 – Prep
STEP 1. Prepare Jars. Wash canning jars and lids, fill canner with water, and bring to a full boil. Reduce to simmer and submerge jars while preparing the ingredients.
STEP 2. Make the Brine. Prepare the brine by adding water, vinegar, pickling salt, and sugar to a saucepan; bring to a boil while stirring until dissolved. Turn off heat.
Phase 2 – Cook
STEP 3. Fill Jars. Remove jars from canner and pour water back into pot. Place one clove of garlic in each jar and evenly distribute dill seeds, mustard seeds, and black peppercorns.
STEP 4. Add Cucumbers. (Optional) Insert a dill blossom into each jar. Pack jars tight with cucumber slices standing on end.
STEP 5. Pour Brine. Ladle brine into the jars, leaving 1/2 inch headspace. Wipe jar rims and apply lids.
STEP 6. Water Bath. Transfer jars back to the canning pot and water bath for 10 minutes.
STEP 7. Cool and Store. Remove jars, cool on a towel-lined cutting board for 24 hours, and check seals. Label and store in a cool, dry pantry for up to one year.
Why This Recipe Works
The key to successful canning lies in the balance of flavors and textures. The crunchy cucumbers maintain their integrity, providing a satisfying bite, while the vinegar-based brine delivers a delicious tang. The medley of spices enhances the overall flavor, ensuring every bite is rich and satisfying. Additionally, the canning method locks in freshness, allowing you to enjoy the essence of summer long after the season ends.
Pro Tips
To achieve the best results with your canned dill pickles, make sure to use fresh, crisp cucumbers for the perfect bite. Sterilizing your jars and lids is critical to avoid spoilage; always follow safe canning practices. If you’re unsure about the acidity of your vinegar, opt for a higher acidity level to ensure proper preservation. Additionally, feel free to experiment with spices to develop your unique flavor profile!
Common Mistakes to Avoid
Mistake: Using non-pickling cucumbers.
Why it happens: Many assume any cucumber can be pickled.
How to fix it: Always choose pickling cucumbers for the best texture and flavor.
Mistake: Not leaving enough headspace.
Why it happens: It’s easy to fill jars too much while ladling in brine.
How to fix it: Always leave a 1/2 inch headspace to allow for expansion during processing.
Mistake: Skipping the water bath.
Why it happens: Some may believe it’s unnecessary.
How to fix it: Water bathing is essential for sealing jars safely and preventing spoilage.
Variations
- Spicy Dill Pickles – Add red pepper flakes for a kick.
- Sweet Dill Pickles – Increase sugar in the brine for a sweeter taste.
- Garlic Lovers’ Pickles – Add more garlic cloves to intensify flavor.
Nutrition Highlights
| Nutrient | Role |
|---|---|
| Fiber | Supports digestive health and helps maintain a healthy weight. |
| Vitamins | Provides essential nutrients that can boost immunity. |
| Low Calorie | Ideal for snacking without significantly impacting calorie intake. |
Serving Ideas
These canned dill pickle slices are perfect for adding a crispy, tangy element to a variety of dishes. Serve them alongside your favorite sandwiches for a classic pairing, or include them in a summer salad to enhance flavor. They’re also fantastic on charcuterie boards, adding a burst of tartness to complement meats and cheeses.
Best Occasions for This Recipe
Elevate your summer barbecues and picnics by including homemade canned dill pickle slices. These pickles are also great for holiday gatherings and as a delightful addition to brunch spreads. Whenever you crave a quick snack or side dish, these pickles are sure to impress.
Meal Prep & Storage
Meal Prep
Pickle jars can be prepared in advance and stored in a cool, dry place. Ideal for meal planning, these pickles can enhance various meals throughout the week.
Refrigeration
After opening a jar, store the pickles in the refrigerator to maintain freshness. Consume them within a reasonable time frame for the best flavor.
Freezing
Freezing is not recommended for pickles, as it alters texture. Canned pickles can be stored in a pantry instead.
Reheating
Reheating isn’t necessary as these pickles are ready to eat straight from the jar!
FAQs
Can I adjust the spice levels in my pickles?
Absolutely! Feel free to modify the quantities of spices to suit your taste preferences.
How long do my canned pickles last?
When stored properly, canned dill pickles can last up to one year.
What should I do if my jars don’t seal?
If you find that your jars did not seal, refrigerate them immediately and consume within a few weeks.
Can I use regular table salt instead of pickling salt?
It’s best to use pickling salt, as it helps prevent cloudiness and ensures the right flavor.
Save This Recipe for Later
Remember to save this delicious recipe for homemade canned dill pickle slices for easy access every time you want to enjoy that fresh summer flavor!
Conclusion
There’s nothing quite like the crisp, refreshing taste of homemade canned dill pickle slices. This simple yet rewarding recipe not only preserves the cherished flavors of summer but also allows you to explore your culinary creativity. With every jar, you’re not just storing away a seasonal delight but also creating memories to share with friends and family. Whether nestled in a sandwich or enjoyed straight from the jar, these pickles promise to brighten your meals throughout the year!
Canned Dill Pickle Slices
Ingredients
Method
- Wash canning jars and lids, fill canner with water, and bring to a full boil. Reduce to simmer and submerge jars while preparing the ingredients.
- Prepare the brine by adding water, vinegar, pickling salt, and sugar to a saucepan; bring to a boil while stirring until dissolved. Turn off heat.
- Remove jars from canner and pour water back into pot. Place one clove of garlic in each jar and evenly distribute dill seeds, mustard seeds, and black peppercorns.
- Insert a dill blossom into each jar (optional). Pack jars tight with cucumber slices standing on end.
- Ladle brine into the jars, leaving 1/2 inch headspace. Wipe jar rims and apply lids.
- Transfer jars back to the canning pot and water bath for 10 minutes.
- Remove jars, cool on a towel-lined cutting board for 24 hours, and check seals. Label and store in a cool, dry pantry for up to one year.