

Are you tired of the churn-and-chill struggle that comes with making homemade ice cream? If you’re yearning for a creamy, rich treat that brings joy to your family without the fuss, then you’re in the right place. This No-Churn Chocolate Chunk Ice Cream is the perfect solution to cooking fatigue and a delightful way to adhere to your meal plan while also satisfying a sweet tooth. With its simple ingredients and minimal effort, you’ll soon find it’s a go-to for feeding a crowd and perfect for those budget-friendly days.
Kitchen Frustration That Makes This Recipe a Lifesaver
We all know the frustration of juggling multiple kitchen tasks, especially during the warmer months when families gather for barbecues or birthday parties. Imagine the scene: you’ve spent hours prepping a big meal, and when it’s time for dessert, you want something that’s quick, easy, and loved by everyone—voila! This No-Churn Chocolate Chunk Ice Cream comes to the rescue.
Not only does this recipe eliminate the need for an ice cream maker, but it also means you can focus on enjoying the moments rather than stressing over the details. With just a few common kitchen tools, you can whip up a delightful treat that creates sweet memories. Plus, it stays true to your nutrition goals, effortlessly balancing indulgence and health.
Why This No-Churn Chocolate Chunk Ice Cream Works So Well
Quick Answer: The fluffy cream texture, rich chocolate flavor, and ease of preparation make this recipe a winner, especially for busy families.
This No-Churn Chocolate Chunk Ice Cream works wonders in every way. The heavy whipping cream, whipped to perfection, gives it a light and airy texture that melts in your mouth. The combination of sweetened condensed milk with cocoa powder instills a rich chocolate flavor that will remind you of childhood summers and cozy family gatherings.
Time-saving and easy to prepare, this recipe is ideal for anyone wanting to stick to their meal plan without sacrificing dessert. Imagine serving this creamy delight at your next family get-together or simply indulging after a long day—it’s a heartwarming treat that anyone can make with confidence.
Ingredients, Substitutions & Foolproof Tips
- 2 cups Heavy Whipping Cream: Provides the base for the creamy texture.
- (1) 14-ounce can Sweetened Condensed Milk: Adds sweetness and creaminess.
- 1/3 cup Unsweetened Cocoa Powder: For rich chocolate flavor without excess sugar.
- 1 teaspoon Vanilla: Enhances the overall flavor profile.
- 2 cups Chocolate Chunks (reserve 1/2 cup for topping): Adds texture and delightful chocolate bursts.
Tip: Use high-quality chocolate for a truly decadent experience.
Step-by-Step Directions
- Whip the cream: In a large bowl, whip the heavy whipping cream until stiff peaks form, approximately 3-4 minutes. The texture should be light and fluffy—perfect for folding in later.
- Mix the base: In a separate small bowl, mix together the sweetened condensed milk, cocoa powder, vanilla, and 1 1/2 cups of chocolate chunks. This mixture will give your ice cream its rich chocolate flavor.
- Combine mixtures: Carefully add the chocolate mixture to the whipped cream. Delicately fold the whipped cream into the chocolate mixture until fully combined—be gentle to preserve the airy texture of the cream.
- Transfer to a loaf pan: Pour the mixture into a loaf pan, smoothing the top for even freezing.
- Add toppings: Sprinkle the reserved 1/2 cup of chocolate chunks on top. This step is not only for presentation but enriches the texture with chocolate bites.
- Freeze: Cover the pan with plastic wrap and freeze for 18-24 hours. For a hard-packed texture, aim for the full 24 hours.
Common Mistakes to Avoid & Pro Tips
- Overwhipping cream: This can lead to a grainy texture. Stop when stiff peaks form.
- Not folding gently: Be gentle when combining the whipped cream and chocolate mixture to avoid deflating the cream.
- Using low-quality chocolate: Opt for good-quality chocolate for the best flavor—your dessert deserves it!
Pro Tips:
- Play around with mix-ins such as nuts or fruit to change up the flavors.
- Consider adding a pinch of salt to enhance the chocolate taste further.
Serving, Storage & Freezer Guide
How to Serve No-Churn Chocolate Chunk Ice Cream
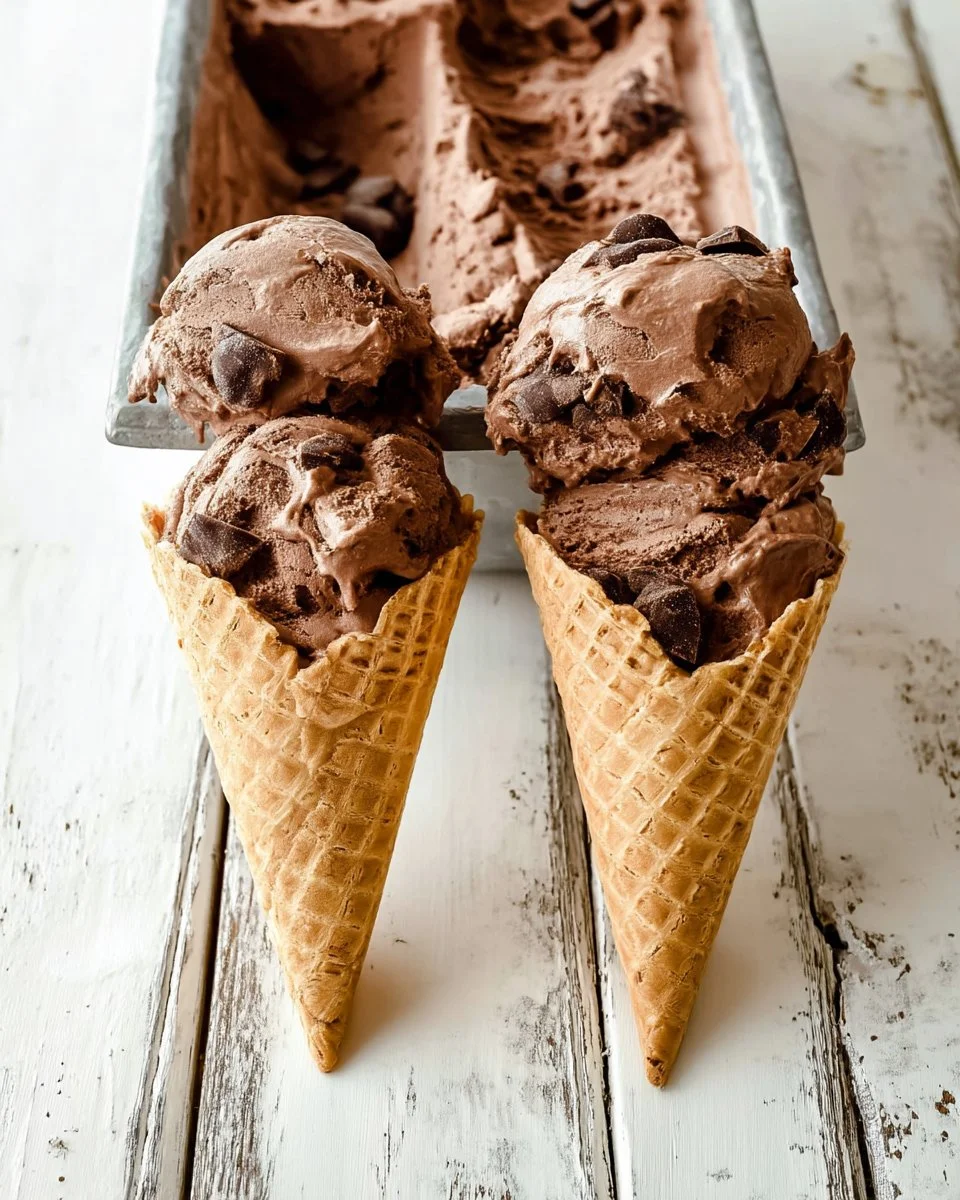
Serve this delightful No-Churn Chocolate Chunk Ice Cream in bowls or cones. You can get creative by drizzling some chocolate sauce on top for an extra indulgent touch. Pair it with fresh fruit like strawberries or raspberries for a beautiful contrast in flavor.
How to Store No-Churn Chocolate Chunk Ice Cream
Store your No-Churn Chocolate Chunk Ice Cream in an airtight container for up to two weeks. To maintain its texture, ensure it’s kept covered with plastic wrap or a lid to prevent ice crystals from forming.
Can You Freeze No-Churn Chocolate Chunk Ice Cream?
Absolutely! This ice cream is freezer friendly. Just remember to let it sit at room temperature for about 5-10 minutes before scooping for easier serving. It won’t turn as hard as traditional churned ice creams, so it’s perfect for those late-night cravings.
Frequently Asked Questions
What can I use instead of heavy cream?
You can use coconut cream for a dairy-free option, but the texture may be slightly different.
How do I know if the ice cream is done freezing?
It should be firm to the touch yet still able to be scooped. If it’s too soft, give it a few more hours in the freezer.
Can I use other types of chocolate?
Yes! Feel free to experiment with dark, milk, or even white chocolate—just adjust the cocoa powder accordingly.
How long does this ice cream last in the freezer?
It lasts up to two weeks, but for optimal taste and texture, try to enjoy it within the first week.
Conclusion
The No-Churn Chocolate Chunk Ice Cream is not just a dessert; it’s a treasure trove of memories, bringing the family together with every scoop. Easy to make, budget-friendly, and undeniably delicious, this treat fits so well in your meal plan while remaining a delightful indulgence. If this recipe reminds you of someone you love, share it with them. Your memories keep recipes alive.

No-Churn Chocolate Chunk Ice Cream
Ingredients
Method
- In a large bowl, whip the heavy whipping cream until stiff peaks form, approximately 3-4 minutes.
- In a separate small bowl, mix together the sweetened condensed milk, cocoa powder, vanilla, and 1 1/2 cups of chocolate chunks.
- Carefully add the chocolate mixture to the whipped cream, folding gently until fully combined.
- Pour the mixture into a loaf pan, smoothing the top for even freezing.
- Sprinkle the reserved 1/2 cup of chocolate chunks on top.
- Cover the pan with plastic wrap and freeze for 18-24 hours.