
There are nights when you crave something sweet and delightful, but the thought of standing over a hot stove just feels like too much. Perhaps you remember the joy of indulging in a creamy cheesecake – that luscious bite that practically melts in your mouth. Now imagine being able to savor that same delight without ever turning on the oven! This comforting No-Bake Cheesecake Greek Yogurt Cups recipe captures all the joyful nostalgia of creamy cheesecake, while being simple to prepare and utterly satisfying. With flavors of rich cream cheese, the sweetness of maple syrup, and a delightful crunch from graham crackers, it’s a hug in a jar.
Why You’ll Love This No-Bake Cheesecake Greek Yogurt Cups Recipe
A Perfect Solution for Busy Lives
In our busy lives, finding time to indulge in the sweet things can feel like an unattainable luxury. Maybe you feel like you just don’t have the time for that elaborate dessert recipe you’ve been pinning for ages. You’re not alone! Most days, it can feel overwhelming to juggle work, family, and everything else life throws at you.
The Comfort in Every Bite
Fear not! These No-Bake Cheesecake Greek Yogurt Cups provide a delightful escape from the chaos. You can whip up these dreamy little jars in mere minutes, leaving more time for family and laughter. Each spoonful is mouthwateringly light yet rich, and they evoke warm memories of happy gatherings and sweet celebrations. The soft waves of yogurt, sweetened with maple syrup and accented with zesty lemon, create a symphony of flavors that will have your taste buds dancing. What’s not to love?
Quick Answer: The easiest way to make No-Bake Cheesecake Greek Yogurt Cups creamy and rich is by using full-fat cream cheese and Greek yogurt.
Ingredients Breakdown & Prep Tips
To whip up these delightful No-Bake Cheesecake Greek Yogurt Cups, gather the following:
- 1 sleeve of graham crackers (9 crackers) — Provides that irresistible crunch; you can use gluten-free if needed.
- 1 tablespoon white or brown granulated sugar — Sweetens the crust; brown sugar offers a deeper flavor.
- 3 tablespoons coconut oil, melted — Binds the crumbs together; feel free to substitute with unsalted butter if desired.
- 8 ounces full-fat cream cheese, softened — Creates that creamy texture; allow it to sit out for about 30 minutes before mixing.
- 4 tablespoons pure maple syrup — Adds a natural sweetness; honey works well as a substitute, too.
- 2-3 tablespoons lemon juice (juice from one lemon) — Brightens the flavors; fresh lemon zest adds even more zing.
- 1 teaspoon vanilla extract — Enhances the overall taste, making it warm and comforting.
- 1/4 teaspoon fine sea salt — Balances sweetness; a must for highlighting the flavors.
- 16 ounces (about 2 1/4 cups) 2% or whole fat plain Greek yogurt — Composes the creamy filling; opt for full-fat for irresistible richness.
- Optional: 1 1/4 cup mixed berries of choice or homemade strawberry sauce — Toppings add a fresh burst of flavor; think seasonal fruits to elevate your dessert. You could also drizzle some homemade chocolate sauce on top!
Now that you have everything at hand, let’s walk through the preparation process!
Prep Method with Sensory Cues
- Crush the crackers: Begin by removing the graham crackers from the sleeve and placing them into the bowl of a food processor. Pulse for about 20 seconds until they crumble into fine crumbs. The sound of crushing and the fragrant aroma fills the air – it’s a reminder of sweet desserts from years gone by.
- Mix with sweetness: Add the sugar and melted coconut oil to the crumbs and pulse again until well blended. You’ll know it’s ready when the mixture starts sticking together, almost reminiscent of sandy beach days.
- Mind the layers: Divide that enticing graham cracker mixture between 4-5 mason jars or bowls. Use the back of a spoon to press the crumbs down firmly, forming a beautiful layer at the bottom. It doesn’t have to be perfect—allow room for a little character, just like in life!
- Prepare the filling: Rinse the food processor bowl before adding the softened cream cheese. Blend until smooth, which takes about 15 seconds. The smell of the cream cheese wafting up is pure joy!
- Sweeten and flavor: Add in the maple syrup, lemon juice, vanilla extract, and salt. Blend it on high, pausing to scrape down the sides if needed. Soon, you’ll have a silky smooth mixture that’s practically begging to be tasted.
- Incorporate the yogurt: Finally, add the Greek yogurt to the mix and pulse until everything melds beautifully together into a velvety blend.
- Layer and chill: Spoon the creamy filling into your prepared containers over the graham cracker crusts. Give each container a gentle knock against the counter to remove air bubbles and flatten the surface. It will soon become a masterpiece!
- Toppings galore: Top each yogurt cup with your choice of berries or homemade strawberry sauce. These fresh additions not only make it visually appealing but introduce bursts of flavor.
Taste this wonderful creation immediately, or for a thicker result, seal the lids and chill in the refrigerator for at least 4 hours. The waiting only adds to the suspense! Store prepared cheesecake yogurt cups in the fridge and indulge within five days for the best satisfaction.
Avoid These Mistakes
Common Mistakes & Fixes
Making No-Bake Cheesecake Greek Yogurt Cups can be a delightful experience, but here are a few common mishaps to keep in mind:
- Not letting the cream cheese soften: Be sure to leave your cream cheese out long enough to soften. If it’s too cold, it won’t blend smoothly, creating lumps instead of creaminess.
- Overmixing the yogurt: Once you add the Greek yogurt, mix just until combined. Over-blending can lead to a thin consistency, which won’t produce that thick cheesecake texture.
- Uneven layering: When pressing the graham cracker crust, avoid the urge to rush it. The more evenly pressed your crumbs, the better the overall presentation and taste.
Pro Tips to Get It Right
- Chill Longer: If you’re a lover of truly thick cheesecake, let your jars chill in the fridge overnight. The flavors have a chance to meld beautifully, and you’ll be rewarded with a creamy delight.
- Adapt with Fruits: Be playful! Seasonal fruits can be incorporated into the mix. Sliced bananas with a drizzle of honey, or peaches during their prime, will make each bite even more special.
Best Ways to Serve It
These No-Bake Cheesecake Greek Yogurt Cups are a perfect treat for all occasions! Picture a cozy evening with the family, where you each have a jar in hand, sharing stories while sipping tea or coffee together. Perhaps it’s a backdrop to a birthday celebration, where you want to keep things light yet festive. Decorate with whipped cream and fresh berries to make it feel extra special. These cups can make an appearance at a picnic, or simply as a fantastic weekday dessert to brighten a mundane evening.
Storage + Seasonal or Dietary Variations
Store any leftovers in the refrigerator, covered, for about five days. If inspiration strikes, why not freeze them for a refreshing treat later? You’ll love how they thaw into a creamy dessert perfect for warm summer days.
Looking for dietary variations? Consider using dairy-free cream cheese and yogurt options to cater to different dietary needs while still allowing everyone to enjoy a delicious dessert.
FAQ Section
Can I use low-fat cream cheese for this recipe?
Absolutely! However, using full-fat cream cheese will enhance the creaminess and flavor, which is what you want for a cheesecake flavor.
What fruit toppings work best?
You can use any fruit! Blueberries, strawberries, raspberries, or a homemade strawberry sauce work wonderfully and add a nice contrast to the creamy base.
Is it okay to prepare these cups in advance?
Yes! In fact, they taste even better when allowed to chill for a few hours or overnight. It’s a great way to be prepared for gatherings or busy weeks ahead.
Can I use flavored yogurt instead of plain?
If you like extra sweetness, feel free to experiment! Keep in mind that this may alter the flavor profile, so make sure it complements the overall taste you want.
Conclusion
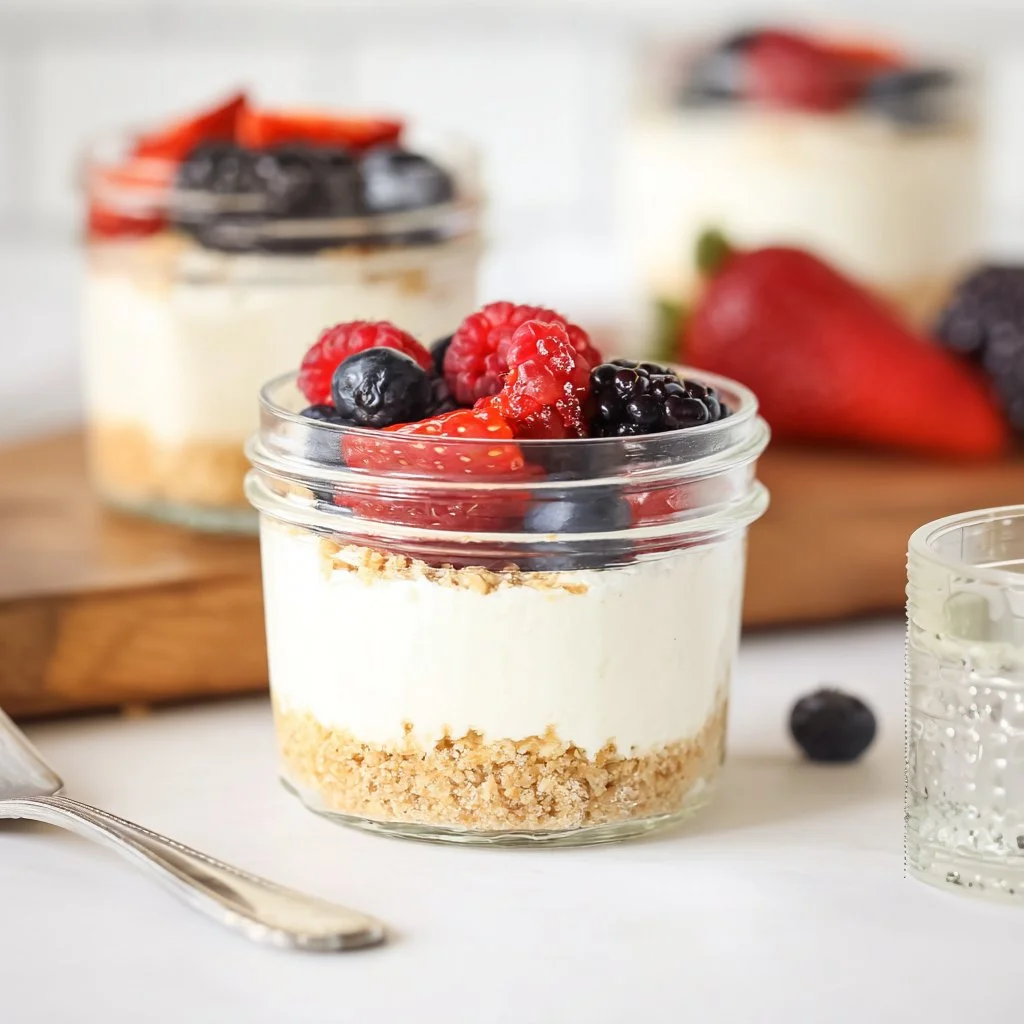
In these busy times, finding a little moment to indulge ourselves is precious, and these No-Bake Cheesecake Greek Yogurt Cups are an ideal way to do just that. The creamy filling, paired with the crunchy crust and topped with berries, is a beautiful reminder of the joy of sharing food and creating memories.
If this dish brings back a memory, pass it on. Someone you love might need it today. For more delightful recipes like this, check out Creamy Garlic Parmesan Chicken Pasta and Homemade Strawberry Sauce for topping options!
No-Bake Cheesecake Greek Yogurt Cups
Ingredients
Method
- Crush the graham crackers in a food processor until they form fine crumbs.
- Add sugar and melted coconut oil to the crumbs and pulse until combined.
- Divide the mixture between 4-5 mason jars, pressing down to form a crust.
- In a clean food processor, blend the softened cream cheese until smooth.
- Add maple syrup, lemon juice, vanilla extract, and salt; blend until silky.
- Incorporate the Greek yogurt and pulse until smooth.
- Spoon the filling into the jars over the crust, smoothing the top.
- Top with berries or sauce of choice.
- Chill in the refrigerator for at least 4 hours before serving.