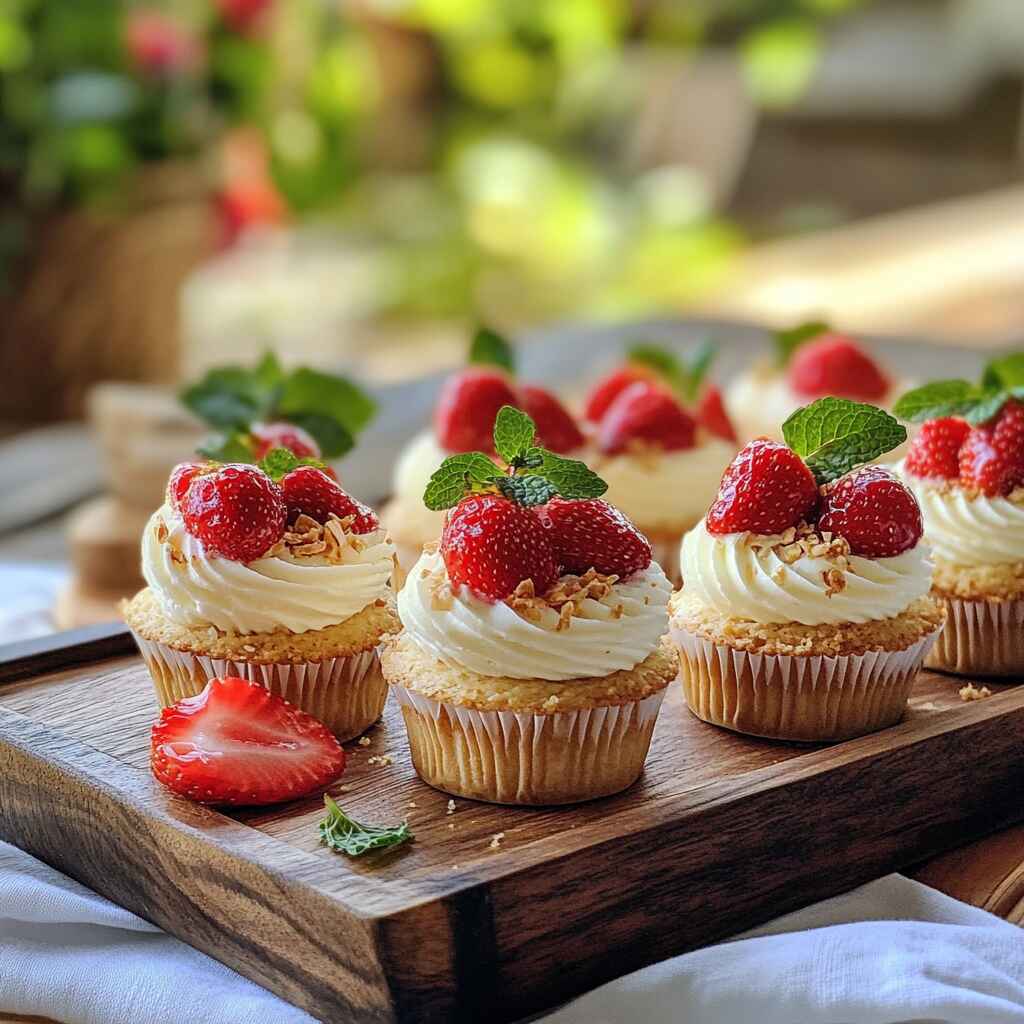
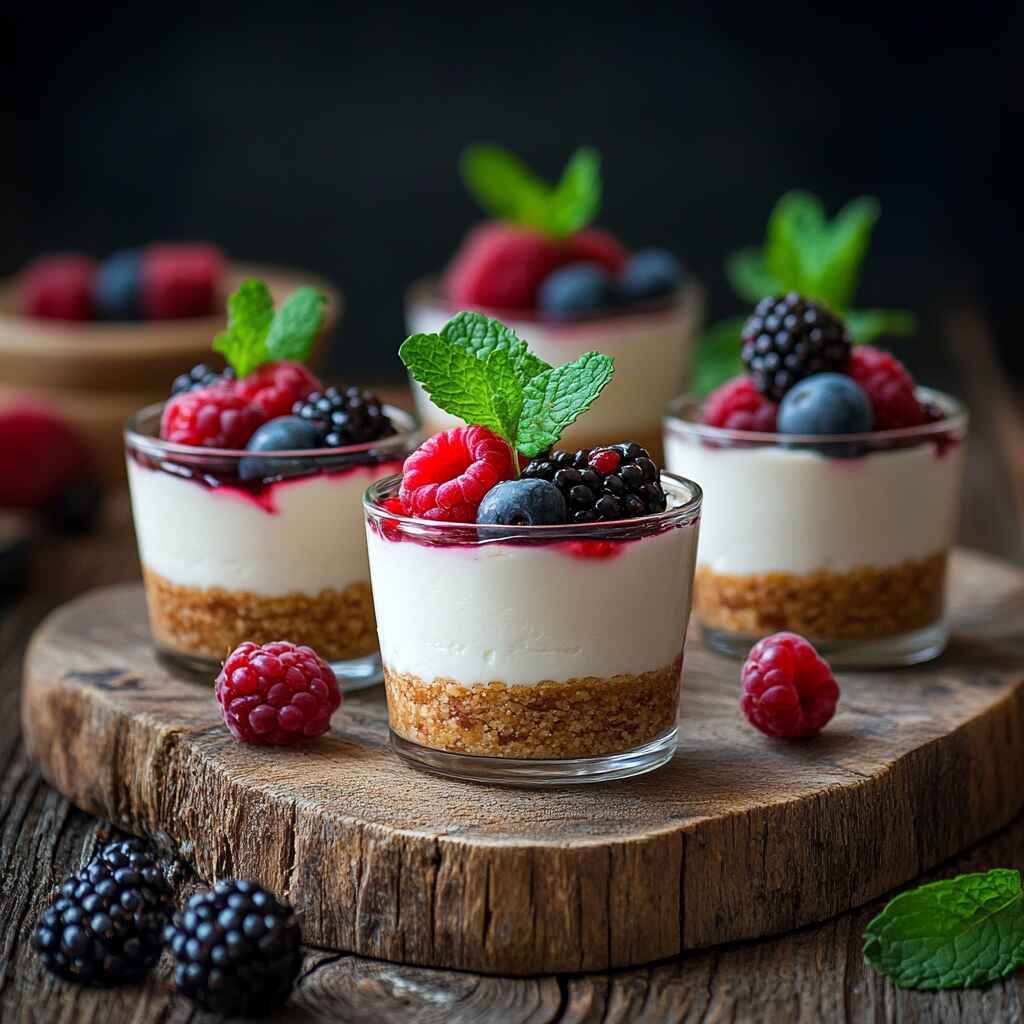
No-bake cheesecake cups are the kind of dessert that checks every box: creamy, effortless, and crowd-pleasing. Whether you’re short on time or avoiding the oven in summer, these individual treats come together in a snap. In this article, we’ll explore how to make no-bake cheesecake cups from scratch, simple tips to get the texture just right, and creative flavor ideas to make them your own. From story to serving, this is your complete guide to mastering no-bake cheesecake in the most delightful cup form.
No-Bake Cheesecake Cups from the Heart of My Kitchen
Where This Cheesecake Story Begins
I still remember the first time I made no-bake cheesecake cups. It wasn’t during a fancy dinner party or a planned baking day. It was a summer afternoon, the air thick with heat, and I didn’t dare turn on the oven. I opened the fridge, spotted cream cheese and leftover whipped cream, and just followed my instinct. What came out of that moment wasn’t just a dessert it was a memory, served in a little glass cup.
Growing up, my mom had a soft spot for creamy desserts. Her baked cheesecake was divine, but it needed time baking, cooling, chilling. But these no-bake cheesecake cups? They taste like tradition wrapped in efficiency. I remember my grandfather always quietly observing giving me a thumbs-up when I handed him one. No words, just the hum of approval between spoonfuls. That’s how I knew it was special.
And that’s the thing: no-bake cheesecake cups aren’t just easy, they’re personal. Each cup feels like a tiny gift. They’re made for summer picnics, baby showers, or that Tuesday night you need something sweet but stress-free.
How to Make No-Bake Cheesecake Cups at Home
The Ingredients You’ll Need
The beauty of no-bake cheesecake cups lies in their simplicity. Most ingredients are probably already in your kitchen. You’ll need cream cheese full-fat for best texture whipped cream or whipped topping, crushed graham crackers (or cookies), and a bit of sugar. Vanilla extract adds warmth, and lemon juice cuts through the richness just enough. For topping, you can go classic with cherry pie filling or opt for fresh fruit, chocolate ganache, or even crushed candy.
Here’s a basic breakdown of what you’ll need:| Ingredient | Quantity |
|---|---|
| Cream cheese (softened) | 8 oz |
| Whipped topping or whipped cream | 1 cup |
| Powdered sugar | 1/2 cup |
| Vanilla extract | 1 tsp |
| Lemon juice | 1 tbsp |
| Graham cracker crumbs | 3/4 cup |
| Melted butter | 2 tbsp |
| Toppings (fruit, jam, or chocolate) | Optional |
If you like fruity layers in your treats, you’ll love combining this recipe with ideas from my Strawberry Crunch Mini or topping them with Frozen Peach Yogurt for a refreshing twist.
Step-by-Step Assembly
Start by making the crust. Mix graham cracker crumbs with melted butter and press them gently into the base of each cup. You can use mason jars, dessert glasses, or even small plastic containers if you’re prepping for a party. Chill the crust for 10–15 minutes while you whip up the filling.
In a bowl, beat the softened cream cheese until smooth. Add powdered sugar, vanilla, and lemon juice. Fold in the whipped cream gently don’t overmix. Spoon or pipe the mixture over the chilled crust. Top with fresh berries, fruit compote, or even crushed cookies for crunch.
These cheesecake cups set quickly in the fridge just 1–2 hours and they’re good to go. That makes them perfect for last-minute entertaining or easy meal-prepping.
Don’t forget because these are no-bake, there’s flexibility to adapt the recipe to seasonal flavors. Use peach, pumpkin, or chocolate depending on what’s in your pantry. Or go nostalgic and serve them alongside my creamy Banana Pudding Mini Cakes for a retro dessert bar.
Flavor Twists and Creative Ways to Serve Cheesecake Cups
Easy Variations for Every Palate
The real fun begins once you master the base recipe. No-bake cheesecake cups are like a blank canvas ready to be painted with whatever flavors you crave. Want something refreshing? Fold in a spoonful of lemon curd or swirl in raspberry preserves. Craving chocolate? Add cocoa powder to the filling or layer in chocolate cookie crumbs for a cookies-and-cream version.
For fall gatherings, try adding pumpkin purée and pumpkin spice for a seasonal flair. Or keep it summery with layers of chopped strawberries, similar to what I use in my Strawberry Shortcake recipe. You can even go tropical with pineapple, mango, or coconut flakes stirred into the cream cheese base.
One of my favorite pairings is peach and vanilla. The combo reminds me of warm Southern evenings and inspired a flavor version using fruit from my Southern Peach Cobbler. Just chop up ripe peaches, simmer briefly with a little sugar and lemon juice, and spoon on top of each cup.
You can also boost the texture with layers of granola or crushed toffee between the cheesecake and the topping. The contrast of creamy and crunchy makes every bite more satisfying.

Single-Serve Style for Any Occasion
No-bake cheesecake cups are ideal for everything from weekday cravings to elegant entertaining. Since they’re individually portioned, there’s no slicing, no serving stress, and no cleanup drama. Just hand out the cups and a spoon that’s it!
For baby showers or birthdays, pipe the filling into mini mason jars or decorative plastic wine cups. Want a rustic picnic look? Serve in small jam jars with raffia bows. For formal occasions, use stemmed glassware and top with gold-dusted fruit or chocolate shavings.
If you’re prepping ahead, these cheesecake cups hold beautifully in the fridge for up to 4 days just like my Mini Cakes for a Special Treat, which also freeze well if you need longer storage.
For a dessert board idea, offer several flavors side by side: strawberry swirl, cookies and cream, lemon blueberry, and peanut butter chocolate. Your guests can grab one (or two) and enjoy the tasting adventure. This style is especially fun for summer BBQs or themed dinners, much like when I serve Zucchini Bread slices alongside seasonal fruit salads.
Whether you keep them classic or try something bold, no-bake cheesecake cups are proof that quick desserts can still be exciting, delicious, and stunningly presented.
Tips, Storage, and Smart Serving Suggestions
Make-Ahead Tips and Storage Advice
No-bake cheesecake cups are a lifesaver when you’re short on time. You can prep them up to 2–3 days in advance, making them perfect for parties or meal prep. Once assembled, store them in the refrigerator in an airtight container or covered with plastic wrap. They’ll stay creamy and firm without separating.
If you’re layering with fresh fruit or sauces, add those toppings the day of serving to keep everything vibrant and crisp. If you’re using jam or curd, go ahead and add it in earlier the flavors will even deepen as they sit.
Wondering if these freeze well? The answer is yes — kind of. The texture does change slightly after thawing, but if you’re using sturdy cups (especially plastic or glass jars), they freeze nicely for up to a month. Just thaw them in the fridge overnight.
Serving Moments That Shine
These cheesecake cups bring a polished look to the simplest occasions. Picture a summer afternoon picnic with a tray of chilled cups, each topped with a slice of fresh peach or a swirl of strawberry sauce. Or a cozy evening dessert served in a tea cup with crushed ginger snaps on top.
You can even use these for dessert boards or make-your-own bar setups. Arrange the cheesecake filling, crust, and toppings buffet-style and let guests layer their own. It’s interactive, easy, and guaranteed to impress.
No matter how or when you serve them, no-bake cheesecake cups will always deliver on flavor and presentation. They’re the type of dessert that whispers effort but screams celebration. And whether it’s a last-minute surprise or a planned event, they bring the magic one spoon at a time.
FAQ: No-Bake Cheesecake Cups
What are no-bake cheesecake cups made of?
They’re made with a base of cream cheese, whipped topping (or homemade whipped cream), powdered sugar, vanilla extract, and lemon juice for brightness. The crust is typically a mix of crushed graham crackers and melted butter. You can customize them with fruit, chocolate, or cookie toppings.
Can I make no-bake cheesecake cups ahead of time?
Yes! These cups are ideal for prepping in advance. Make them 1–3 days ahead and store in the fridge. For best presentation, add fresh toppings like berries or jam just before serving.
How do I thicken no-bake cheesecake filling?
To achieve a firm, creamy texture, use full-fat cream cheese and whip it thoroughly before folding in whipped cream. Chilling the cups for at least 2 hours helps them set. Avoid overmixing, and if needed, add a spoonful of sour cream or Greek yogurt for body.
Are no-bake cheesecake cups freezer-friendly?
They can be frozen, though the texture may slightly change upon thawing. Use freezer-safe containers and thaw slowly in the fridge overnight. For long-term storage, avoid fresh fruit toppings until ready to serve.
Conclusion
No-bake cheesecake cups are proof that easy doesn’t have to mean boring. They’re creamy, customizable, and the perfect make-ahead dessert for any occasion. Whether you’re planning a party, making a sweet treat for your family, or just craving something indulgent on a weeknight, these cheesecake cups always deliver.

