
There’s something wonderfully comforting about the familiar sounds of a bustling kitchen, but sometimes, amidst the daily chaos—a busy Tuesday or a hectic afternoon—what we crave more than anything is a crunchy, healthy snack. Enter Kale Chips! These delicious greens don’t just offer a delightful crunch; they also fill that void, becoming the perfect answer to our lingering need for nourishment and joy in our busy lives. Whether you keep them as a pantry staple or whip them up on a whim, Kale Chips are the loving embrace we all need during those frantic moments.
Why You’ll Love This Kale Chips Recipe
Embracing Our Daily Struggles
In our ever-busy lives, cooking can often feel like a monumental task, especially if you’re juggling the demands of work and family. Picky eaters, looming snack attacks, and the endless quest for something healthy can leave even the most seasoned chefs feeling frustrated. You may find yourself scavenging for something nutritious—something that will both satisfy those cravings and reassure the heart that you’re taking care of yourself.
A Satisfying Solution
This Kale Chips recipe is your ticket to solving that daily conundrum. Not only do these chips provide a satisfying crunch, they are a nourishing alternative to traditional snacks. With a handful of simple ingredients, you’ll find that making Kale Chips is as easy as it is rewarding. This snack not only satisfies your salty cravings but does so in a way that whispers love and warmth with each bite. Rich in nutrients and brimming with delightful flavor options, these Kale Chips celebrate everything good about nourishing your body and soul.
Quick Answer: The easiest way to make Kale Chips creamy and rich is by using the right amount of olive oil and a gentle massage of the leaves for even coverage.
Ingredients Breakdown & Prep Tips
Gathering Your Essentials
Making Kale Chips is a deliciously simple endeavor. Here’s what you’ll need:
- 1 bunch curly kale: This is the star of the show! Its hearty nature provides that perfect crunch when baked.
- ½ tsp salt: It enhances the natural flavor of the kale, making every bite that much more satisfying.
- 2 tbsp olive oil (or oil spray as needed): This adds richness, creating the crispy texture we all love. You can also use oil spray for a lighter touch.
Step-by-Step Prep Method
Step 1: Preheat the Oven
Start by preheating your oven to 300°F (150°C). This gentle heat will gradually crisp up the kale without burning it—just the way we want it.
Step 2: Prepare the Baking Sheets
Line two baking sheets with parchment paper. This is a crucial step, as it prevents the kale from sticking and ensures an even bake.
Step 3: Wash & Dry the Kale
Next, wash the curly kale thoroughly under cold water to remove any grit. Once clean, pat it dry with a clean kitchen towel. The drier your kale, the crisper your chips will turn out!
Step 4: Tear the Kale
Tear the kale into large pieces, as it will shrink while baking. You can decide to leave the stems attached for extra chew, or remove them if you prefer a more delicate chip.
Step 5: Oil and Spice It Up
In a very large bowl, toss the kale with the olive oil or spray it liberally with oil. It’s essential to evenly coat each piece, so your fingertips are your best tools here! Add salt and any spices from your flavor arsenal (onion powder, garlic powder, paprika, etc.). Massage the kale gently for at least three minutes to ensure every leaf is infused with flavor.
Step 6: Bake to Perfection
Spread the kale leaves out on the lined baking sheets, leaving space between each leaf to allow for proper air circulation. If you have leftover kale that won’t fit on the sheets, store it in the fridge until you’re ready for round two! Bake for 25 minutes. After that, flip the leaves and continue to bake as needed until they are crispy. Just keep an eye on them during those final minutes; ovens can be tricky, and we want to avoid any burnt bits!
Step 7: Cool and Store
Once your Kale Chips are done, let them cool, as they will continue to crisp up as they cool down. Enjoy them right away for the best experience, but if you have leftovers, store them in the fridge for up to four days. They’ll be crispiest when freshly made, but who says you can’t whip up more whenever the craving strikes?
Avoid These Mistakes
Common Mistakes & Fixes
- Leaving too much moisture on the kale: This can lead to soggy chips. Make sure to dry your kale thoroughly before tossing it with oil.
- Crowding the baking sheet: If the leaves are touching, they won’t crisp up. Spread them out to allow for ample airflow.
- Not seasoning enough: Kale loves flavor! Don’t be shy with your seasonings; experiment with your favorite spice blends to make them pop.
Pro Tips to Get It Right
- Be sure to massage the kale leaves long enough for an even coating of oil. It may feel a bit silly, but this step is vital for achieving that delightful crunch.
- If you want to get creative, stock up on various flavorings on hand; dill, lemon zest, or even nutritional yeast can turn up the flavor notch! And remember, if you make a mistake, it’s just part of the learning process; cooking is all about experimenting and growing.
Serving, Storage & Creative Variations
Best Ways to Serve It
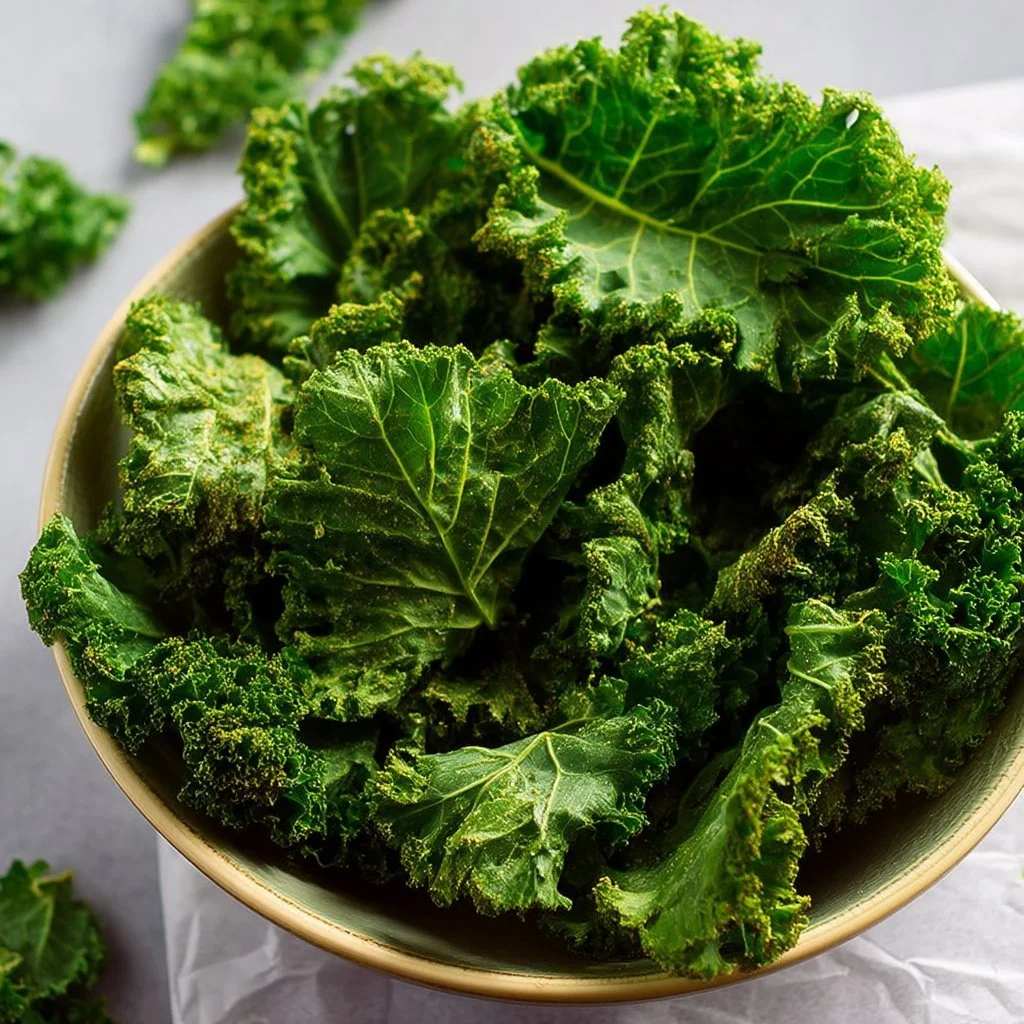
Imagine sitting down with loved ones—maybe a cozy movie night, a casual gathering, or even just a break during your busy day—Kale Chips are the perfect crunchy companion. Their vibrant green hues and irresistible crunch will surely be a hit. Serve them warm from the oven or set out as a delightful appetizer alongside dips. They bring that homemade touch to any table!
Storage, Seasonal & Dietary Variations
Should you find yourself with leftover Kale Chips (though they’re unlikely to last long!), they can be stored in an airtight container in the refrigerator for up to four days. They’re best fresh, so don’t hesitate to double the batch! If you love the idea of seasonal variations, why not add pumpkin spice in the fall or sprinkle dried herbs in during summer? Plus, Kale Chips are great for gluten-free and vegan diets—fitting seamlessly into many healthy eating plans!
FAQ SECTION
What types of spices can I use?
You can get creative with your spices! Try garlic powder, smoked paprika, or even a sprinkle of lemon pepper for a different spin on flavor. The options are truly endless!
Can I use other types of kale?
Absolutely! While curly kale is a favorite, you can also use Lacinato kale if you prefer a slightly different texture. Just be sure to adjust cooking times, as different kinds may crisp at different rates.
How can I make these chips extra cheesy without cheese?
Sprinkle some nutritional yeast on the kale before baking. It will give a cheesy flavor that’s perfect for those looking for a dairy-free option!
Can I freeze Kale Chips?
Since these are best enjoyed fresh, freezing is not recommended. However, if you have made a large batch that you won’t eat in a few days, you could try freezing them, but they may lose some crunch after thawing.
With love and care, Kale Chips can turn into your go-to snack for any occasion. From those busy days to cozy evenings, they bring warmth into every moment. So go ahead, gather your ingredients, and let the delightful crispy journey begin!
Kale Chips
Ingredients
Method
- Preheat the oven to 300°F (150°C).
- Line two baking sheets with parchment paper.
- Wash the curly kale under cold water and pat it dry with a clean kitchen towel.
- Tear the kale into large pieces, leaving stems if desired.
- In a large bowl, toss the kale with olive oil or spray it liberally.
- Add salt and any additional spices, massaging the kale gently for at least three minutes.
- Spread the kale leaves out on the lined baking sheets, ensuring they are not crowded.
- Bake for 25 minutes. Flip the leaves and continue to bake until crispy, checking to avoid burning.
- Let the Kale Chips cool before enjoying or storing in an airtight container for up to four days.