
Sometimes, the chaos of a busy week has us all reaching for a little solace, doesn’t it? Picture this: it’s Tuesday evening, the kids are restless, work emails are still chiming in, and dinner feels like yet another mountain to climb. On days like these, what I crave isn’t just food but a warm embrace from my kitchen. And nothing brings that cozy feeling home quite like the rich, chocolaty aroma of freshly baked brownies wafting through the air. Enter my delightful Greek Yogurt Brownies—a sweet remedy for any stressful day, and a perfect excuse to gather around the table with loved ones.
Why You’ll Love This Greek Yogurt Brownies Recipe
Finding Calm Among the Chaos
As we all navigate the demands of daily life—whether it’s cooking for one or trying to please a crew of picky eaters—finding time to prepare something that warms both the heart and the belly can feel daunting. I’ve been there: facing the fridge with its half-empty shelves and wondering what I can whip up that will bring joy to my family. The beauty of these Greek Yogurt Brownies lies in their simplicity. They’re easy to make, packed with flavor, and a delightful treat that everyone—yes, even the picky ones—will adore.
A Sweet Solution to Satisfy the Soul
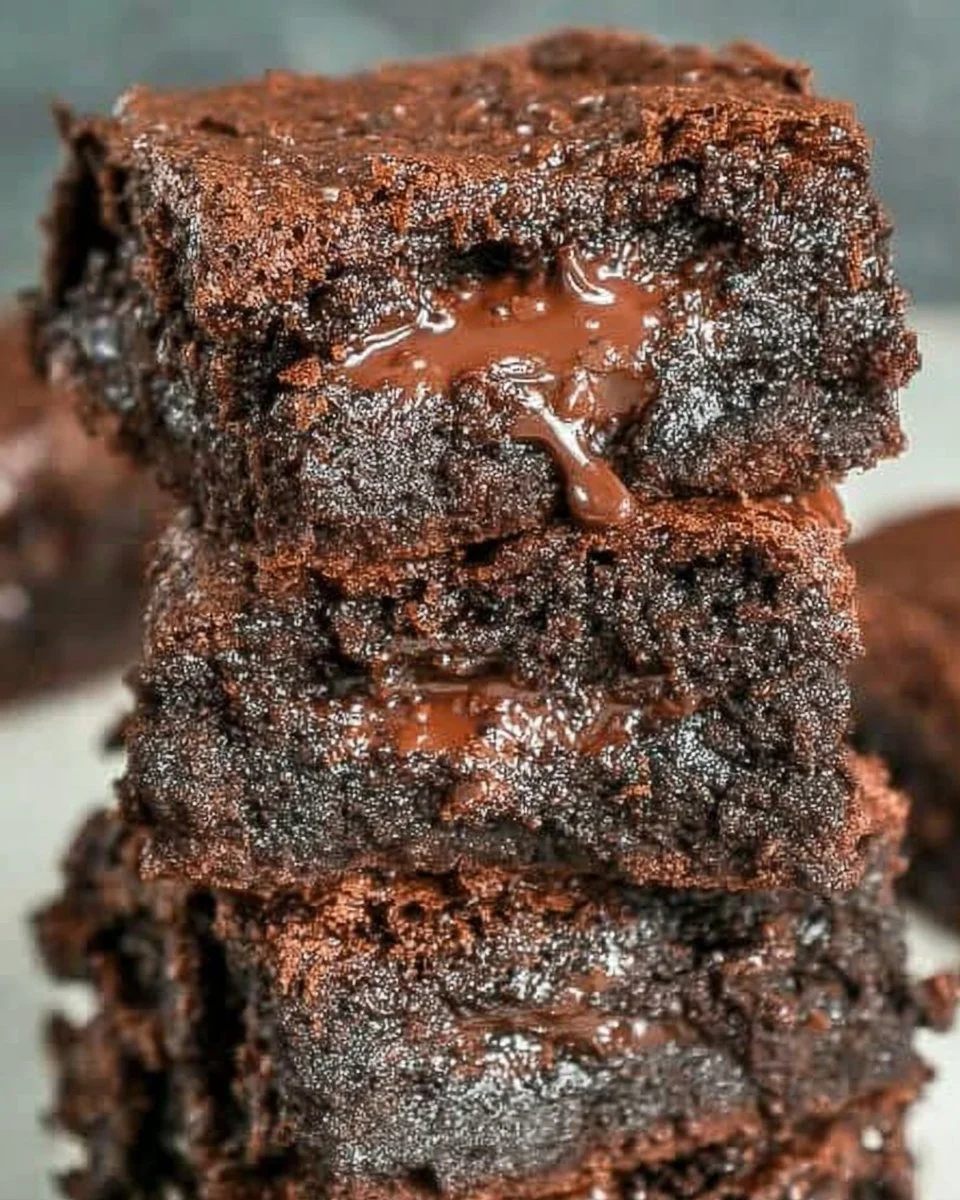
These Greek Yogurt Brownies are a comforting solution to your daily struggles, offering moistness from the yogurt that makes them oh-so-decadent, yet they carry an added benefit of good-for-you ingredients. With every bite, you’re not just indulging your sweet tooth; you’re enjoying a slice of joy—one that uplifts the spirit and soothes the heart. Plus, with Greek yogurt as a key ingredient, you can feel a little less guilty about treating yourself! The clever blend of flavors, including rich chocolate and a hint of creamy goodness, makes for a brownie that you can return to time and time again.
Quick Answer: The easiest way to make Greek Yogurt Brownies creamy and rich is by using creamy vanilla yogurt as a key ingredient.
Ingredients Breakdown & Prep Tips
Gathering Your Ingredients
When it comes to creating these luscious Greek Yogurt Brownies, every ingredient plays a crucial role:
- 1/2 cup Chocolate (chopped): This rich chocolate is essential for that deep flavor and gooey texture we crave in a brownie.
- 1 cup Vanilla Yogurt: This is your secret weapon! It keeps the brownies moist while adding a subtle vanilla sweetness. For a fun twist, try flavored yogurt if you’re feeling adventurous!
- 1/2 cup Sugar of choice: Whether you prefer white, brown, or a sugar-free option, this will balance the bitterness of cocoa.
- 3/4 cup All-purpose Flour: This forms the structure of your brownies; gluten-free flour is a fantastic substitute if needed.
- 1/2 cup Cocoa Powder: For that rich chocolatey taste that makes brownies irresistible.
- 1/2 teaspoon Baking Soda: This helps the brownies rise, giving them that perfect texture—fluffy but fudgy!
- 1/2 cup Milk of choice: I recommend using unsweetened almond milk, but any milk you prefer works! This will help to create a silky batter.
- 1 cup Chocolate Chips (optional): Stir them in for an extra indulgent brownie! They melt beautifully and create pockets of gooey goodness.
Let’s Get Cooking
Now that we have our ingredients sourced, it’s time to dive into the fun part—making these delightful brownies.
Step 1: Preheat the Oven
Begin by preheating your oven to 350°F (175°C). This ensures a nice, even baking temperature, critical for those beautiful brownies.
Step 2: Prepare the Baking Dish
Line an 8 x 8-inch (20x20cm) pan with parchment paper, leaving a bit of an overhang. This will make removing the brownies a breeze once they’re baked, and it prevents sticking!
Step 3: Melt the Chocolate
In a microwave-safe bowl, add your chopped chocolate. Melt it in 30-second intervals, stirring in between until smooth. Let it sit for 1-2 minutes before mixing with yogurt and sugar.
Step 4: Combine Base Ingredients
In your bowl with melted chocolate, whisk in the yogurt and sugar until it’s all beautifully blended and smooth. This mixture should look glossy and luxurious!
Step 5: Flour Power!
Sift in the flour, cocoa powder, and baking soda. Gently mix until just combined; be careful not to overwork the batter, or your brownies may turn out tough.
Step 6: Add Milk & Mix Well
Pour in your milk and give it a good stir until everything is beautifully incorporated. The batter should be thick yet pourable.
Step 7: Chocolaty Goodness
Fold in the chocolate chips gently, distributing them throughout the batter. Each one adds a touch of sweet surprise with every bite.
Step 8: Bake to Perfection
Transfer your brownie batter into the prepared pan. Spread it evenly and slide it into the oven. Bake for about 25–30 minutes, or until a skewer inserted into the center comes out with a few moist crumbs. This is where the magic happens!
Step 9: Cool Before Cutting
Remove from the oven and let the brownies cool in the pan for 10 minutes. Then, carefully lift them using the parchment paper and transfer them to a wire rack to cool completely before cutting into squares.
Avoid These Mistakes
Common Mistakes & Fixes
- Overmixing the Batter: Mix just until ingredients are combined. Overmixing can lead to tough brownies. Treat your batter gently!
- Not Using Parchment Paper: Skipping this step may result in brownies sticking to the pan. Parchment paper is your best friend here!
- Underbaking: Remember, brownies continue to cook once out of the oven. They should be set around the edges but slightly soft in the middle.
- Ignoring the Cool Time: Cutting into hot brownies is tempting, but allowing them to cool will yield better texture and flavor.
Pro Tips to Get It Right
- Taste as You Go: Don’t hesitate to sneak a taste of that chocolate and yogurt mixture; you’ll know it’s perfect.
- Experiment with Flavors: Add a splash of vanilla extract or a pinch of sea salt to elevate the flavor!
- Enjoy the Process: Cooking is about love and joy. Take your time, put on some music, and cherish these moments in the kitchen.
Serving, Storage & Creative Variations
Best Ways to Serve It
Imagine sharing these warm, fudgy brownies with friends and family, topped with a scoop of vanilla ice cream, perhaps at a cozy dinner or a festive gathering. Picture the smiles on their faces, the laughter, and the sweet stories shared around the table. A sprinkle of powdered sugar on top makes for a delightful presentation, turning simple brownies into a special treat.
Storage, Seasonal & Dietary Variations
These brownies can be stored in an airtight container at room temperature for up to three days—if they last that long! For longer storage, slice and wrap individual brownies in plastic wrap, then freeze for up to three months. When you’re ready to indulge again, simply thaw at room temperature.
For a seasonal twist, add chopped walnuts or peppermint extract during the holiday season. Or, use pumpkin puree in place of some of the yogurt for a fall-inspired brownie that’s wonderfully moist!
FAQ Section
What can I use instead of Greek yogurt?
You can substitute Greek yogurt with any type of yogurt, such as regular yogurt or even applesauce for a fruity twist! Just keep your eye on the consistency for the best results.
Can I use coconut sugar?
Absolutely! Coconut sugar or any sugar of choice can be used to add a delicious caramel-like flavor.
How do I know when my brownies are done?
Insert a skewer into the center; it should come out with a few moist crumbs attached but not wet batter. Remember, the brownies set as they cool!
Can I add nuts to my brownies?
Certainly! Chopped walnuts or pecans fold beautifully into the batter. Just be mindful that it may change the texture slightly, but they add a wonderful crunch!
From my kitchen to yours, I hope these Greek Yogurt Brownies bring you as much joy as they have brought to my family. Happy baking!

Greek Yogurt Brownies
Ingredients
Method
- Preheat the oven to 350°F (175°C).
- Line an 8 x 8-inch pan with parchment paper, leaving some overhang.
- Melt the chocolate in a microwave-safe bowl in 30-second intervals, stirring until smooth.
- In the bowl with melted chocolate, whisk in the yogurt and sugar until well combined.
- Sift in the flour, cocoa powder, and baking soda; mix gently.
- Add the milk and stir until incorporated.
- Fold in the chocolate chips gently.
- Pour the batter into the prepared pan and spread evenly.
- Bake for about 25–30 minutes or until a skewer comes out with moist crumbs.
- Allow to cool in the pan for 10 minutes, then transfer to a wire rack to cool completely before cutting.