

Making homemade French bread can often seem like a daunting task, leading to kitchen frustration and food waste. Yet, with a simple recipe that is both nutritious and budget-friendly, you can enjoy this classic bread without stress. This French Bread recipe not only fulfills your cravings for a crusty, warm loaf but also checks the boxes for being heart-healthy and protein-packed. Dive into the art of baking and solve the mystery of cooking fatigue, providing delightful bread for your family or dinner guests.
Kitchen Frustration That Makes This Recipe a Lifesaver
In today’s bustling world, it’s easy to feel overwhelmed in the kitchen. Balancing meal prep and maintaining a varied diet can feel like an uphill battle. Cooking fatigue often kicks in, especially when the family asks, “What’s for dinner?” This simple French Bread recipe emerges as a solution to those dilemmas. It’s quick to whip up and offers endless versatility.
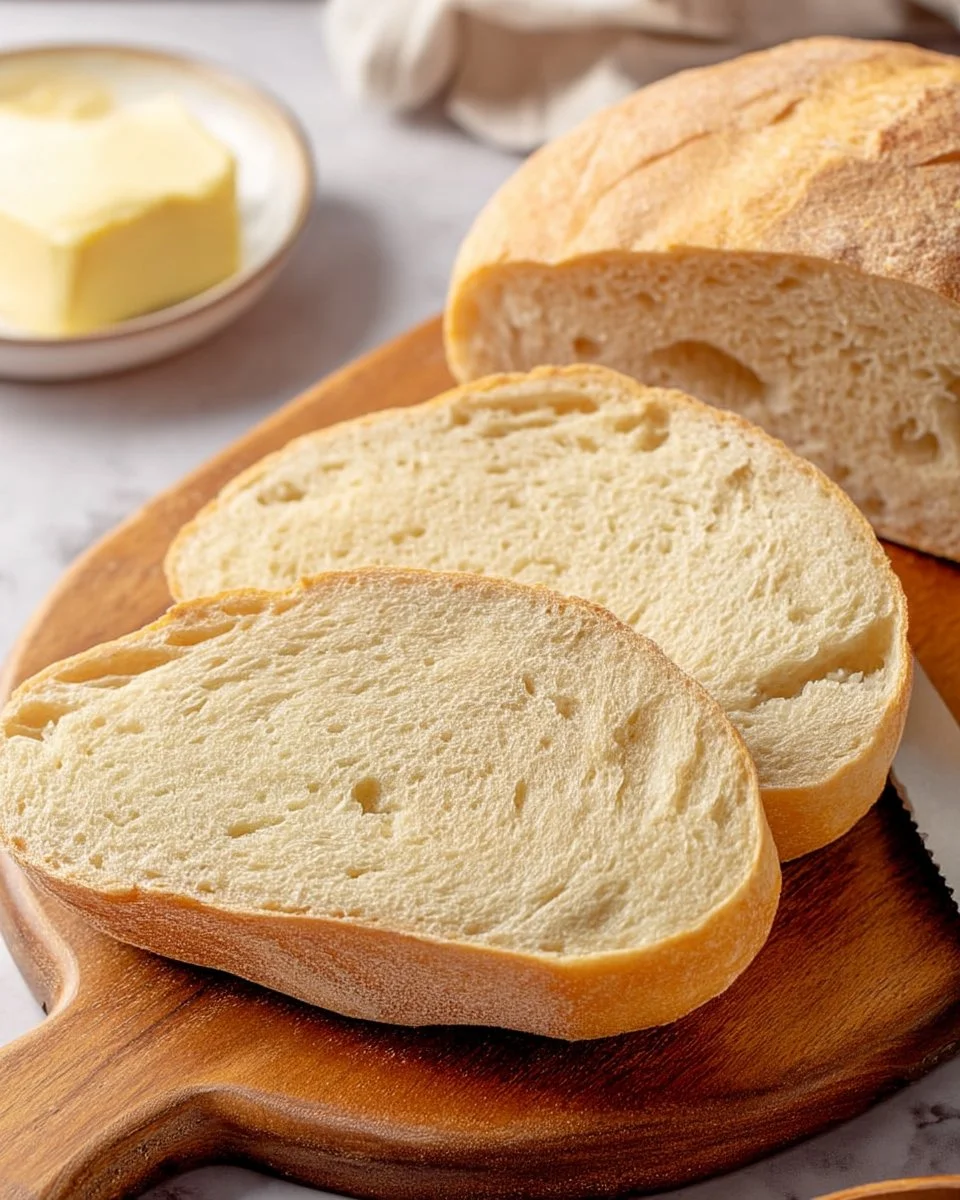
Imagine pulling a fresh, golden-brown baguette from the oven, the scent wafting through your home, beckoning your loved ones. You can slice it to accompany soups, make sandwiches, or simply enjoy it warm with a pat of butter. Better yet, the process allows you to bond with family members, turning cooking into quality time.
So, when you’re feeling pressured to stick to your meal plan or wondering how to feed a crowd, remember that this French bread recipe is your go-to solution. Planning a family gathering? Baking a couple of loaves not only eases the meal prep but elevates the dining experience, inviting warmth and memories to the table.
Why This French Bread Works So Well
Quick Answer: This recipe combines simplicity with quality ingredients to create crusty, flavor-filled bread that meets your nutritional goals without compromising on taste.
What makes this French Bread such a winner is the perfect balance of texture and flavor. The outside is golden and crisp, while the inside is soft and chewy, making it the ideal companion for any meal. Additionally, this recipe is time-saving, requiring only a few ingredients and minimal active preparation time.
You can feel good knowing that you are creating something homemade and wholesome. By opting for all-purpose or bread flour, you’re aligning with health-conscious choices that resonate with your nutritional goals. Eating homemade bread also offers a way to reduce waste, as you have full control over the portions you prepare, helping you avoid unnecessary leftovers.
Ingredients, Substitutions & Foolproof Tips
- 3 ¾ cups warm water (100°F-110°F): Activates the yeast, making your bread rise beautifully.
- 2 ½ teaspoons instant yeast (1 packet, rapid rise): Ensures a quick rise for light and airy bread.
- 4 ½ cups all-purpose flour (or bread flour): Provides the structure; bread flour yields a chewier texture.
- 2 ½ teaspoons kosher salt: Enhances flavor; a lower amount of table salt works as well.
- ¼ cup unsalted butter (cubed): Adds richness and flavor; using room temperature butter eases mixing.
Pro Tip: If you want to experiment with more nutrients, consider using whole wheat flour in part of the dough.
Step-by-Step Directions
- Prepare Yeast Mixture: In a small bowl, combine warm water and instant yeast. Whisk until dissolved and let sit for up to 10 minutes. This allows the yeast to activate, ensuring good rise.
- Mix Ingredients: In the bowl of a stand mixer fitted with a dough hook, combine flour, salt, and yeast mixture. Mix at low speed until fully incorporated, about 1 minute.
- Knead Dough: Increase mixer speed to medium and knead for 4-5 minutes until a soft and elastic dough forms. Test by pulling a small piece; it should stretch to form a thin windowpane.
- Incorporate Butter: Add cubed butter; reduce mixer speed to low. Knead until butter is fully incorporated and dough is shiny.
- First Rise: Transfer the dough to a lightly oiled bowl. Cover with plastic wrap, and let it proof at room temperature for 45-60 minutes, until doubled.
- Divide Dough: Turn the dough onto a lightly floured surface. Divide into two equal pieces, about 485g each.
- Shape Boules: Preshape each piece into a round ball. Flip, fold corners to center, flip again, and gently shape into a rounded ball.
- Rest Dough: Cover shaped dough and bench rest for 15-20 minutes. This extra time allows it to relax for shaping.
- Shape Bâtard: Flatten the rested dough slightly and shape into a tapered log. Perform two sets of thumb folds to seal the loaf.
- Final Proof: Place shaped loaves on a lined baking sheet, seam-side down. Cover with plastic and proof in a warm spot for 30-45 minutes until visibly puffed.
- Preheat Oven: While proofing, preheat the oven to 375°F.
- Score Loaves: Just before baking, score each loaf three times diagonally with a sharp knife about ½ inch deep.
- Bake Bread: Bake in the oven for 28-30 minutes, until a golden crust forms and an internal temperature reaches 205°F.
- Cool: Transfer freshly baked loaves to a wire rack and cool for at least 15 minutes before slicing.
Common Mistakes to Avoid & Pro Tips
- Mistake: Not measuring ingredients properly.
- Fix: Use a kitchen scale for the precise measurement of flour and dough.
- Mistake: Over-kneading the dough.
- Fix: Stop kneading once the dough is elastic; avoid aiming for a smooth appearance.
- Mistake: Not proofing in a warm enough location.
- Fix: Place dough in a turned-off oven with a pot of hot water; it provides a warm, steamy environment.
Pro Tips
- For a more artisan touch, use a baking stone for both an enhanced crust and heat distribution.
- If you’re feeling adventurous, add herbs or cheese to your dough for a flavorful twist!
Serving, Storage & Freezer Guide
How to Serve French Bread
This French Bread is incredibly versatile. Serve it alongside soups or salads, layer it with your favorite deli meats for sandwiches, or simply enjoy it toasted with a spread of butter or olive oil. The enjoyment comes not just from the bread itself but how it elevates any meal to a homemade feast.
How to Store French Bread
To keep your French Bread fresh, wrap it in a clean kitchen towel and store it at room temperature for up to three days. Avoid plastic wrap as it can make the crust soft.
Can You Freeze French Bread?
Absolutely! French Bread freezes beautifully. Slice the loaves before freezing for easier access later. Wrap them tightly in plastic and place in an airtight container or freezer bag. They can last in the freezer for up to a month. To enjoy, simply thaw at room temperature or pop slices in a toaster for a quick, warm treat.
Frequently Asked Questions
What can I use if I don’t have instant yeast?
You can substitute active dry yeast; simply dissolve it in warm water and let it sit for about 10 minutes until foamy before mixing with other ingredients.
Can I make this dough in advance?
Yes! You can prepare the dough and let it rise in the refrigerator overnight. This slow fermentation enhances flavor and texture.
Why is my bread not rising?
Ensure your yeast is fresh and active. If using warm water, make sure it’s not too hot as it can kill the yeast.
How do I know when my bread is done baking?
The loaf should be golden-brown and should sound hollow when tapped on the bottom. The internal temperature should read 205°F.
Conclusion
French Bread brings warmth not only through its delightful aroma but also through the memories it helps create. Baking offers a wonderful opportunity to connect with family while providing nourishment that fits your budget and health goals. Dive into your kitchen with this recipe, and discover how comforting and easy making homemade bread can be.
If this recipe reminds you of someone you love, share it with them. Your memories keep recipes alive.

French Bread
Ingredients
Method
- In a small bowl, combine warm water and instant yeast. Whisk until dissolved and let sit for up to 10 minutes.
- In the bowl of a stand mixer fitted with a dough hook, combine flour, salt, and yeast mixture. Mix at low speed until fully incorporated, about 1 minute.
- Increase mixer speed to medium and knead for 4-5 minutes until a soft and elastic dough forms.
- Add cubed butter and knead until fully incorporated and dough is shiny.
- Transfer the dough to a lightly oiled bowl. Cover with plastic wrap, and let it proof at room temperature for 45-60 minutes, until doubled.
- Turn the dough onto a lightly floured surface. Divide into two equal pieces.
- Preshape each piece into a round ball and gently shape into a rounded ball.
- Cover shaped dough and bench rest for 15-20 minutes.
- Flatten the rested dough slightly and shape into a tapered log.
- Place shaped loaves on a lined baking sheet, seam-side down. Cover with plastic and proof in a warm spot for 30-45 minutes.
- Preheat the oven to 375°F.
- Just before baking, score each loaf three times diagonally with a sharp knife about ½ inch deep.
- Bake in the oven for 28-30 minutes, until a golden crust forms and an internal temperature reaches 205°F.
- Transfer freshly baked loaves to a wire rack and cool for at least 15 minutes before slicing.