
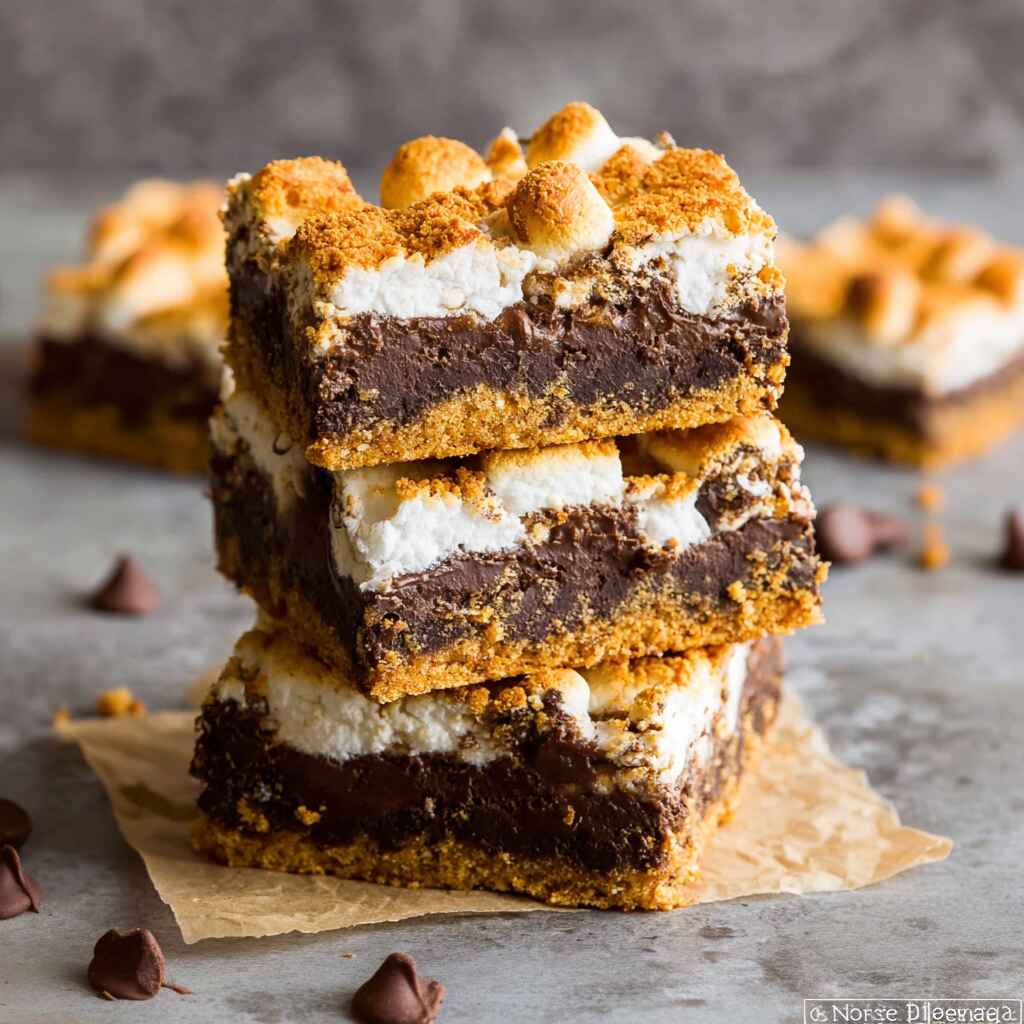
When you’re craving something sweet but don’t want to fuss with dozens of ingredients, these easy s’more bars hit the spot. They’re made with just four simple staples graham crackers, chocolate chips, marshmallows, and butter but the result is a warm, gooey treat that tastes like summer nights by the fire… even if you’re stuck indoors.
Why You’ll Love This Recipe
Because Sometimes Life Needs a Little Gooey Chocolate
You know those days when you just want to whip up something fun with zero stress and maximum reward? That’s where these easy s’more bars come in. With only four ingredients, there’s no guesswork. You mix, layer, bake, and boom melty chocolate, crispy graham crust, golden marshmallows.
Honestly, I made these with my daughter one rainy Saturday, and the house smelled like joy. She couldn’t stop licking the spoon, and I couldn’t stop sneaking bites from the pan.
No Campfire? No Problem. This Dish Brings the Magic Indoors.
These easy s’more bars are the perfect answer when you’re craving the flavor of toasted s’mores but don’t want to light a fire or even go outside. Whether you’re hosting a party, planning a movie night, or just treating yourself, this dessert delivers the comfort of a classic treat with the simplicity of a one-pan bake.
Ingredients Breakdown & Prep Tips
Ingredient List with Suggestions
These easy s’more bars are built from just four ingredients, but each one plays a big role. Whether you’re baking with kids or prepping a quick treat for guests, these pantry staples come together like magic.
Here’s a closer look:| Ingredient | Notes |
|---|---|
| Graham Cracker Crumbs | The crunchy base that brings a warm, nutty flavor. Try honey-flavored for a sweeter twist, or use gluten-free graham crumbs like Kinnikinnick for sensitive tummies. |
| Melted Butter | Helps bind the crust and gives it a rich, golden finish. Salted or unsalted both work just adjust for preference. |
| Chocolate Chips | The gooey heart of the bar. Use semi-sweet for classic flavor, or try dark chocolate chips for a more grown-up twist. |
| Mini Marshmallows | The toasted, fluffy topping that completes the s’more experience. Stick to minis for even browning and melt. |
Prep Method with Sensory Cues
Baking these bars is just as fun as eating them especially with the sweet scent of graham and chocolate wafting from the oven.
- Start the Oven – Preheat to 350°F so your crust bakes evenly.
- Prep the Pan – Line a 9×13 dish with foil and spray it to prevent sticking.
- Mix the Crust – Combine melted butter and graham cracker crumbs until the texture feels like damp sand.
- Press the Base – Spread evenly and firmly press into the pan. Try using the bottom of a glass or a rubber spatula.
- Bake the Crust – Bake for 8 minutes until slightly golden and fragrant.
- Layer the Goodies – Sprinkle chocolate chips over the warm crust, then top with a tight layer of mini marshmallows.
- Back in the Oven – Bake for 20 minutes, until the marshmallows are puffed and beautifully browned.
- Cool + Slice – Let them cool at room temp before chilling in the fridge. Slice cleanly with a sharp knife.
For a great crust tutorial, check out our Graham Cracker Crust Recipe a perfect base for many desserts!
| Nutrient | Per Serving |
|---|---|
| Protein | 7g |
| Carbs | 12g |
| Fat | 6g |
Avoid These Mistakes
Common Mistakes & Fixes
Even the simplest desserts have their pitfalls. Here are the most common ones when making easy s’more bars and how to fix them:
1. Crust Crumbles Apart
Problem: The graham cracker crust falls apart when you slice.
Fix: Be sure to press the crust firmly into the pan and use enough melted butter to bind it. If it looks too dry, add another tablespoon of butter.
2. Marshmallows Burn Too Fast
Problem: The marshmallow layer goes from golden to black.
Fix: Always place the pan in the center of the oven, and check at the 15-minute mark. Cover with foil if they’re browning too quickly.
3. Chocolate Doesn’t Melt Evenly
Problem: Some chocolate chips stay chunky.
Fix: Spread chips in a single, even layer right after pulling the crust from the oven. The residual heat helps them melt before baking again.
4. Bars Don’t Slice Cleanly
Problem: Sticky mess when cutting.
Fix: Chill fully before slicing. Use a sharp knife sprayed with nonstick spray or dipped in hot water for cleaner cuts.
Pro Tips to Get It Right
These simple tweaks will take your s’more bars from good to “OMG, who made these?!”
Let the Layers Rest
After baking, give the bars 15–20 minutes to cool at room temperature before chilling. This helps the marshmallow layer set properly.
Go for the Chill
Pop the entire tray into the fridge for at least an hour before slicing. This makes cutting squares neat and easy plus, chilled bars have a crunchy candy-bar vibe that’s surprisingly addictive.
For more dessert hacks, explore our Chocolate Chip Banana Bread for the softest slice or dive into the Raspberry Cheesecake Brownies for that perfect chocolate-berry combo.
Serving, Storage & Creative Variations
Best Ways to Serve It
These easy s’more bars are a total crowd-pleaser. Here’s how to serve them up for different moods and moments:
- Rainy day movie night: Slice into generous squares and serve with hot cocoa or warm milk.
- Backyard BBQ: Chill them first, then offer them as a no-mess, no-fire campfire treat.
- Lunchbox surprise: Cut into small rectangles and wrap in wax paper for a lunchbox treat your kids will brag about.
- Party platter: Stack them on a dessert tray with Homemade Chocolate Truffles and Raspberry Cheesecake Brownies for a sweet trio.
They hold up well at room temp for several hours, making them perfect for gifting, too!
Storage + Seasonal or Dietary Variations
Storage Tips
- Refrigerate: Store in an airtight container for up to 5 days. Layers stay firm and chewy.
- Freeze: Place bars in a single layer in a freezer bag with parchment between layers. They last up to 2 months and taste amazing slightly thawed (or even straight from the freezer for crunch lovers!).
Seasonal & Dietary Variations
- Holiday twist: Add a sprinkle of crushed peppermint on top before baking for a festive touch.
- Gluten-free: Use certified GF graham cracker crumbs (like Kinnikinnick) to make this recipe accessible for everyone.
- Less sugar? Swap semi-sweet chocolate with 70–85% dark chocolate for deeper flavor and fewer carbs.
Want to see more ways to use pantry favorites? Try our Graham Cracker Crust Recipe or explore simple sweets like Chocolate Chip Banana Bread.
Conclusion
These easy s’more bars are everything you love about campfire treats without the mess or smoke. Whether you’re baking with kids, planning a cozy night in, or just craving something sweet and simple, this recipe is one you’ll come back to again and again.
If this dish brings back a memory, pass it on. Someone you love might need it today.
Looking for more gooey goodness? Try our Raspberry Cheesecake Brownies next—they’re the perfect chocolatey companion.
Easy S’more Bars
Ingredients
Equipment
Method
- Preheat oven to 350°F. Line a 9×13 pan with foil and spray with cooking spray.
- Mix graham cracker crumbs and melted butter. Press evenly into the pan.
- Bake the crust for 8 minutes. Remove from oven.
- Sprinkle chocolate chips over warm crust. Top with a layer of mini marshmallows.
- Bake for 20 minutes until marshmallows are golden brown. Cool, chill, slice, and serve.