
There’s something deeply nostalgic about a cool, creamy dessert that doesn’t ask much of you no baking, no stove time, just a few simple layers and a chill in the fridge. That’s exactly why this easy banana pudding has become a repeat favorite in my golden kitchen. Whether you’re feeding a crowd or sneaking a midnight spoonful, it’s the kind of dessert that brings instant comfort with every bite. Lightly sweet, lush in texture, and packed with fresh banana flavor, this no-bake classic is the answer to your summertime cravings or those moments when turning on the oven just isn’t an option.
Why You’ll Love This Recipe
Craving Comfort Without the Fuss?
If you’ve ever stood in a hot kitchen just to satisfy a sweet tooth, you know the struggle is real. We all want something delicious, but not every night calls for baking sheets and timers. When life feels overwhelming—or you’re just too tired—desserts like this feel like a soft place to land.
Hi, I’m Linda — welcome to my golden kitchen, where every recipe carries a piece of my heart. My journey didn’t begin with a cookbook, but with the soft hum of my mother in the kitchen, the scent of cinnamon bread rising in the oven, and the comfort of family meals shared around a wooden table. This banana pudding is one of those treasures. No oven. No stress. Just joy.
This Banana Pudding Solves That
This no-bake banana pudding is more than a quick dessert it’s an easy, crowd-pleasing solution for busy families, last-minute gatherings, or sweet cravings on a hot day. With creamy vanilla layers, softened wafers, and perfectly ripe bananas, it’s everything you love in a dessert… without the usual effort.
Even better, this easy banana pudding uses just a handful of pantry-friendly ingredients and can be prepped in under 30 minutes. It’s forgiving, flexible, and doesn’t require baking or cooking only a few mixing bowls and a little chill time.
Use store-bought or homemade vanilla wafers (especially handy if you’re in Canada and can’t find Nilla Wafers). Need more ideas? You might love my homemade vanilla rice pudding or these chewy Starbucks-style oat bars.
Ingredients Breakdown & Prep Tips
Ingredient List with Suggestions
the magic of banana pudding lies in how simple and comforting each ingredient feels. Here’s a breakdown of what you’ll need and how each item plays its role:
| Ingredient | Notes |
|---|---|
| Cold Water | Used to thin the pudding base without diluting flavor. |
| Milk | Helps create a smooth, creamy texture. |
| Sweetened Condensed Milk | Adds richness and subtle sweetness don’t substitute with evaporated milk! |
| Instant Vanilla Pudding Mix | The backbone of that silky vanilla layer; make sure it’s **instant**, not cook-and-serve. |
| Whipping Cream | Used both inside the pudding and for the whipped topping double the creaminess. |
| Vanilla Wafer Cookies | Crunch that softens into perfection; use store-bought or make your own if needed. |
| Bananas | The star use ripe, yellow bananas with light brown specks for flavor and firmness. |
| Powdered Sugar | Gently sweetens the whipped cream topping without making it too heavy. |
Prep Method with Sensory Cue
This no-bake classic is built in layers of nostalgia. Here’s how to bring it to life with a few sensory hints to help you feel confident along the way.
- Start the pudding base:
In a large mixing bowl, whisk cold water, milk, and sweetened condensed milk until fully blended. Add the instant pudding and continue whisking until smooth and slightly thickened — it should feel like silky custard on your whisk. - Whip the cream:
In a separate bowl, beat the whipping cream until soft peaks form. You’re looking for those gentle swoops that hold their shape when you lift the whisk. - Fold and fluff:
Gently fold the whipped cream into the pudding mixture. The texture should feel cloud-like and spreadable not runny. - Layer it up:
In a glass dish or jars, alternate layers: pudding, vanilla wafers, banana slices repeat. Finish with a thick layer of pudding on top. - Whipped topping:
Whip another cup of cream with powdered sugar until fluffy, then spread or pipe on top. Garnish with a few banana slices and cookies for that charming bakery finish. - Chill and wait:
Cover and refrigerate for at least 6 hours. This is key it softens the wafers and deepens the flavor.
Feeling extra? Try this with a side of chocolate pie or serve it after your favorite Sunday brunch.
🥗 Nutrition Highlights
| Nutrient | Per Serving |
|---|---|
| Protein | 7g |
| Carbs | 12g |
| Fat | 6g |
Avoid These Mistakes
Common Mistakes & Fixes
Even a no-bake dessert has its pitfalls! Avoid these common banana pudding mistakes to keep things dreamy, not drippy.
- Using overripe bananas:
Mushy bananas will turn the dessert watery and overly sweet. Go for just-ripe bananas with speckles firm enough to slice cleanly but sweet enough to shine. - Skipping the chill time:
Don’t rush it. The 6-hour chill is crucial to soften the wafers and set the pudding. Otherwise, it may taste too firm and layered instead of luxuriously blended. - Overmixing the whipped cream:
Stop at soft or medium peaks! Over-whipped cream turns grainy and loses its fluffy finish. If it starts to clump, you’ve gone too far. - Assembling too early:
Don’t layer the pudding more than a day ahead or the bananas may brown. Prep the components early, but assemble closer to serving day for best results.
You can also check out these tips in our cinnamon roll cake article a dessert that also gets better with time.
Pro Tips to Get It Right
Want that picture-perfect glass dish every time? Here’s what works:
- Layer with intention:
Use clear glass bowls or jars to show off your layers. Start and end with pudding so the top stays creamy, not crumbly. - Add texture contrast:
Crushed wafers or toasted coconut sprinkled on top add crunch, especially after refrigeration. - Fresh garnish at the end:
Save a few banana slices and cookies to garnish just before serving, like we do in our banana bread recipe for added texture and eye appeal.
Serving, Storage & Creative Variations
Best Ways to Serve It
This banana pudding is a crowd-pleaser year-round. Here’s how to serve it like a pro:
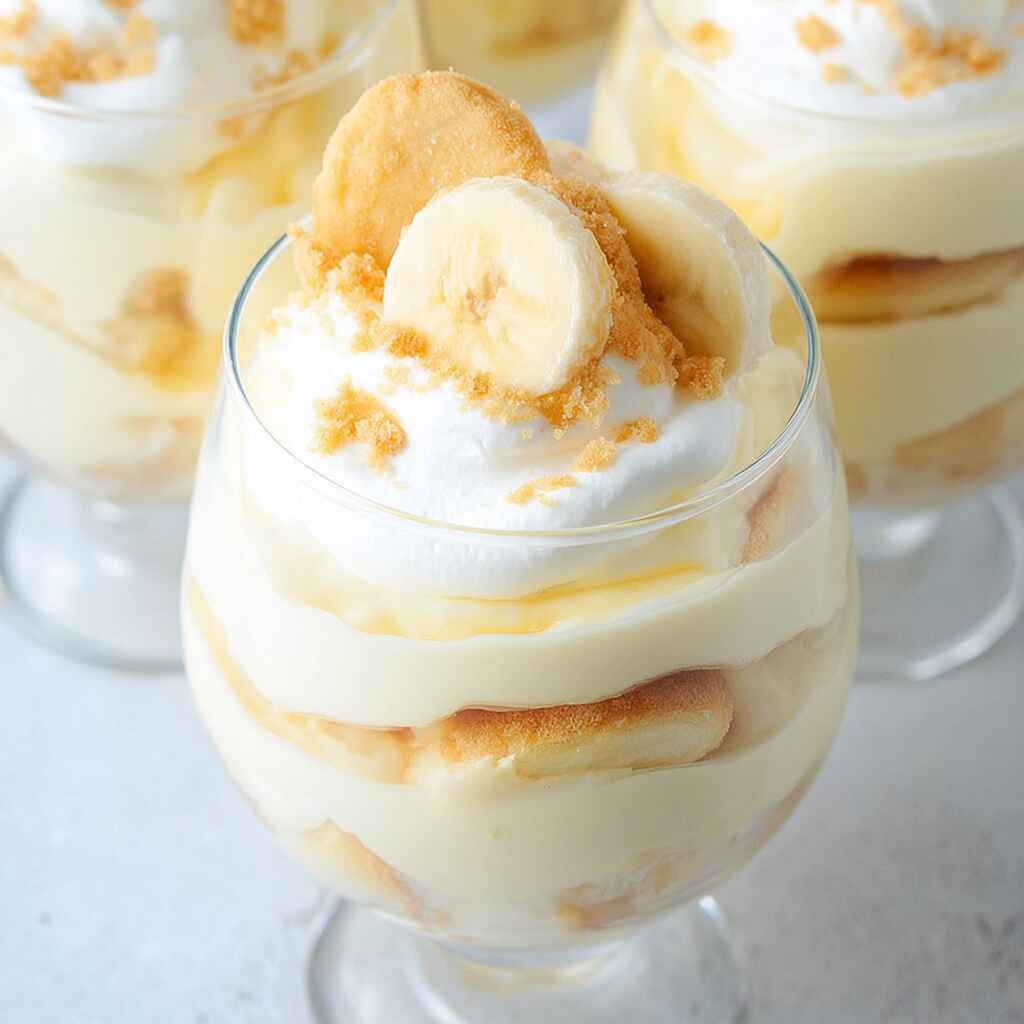
- For parties: Use clear plastic cups or mason jars for individual servings easy to transport and cute to present.
- As a trifle: Layer it in a deep glass bowl for that classic Southern-style presentation.
- Paired with brunch: This dessert plays well with sweet-and-savory brunches like cinnamon apple muffins or even a cozy custard bread pudding.
Storage + Seasonal or Dietary Variations
- Storage:
Keep banana pudding refrigerated and tightly covered. It stays fresh for up to 3 days. After that, the bananas may darken and the wafers can get soggy. - Freezing tip:
Not recommended! Freezing causes texture changes and banana browning. This dessert is best enjoyed fresh and chilled. - Make it dairy-light:
Use lactose-free whipping cream and milk alternatives if needed, just be sure they are thick enough to hold shape when whipped. - Seasonal twist:
Add thin layers of strawberries in spring or caramel drizzle in fall, like in our salted caramel apple pie bars. - Texture upgrade:
A sprinkle of crushed chewy brownie bits between layers takes it to another level.
FAQ: Easy Banana Pudding
How do I keep bananas from turning brown in banana pudding?
Slice bananas right before layering and fully cover them with pudding to limit air exposure. You can also lightly toss them in lemon juice if you want extra protection.
Can I make banana pudding the night before?
Yes! In fact, it’s better that way. The chilling time allows the layers to meld and the wafers to soften for that creamy, nostalgic texture.
What if I don’t have vanilla wafers?
You can substitute with shortbread cookies, graham crackers, or try homemade vanilla wafers. We love layering it like we do in our classic New York cheesecake for extra depth.
Can I use whipped topping instead of fresh cream?
You can, but it won’t be as rich or naturally flavored. Freshly whipped cream gives this banana pudding its signature light-and-luxe finish much like the topping on our no-bake cheesecake cups.
CONCLUSION
This easy banana pudding is more than a no-bake dessert it’s a creamy, nostalgic treat that turns simple ingredients into sweet comfort. Whether you’re hosting, meal-prepping, or craving something cool and satisfying, this pudding is your go-to.
If this dish brings back a memory, pass it on. Someone you love might need it today.
Easy Banana Pudding Recipe (No-Bake, Creamy & Comforting)
Ingredients
Method
- Whisk together the cold water, milk, and sweetened condensed milk in a large mixing bowl.
- Add the instant vanilla pudding mix and whisk until smooth and slightly thickened.
- In a separate bowl, whip the cream until stiff peaks form, then gently fold into the pudding mixture.
- Layer pudding, vanilla wafers, and sliced bananas in a serving dish, starting and ending with pudding.
- Whip remaining cream with powdered sugar until soft peaks form and spread over the top.
- Cover and refrigerate for at least 6 hours before serving. Enjoy!