
Ah, Classic Peanut Butter Blossoms! Their very name evokes cherished memories of cozy kitchens filled with the sweet, nutty aroma of freshly baked cookies, just in time for the holiday season. There’s something about these delightful little treats that stirs up warmth in the heart and brings a smile to every face. You’re likely here because you’ve faced the challenge of finding that perfect dessert—something everyone will love, whether it’s for a family gathering, a potluck with friends, or just a sweet indulgence at home. We all know that life gets busy, and sometimes we want something simple yet delightful.
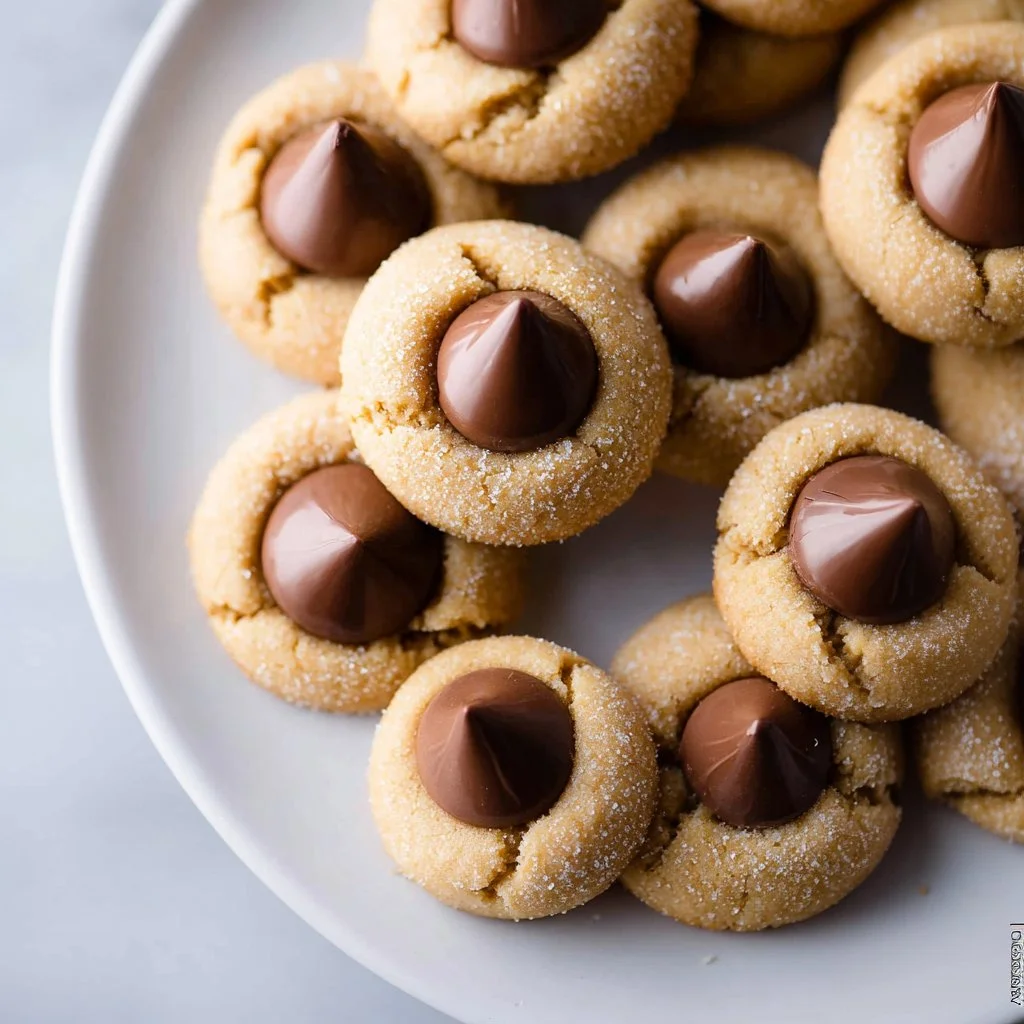
Imagine the joy of pulling a tray of these cookies from the oven. Each bite offers a beautiful balance of rich peanut butter flavor and the heavenly embrace of melting chocolate. Let’s rekindle those warm memories and craft your own batch of Classic Peanut Butter Blossoms that will surely become a beloved tradition in your home.
Why You’ll Love This Classic Peanut Butter Blossoms Recipe
Emotional Need + Daily Struggle
Life can often feel overwhelming; with work, family obligations, and everything in between, finding a moment of comfort can sometimes be a challenge. You long for something that not only satiates your sweet tooth but also brings back comforting memories of simpler times. Classic Peanut Butter Blossoms are here to provide that moment of joy—a sweet escape from the everyday hustle and bustle.
This Dish Solves That
Enveloping your kitchen in the delightful scent of peanut butter and chocolate can instantly lift your spirits and bring your family together. The humble cookie, with its soft, chewy texture, topped with a glossy chocolate kiss, embodies the very essence of home-cooked love. Making Classic Peanut Butter Blossoms isn’t just about baking; it’s about creating warmth and connection with those around you. They’re perfect for sharing, and I can guarantee each bite will evoke smiles and fond memories, solidifying their place as a cherished recipe in your collection.
You might even consider serving them with a comforting bowl of Creamy Tortellini Soup or alongside a refreshing Garlicky Feta Chicken Salad for an unforgettable gathering.
Quick Answer: The easiest way to make Classic Peanut Butter Blossoms creamy and rich is by using creamy peanut butter instead of chunky.
Ingredients Breakdown & Prep Tips
Ingredient List with Suggestions
Here’s everything you’ll need to create the delightful sensation of Classic Peanut Butter Blossoms:
| Ingredient | Notes |
|---|---|
| 1 and 1/4 cups (156g) all-purpose flour (spooned & leveled) | |
| 1/2 teaspoon baking soda | |
| 1/4 teaspoon salt | |
| 1/2 cup (8 Tbsp; 113g) unsalted butter, softened to room temperature | |
| 1/2 cup (100g) packed light or dark brown sugar | |
| 1/4 cup (50g) granulated sugar | |
| 1 large egg, at room temperature | |
| 3/4 cup (about 185g) creamy peanut butter | |
| 1 teaspoon pure vanilla extract | |
| 24 chocolate kiss candies, unwrapped | |
| 1/2 cup (100g) granulated sugar | |
| OR: 1/4 cup (50g) green sanding sugar and 1/4 cup (50g) red sanding sugar |
Prep Method with Sensory Cues
Now let’s blend these ingredients into something magical. Start by whisking the flour, baking soda, and salt in a medium bowl—just the sound of whisk against bowl can already spark excitement! Set that aside.
In a large mixing bowl, using a hand mixer or a stand mixer fitted with the paddle attachment, beat the softened butter for about a minute on high speed until it’s creamy and fluffy. You know you’ve done it right when you see a soft, airy texture appear. Switch gears to medium-high speed, and blend in the brown sugar along with the granulated sugar, mixing until they’re beautifully creamy and smooth, about two minutes. This creamy stage is so satisfying—it looks like clouds!
Next up, add that large egg and beat until combined. Scraping the sides and bottom of the bowl with a silicone spatula ensures every morsel is captured. Then gently fold in the peanut butter and pure vanilla extract until everything is evenly mixed. Your dough will be luscious and velvety.
Now it’s time to gradually add the flour mixture to the wet ingredients on low speed until combined. Once it looks beautifully creamy, cover the bowl and chill the dough in the refrigerator for at least one hour (you can even go up to three days if you’re preparing ahead). While you wait, can you imagine opening the fridge and smelling that wonderful peanut butter wafting through your kitchen?
When you’re ready to bake, preheat that oven to 350°F (177°C). Line two large baking sheets with parchment paper or silicone baking mats (it makes cookie removal a breeze!). Make sure to set aside some room in your freezer to chill your cookies later.
Scoop and roll about one heaping tablespoon of dough into balls, then roll each ball in your choice of sugar—either the standard granulated or a festive sanding sugar blend for a seasonal touch. Arrange the dough balls on the baking sheet, leaving a bit of space (around three inches apart) for them to spread out during baking.
Bake the cookies for 11 to 13 minutes, or until you see their tops start to crack lightly. As the cookies come out of the oven, remember that they’ll still firm up a bit as they cool on the baking sheets for five minutes. Gently press a chocolate kiss candy into the center of each one. This part is always so fun—the anticipation as you place the kisses, knowing the cookies will soon be ready to devour!
Using a thin spatula, switch the cookies to plates—be gentle, as they’ll still be a tad soft! Pop the plate(s) in the freezer for about ten minutes to quickly set the chocolate, then pull them out to serve. Just imagine them being met with open mouths and wide smiles, hugging those memories of family gatherings and cozy nights.
And let’s not forget: the cookies stay fresh covered at room temperature for up to one week—if they last that long!
Avoid These Mistakes
Common Mistakes & Fixes
- Using cold butter: Make sure your butter is at room temperature for smooth mixing. Cold butter will lead to a dense texture.
- Skipping the chilling step: Chilling the dough helps prevent cookies from spreading too much in the oven. It’s worth the wait!
- Too much flour: Spoon and level your flour rather than scooping directly from the bag. This will help you avoid dry cookies.
- Overbaking: Keep an eye on your cookies as they bake. They may look slightly underdone even when they’re ready—don’t worry, they’ll firm up as they cool.
Pro Tips to Get It Right
- Feel free to experiment: Mix up the chocolate kisses and use different flavors for a creative twist.
- Make holiday memories: Get the kids involved! Each little hand can help press the chocolates into the cookies as they come out of the oven.
If you’re looking for other delightful treats, try making a batch of Cinnamon Roll Muffins or Baked Sweet Potato Fries to complement your cookie experience.
Serving, Storage & Creative Variations
Best Ways to Serve It
These Classic Peanut Butter Blossoms are perfect for just about any occasion. Serve them at holiday gatherings, cozy family dinners, or simply as a delightful afternoon snack with a steaming cup of tea. They’re a fun treat to bring to potlucks and also lend themselves beautifully to school event lunches or office parties!
Storage + Seasonal or Dietary Variations
Store your delightful cookies in an airtight container at room temperature, and they’ll stay soft and fresh for up to a week. Want to get creative? These cookies can also stand up to fun variations—you could add crushed nuts or a sprinkle of cinnamon to the dough. Swap out the chocolate kisses for peppermint chocolates during the holiday season or even try a caramel candy in its place.
If you’re intrigued by other styles of peanut butter treats, pair the blossoms with a refreshing Fruit Salad with Honey Lime Dressing for a vibrant touch.
FAQ Section
How do I make them gluten-free?
You can substitute the all-purpose flour with a gluten-free blend that’s designed for baking. Just be sure it contains a binding agent!
What if I don’t have chocolate kisses?
Feel free to use other chocolate candies like mini Reese’s, M&M’s, or chocolate chips as a delicious substitute.
Can I freeze the cookie dough?
Absolutely! After you have rolled them into balls, freeze them in a well-sealed bag. When you’re ready to bake, simply add a minute or two to the baking time.
What’s the best way to store these cookies?
Keep them in an airtight container at room temperature or freeze them for longer storage. Just make sure to separate them with parchment paper if stacking!
Conclusion
Classic Peanut Butter Blossoms are more than just a cookie—they’re a connection to joyful memories and a way to share love with friends and family. Baking these treats can light up your kitchen and heart, reminding you that the simplest things bring the greatest joy. If this dish brings back a memory, pass it on. Someone you love might need it today. You can also try these Savory Chicken Fajita Bowls or Cucumber Caprese Salad to keep those good vibes going.
YOU MAY ALSO LIKE
You may also love these:

Classic Peanut Butter Blossoms
Ingredients
Method
- Whisk together the flour, baking soda, and salt in a medium bowl.
- In a large mixing bowl, beat the softened butter for about 1 minute until creamy.
- Mix in brown sugar and granulated sugar until smooth.
- Add the egg and mix until combined.
- Fold in peanut butter and vanilla extract until evenly mixed.
- Gradually add the flour mixture to the wet ingredients and mix until combined.
- Cover the dough and chill in the refrigerator for at least 1 hour.
- Preheat the oven to 350°F (177°C).
- Line baking sheets with parchment paper.
- Scoop and roll about one heaping tablespoon of dough into balls and roll in sugar.
- Arrange the dough balls on the baking sheet, spaced three inches apart.
- Bake for 11 to 13 minutes, until tops start to crack.
- Press a chocolate kiss into the center of each cookie as they come out of the oven.
- Let cool on the baking sheets for five minutes before transferring to a plate.
- Chill in the freezer for about ten minutes to set the chocolate.