
There’s something so profoundly comforting about the warm, earthy aroma of freshly baked bread wafting through your home. Imagine the feeling of gathering friends and family around the table, their eyes lighting up as they sink their teeth into the crusty, golden-brown exterior of a loaf that you created with your own hands. But perhaps, like many of us, you’ve struggled with perfecting that artisanal loaf. It can feel daunting, can’t it? The rise, the shape, the crust—it all can be overwhelming. However, I’m here to share my treasured Artisan Sourdough Bread Recipe, a method that not only simplifies the process but also infuses a little extra love into every step.
Why You’ll Love This Artisan Sourdough Bread Recipe
The Beauty of Knots and Kneads
So often, we hurry through our cooking, racing against the clock. The beautiful thing about making sourdough is that it invites you to slow down and truly be present—each stretch and fold of the dough becomes a meditative practice, a revitalizing escape from our fast-paced lives. The joy in watching your dough transform is akin to witnessing a favorite memory unfold; it tugs at your heartstrings.
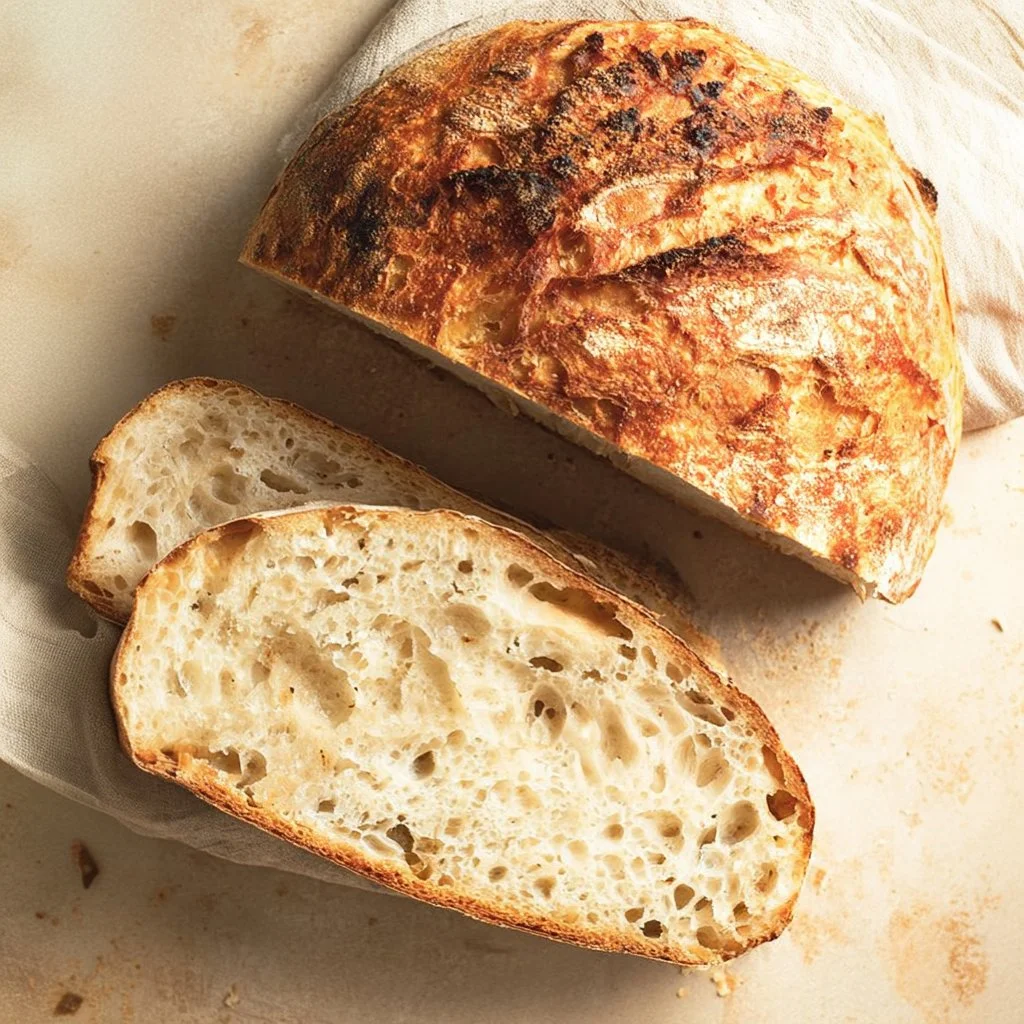
This Artisan Sourdough Bread Recipe isn’t just about crafting the perfect loaf—it’s about creating a moment, a tangible offering that symbolizes love and care. Whether you’re celebrating a cozy dinner with family or simply enjoying a quiet evening at home, this warm, crusty masterpiece brings a unique kind of comfort to any table. The way the crunch of the crust gives way to a soft, chewy interior makes each bite a sheer delight.
Quick Answer: The easiest way to make Artisan Sourdough Bread Recipe creamy and rich is by incorporating a mixture of whole wheat flour and white bread flour, providing flavors that harmonize beautifully with the tang of your sourdough starter.
Ingredients Breakdown & Prep Tips
Let’s gather what we need to create this enchanting loaf. The simplicity of the ingredients is part of what makes this recipe so beautiful.
| Ingredient | Notes |
|---|---|
| 360 grams water | |
| 113 grams peaked sourdough starter | |
| 10 grams kosher salt | |
| 30 grams whole wheat flour | |
| 450 grams white bread flour | |
| 1 and 1/2 cups water (you may need up to an extra 1/4 cup) | |
| 1/2 cup peaked sourdough starter | |
| 1 and 1/2 teaspoons kosher salt | |
| 1/4 cup whole wheat flour | |
| 3 and 3/4 cups white bread flour |
Next, let’s get our hands doughy! Start by mixing the water and sourdough starter in a large mixing bowl. The moment those two come together, a world of possibilities unfolds. Stir in the flours and salt until they are fully combined; the rough, shaggy dough is begging for attention now. Cover it with a cloth and let it rest for 30 minutes—give it a little time to wake up.
After the rest, perform your first set of stretch and folds. This crucial step strengthens the dough and helps develop gluten. Picture it: your hands grasping the dough, pulling it gently to stretch, then folding it back into itself. Repeat this every 30 minutes for a total of four sets. It’s a rhythm that fosters connection, both with the dough and the process.
Now comes the waiting game. Cover the dough and allow it to rise until it has puffed up about 75%. In my cozy kitchen, this takes about five hours, but do keep an eye on it; every kitchen has its quirks, much like each family has its own cherished traditions.
When it’s finally ready, turn that airy wonder out onto a floured surface. This is where the magic happens—shape it into the loaf you desire, whether that’s a classic batard or a rustic boule. The way the dough feels in your hands, supple yet resilient, will remind you of soft clay—moldable and full of potential.
Loaf into the floured banneton, create some tension by stitching the dough if desired, and cover it well before placing it in the fridge. Overnight it will rest, soaking up the chilly embrace, developing flavors while you dream of fresh bread in the morning.
When you wake, preheat your oven to 475°F and place your Dutch oven inside. As it warms up, carefully score the top of your dough—this simple act, a slit along its crust, allows the steam to escape and the bread to rise beautifully. Gently lower it into the hot pot with the parchment paper, cover it, and bake for the first 30 minutes. The urgency of the heat promises a great oven spring!
Lower the temperature to 425°F, remove the lid, and bake for another 30 minutes. Be prepared to be enveloped in the intoxicating aroma as the bread finishes baking—a moment of sheer bliss. Allow it to cool for at least two hours on a rack before slicing, letting those flavors settle and develop—the waiting only makes it sweeter.
Avoid These Mistakes
Common Missteps & How to Fix Them
Embarking on your sourdough journey means encountering a few bumps in the road. One common misstep is under-hydrating the dough, resulting in a dense loaf. Always measure your water accurately, and don’t hesitate to add that little extra splash if needed!
Another mistake? Forgetting to allow your dough adequate time to rise. Patience is key here, as an impatient baker can yield disappointing results. If your dough hasn’t risen sufficiently, give it more time—it’s worth it for the end result.
Lastly, not adequately scoring the dough before baking can lead to unexpected shapes. Ensuring a deep, smooth score helps guide the rise of your lovely loaf.
Pro Tips to Get It Right
Do ensure you’re using active, bubbly sourdough starter; this is the heart of your loaf! If your starter isn’t showing those tell-tale bubbles, give it a good feeding before you begin.
If you’re looking for a bit of added flavor, consider experimenting with different flours. Rye flour or spelt can add intriguing notes of warmth and nuttiness.
Serving, Storage & Creative Variations
Best Ways to Serve It
Now for the big moment. Slice into your beautiful creation and serve it warm, slathered with salted butter or made into heartwarming toast topped with avocado. This Artisan Sourdough Bread Recipe shines alongside a simple bowl of soup or as part of a festive spread during gatherings, encouraging laughter and shared stories around the table.
Storage + Seasonal or Dietary Variations
To keep it fresh, store your bread in a paper bag at room temperature. If you need a longer shelf life, slice and freeze it—this way, you can toast a piece of love-filled bread whenever the craving strikes. And for those looking to switch things up, consider adding herbs or cheese directly into the dough for unique flavor variations that celebrate the seasons.
FAQ SECTION
What is the best type of flour to use for sourdough?
A combination of all-purpose and whole wheat flour yields a delightful texture. Whole wheat adds flavor, while all-purpose helps to maintain a light crumb.
Can I refrigerate my sourdough starter?
Absolutely! Refrigerating your sourdough starter helps slow its fermentation process, allowing you to bake less frequently without waste.
Why is my sourdough too dense?
This often results from not enough hydration or under-fermentation. Ensure your dough has enough water and give it ample time to rise.
How can I make my crust crispier?
For a crunchy crust, baking your bread in a preheated Dutch oven is key. The steam trapped inside creates a beautiful crust while maintaining the tenderness of the crumb.
Conclusion
Baking this Artisan Sourdough Bread Recipe is more than just whipping up dough; it’s about weaving warmth into your home and creating memories with those you hold dear. So, if the aroma of fresh bread brings back cherished moments for you, go ahead—share this recipe with someone special, for they might need it today.
If you love cozying up with a bowl of soup, you might enjoy a savory Creamy Tomato Soup to pair with your scrumptious homemade bread.

Artisan Sourdough Bread
Ingredients
Method
- Mix the water and peaked sourdough starter in a large mixing bowl.
- Stir in the flours and salt until fully combined; a shaggy dough will form.
- Cover with a cloth and let it rest for 30 minutes.
- Perform your first set of stretch and folds by pulling and folding the dough back into itself every 30 minutes for a total of four sets.
- Cover the dough and let it rise until it has puffed up about 75%, approximately five hours.
- Turn the dough out onto a floured surface and shape it into a batard or boule.
- Place the loaf into a floured banneton, creating tension by stitching if desired.
- Cover and place in the fridge to rest overnight.
- Preheat the oven to 475°F and place the Dutch oven inside.
- Score the top of the dough to allow steam to escape.
- Lower the dough into the hot pot with parchment, cover, and bake for 30 minutes.
- Lower the temperature to 425°F, remove the lid, and bake for an additional 30 minutes.
- Let cool for at least two hours on a rack before slicing.