
Is there a more perfect dessert than a slice of velvety red cake, topped with creamy frosting that melts in your mouth? The joy of baking an Easy Red Velvet Cake is not just in the delicious flavor but in the cozy memories it stirs up. Maybe it’s the scent wafting from the oven that takes you back to special family gatherings or sunny birthday parties. The vibrant red color adds an element of celebration, a feast for both the eyes and the palate. Whether you’re looking to brighten up a loved one’s day or indulge in a slice while reminiscing over cherished memories, this cake does it all.
Why You’ll Love This Easy Red Velvet Cake Recipe
A Slice of Nostalgia
Let’s be honest: life can be chaotic. Between juggling work, family, and everything else, it’s sometimes hard to carve out the time for a little sweetness. But this Easy Red Velvet Cake? It’s your gentle reminder to pause and savor the moment. With its luscious taste and rich color, one bite transports you to simpler times, where dessert was not just an afterthought but a cherished finale to every meal.
Comfort in Every Bite
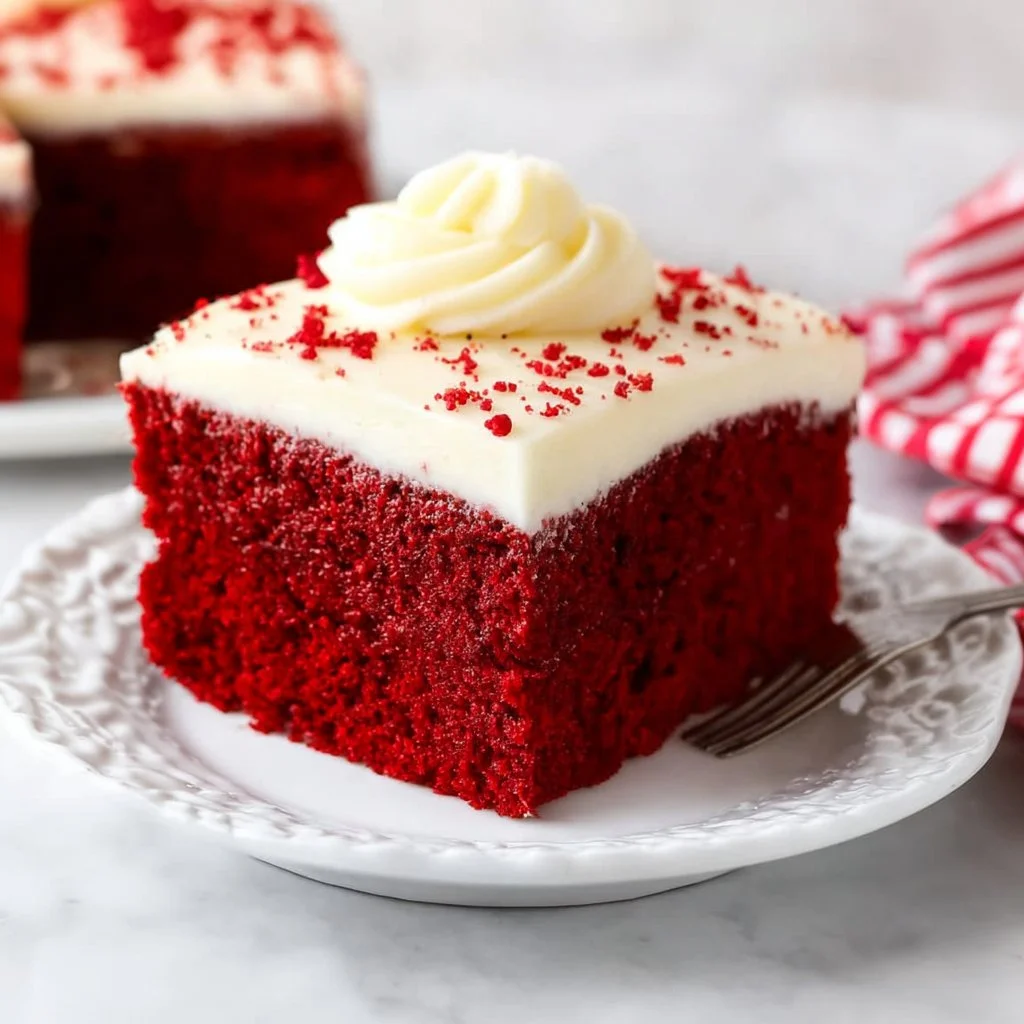
The magic of the Easy Red Velvet Cake lies in its ability to comfort and delight. Picture this: the first slice reveals a stunning interior, soft and moist, like a hug from an old friend. The layers are just sweet enough, perfectly balanced with a hint of cocoa and that signature tanginess from buttermilk. Every bite is an invitation to remember the warmth of family kitchens and the joys of togetherness, reminding us that nothing brings people closer than a homemade cake.
And when it comes to frosting, that creamy layer is a delightful extension of the cake itself. Imagine it, a rich cream cheese frosting whispering sweet nothings with every bite. With each slice you serve, you’ll see eyes light up, and smiles widen. I can assure you, baking an Easy Red Velvet Cake is not just about making dessert; it’s about creating connections and delicious memories.
Quick Answer: The easiest way to make Easy Red Velvet Cake creamy and rich is by using room-temperature buttermilk and adding a touch of vinegar.
A Few of Linda’s Favorite Links to Inspire Your Baking Journey
Ingredients Breakdown & Prep Tips
Ingredient List
| Ingredient | Notes |
|---|---|
| 2 1/2 cups all-purpose flour | |
| 1 1/2 cups granulated sugar | |
| 1 teaspoon baking soda | |
| 1 teaspoon salt | |
| 1 tablespoon cocoa powder | |
| 1 1/2 cups vegetable oil | |
| 1 cup buttermilk, room temperature | |
| 2 large eggs, room temperature | |
| 2 tablespoons red food coloring | |
| 1 teaspoon vanilla extract | |
| 1 teaspoon white vinegar |
Prep Method with Sensory Cues
- Preheat your oven to 350°F (175°C). Grease and flour two 9-inch round cake pans, ensuring every nook and cranny is coated to prevent sticking. The sound of your oven pleasantly humming will build your anticipation for the treat to come.
- In a large bowl, sift together the flour, sugar, baking soda, salt, and cocoa powder. This step not only combines the ingredients but fills the air with a sweet, inviting aroma—evidence of the cake magic that’s about to unfold.
- In another bowl, embrace the joy of mixing. Combine the vegetable oil, buttermilk, eggs, food coloring, vanilla, and vinegar. The vibrant red hue of food coloring swirling through the mix catches your eye, promising a colorful masterpiece.
- Gently fold the wet ingredients into the dry until just combined. You’ll notice the batter has a unique silky texture, like a soft whisper of what’s to come.
- Divide the batter evenly between the prepared pans. Smoothing out the top with gentle strokes feels almost therapeutic.
- Bake for 25-30 minutes or until a toothpick inserted comes out clean. As the cake bakes, the heavenly scent envelops your kitchen like a warm hug.
- Let the cakes cool in pans for 10 minutes, then transfer to wire racks to cool completely. The anticipation builds as you await that first delightful slice.
- Frost with cream cheese frosting or your favorite icing. The frosting will be your final tender touch, beautifully complementing the rich flavors of the Easy Red Velvet Cake.
Avoid These Mistakes
Common Mistakes & Fixes
- Not using room temperature ingredients: If your eggs and buttermilk are too cold, they won’t blend well, resulting in a less fluffy cake. Always remember to take them out in advance!
- Overmixing the batter: This can make your cake dense rather than light and fluffy. Mix just until combined; that’s all it takes to keep your cake perfect!
- Skipping the cooling step: It’s tempting to frost too soon, but this can lead to a gooey mess. Patience is key! Let those layers cool completely.
Pro Tips to Get It Right
- Try experimenting with flavors: A touch of almond extract could bring a new twist to your Easy Red Velvet Cake. It’s all about finding your unique flavor fingerprints.
- Decorate with seasonal toppings: Fresh berries or nuts can add a lovely crunchy texture and a pop of color, making your cake a true centerpiece.
- Remember to savor each slice: Baking is about bringing joy—not just for others, but for yourself too. Enjoy that first rich, creamy bite of your Easy Red Velvet Cake.
Serving, Storage & Creative Variations
Best Ways to Serve It
This Easy Red Velvet Cake is as versatile as it is delightful. Serve it warm with a scoop of vanilla ice cream for cozy movie nights, or at a family celebration where laughter fills the air. Imagine it as the grand finale to a holiday feast or just because you deserve a treat today!
Storage + Seasonal or Dietary Variations
Store any leftover slices in an airtight container in the refrigerator for up to five days. You can also freeze the cake layers for future use—just wrap them well and place them in the freezer for up to three months.
For a fun twist, consider adding a layer of chocolate ganache, or even incorporating some festive spices for holiday gatherings.
FAQ SECTION
Can I use a different type of flour?
Yes, you can experiment with cake flour for a lighter texture!
What if I don’t have buttermilk?
No worries! You can make a quick substitute by mixing milk with a splash of vinegar and letting it sit for 5–10 minutes.
How do I color the cake deeper red?
If you desire a more intense red, don’t hesitate to add a little more food coloring. Just remember to balance it out with extra moisture if needed!
Can I make the cake ahead of time?
Absolutely! Just store the baked layers as mentioned above—perfectly convenient for busy schedules.
Conclusion
The Easy Red Velvet Cake is truly a labor of love, perfect for creating heartwarming memories around the table. If this dish brings back a memory, pass it on. Someone you love might need it today.
For more delightful recipes sure to warm your heart, visit Creamy Tuscan Chicken Pasta.

Easy Red Velvet Cake
Ingredients
Method
- Preheat your oven to 350°F (175°C) and grease and flour two 9-inch round cake pans.
- In a large bowl, sift together the flour, sugar, baking soda, salt, and cocoa powder.
- In another bowl, combine the vegetable oil, buttermilk, eggs, food coloring, vanilla, and vinegar.
- Gently fold the wet ingredients into the dry until just combined.
- Divide the batter evenly between the prepared pans.
- Bake for 25-30 minutes or until a toothpick inserted comes out clean.
- Let the cakes cool in pans for 10 minutes, then transfer to wire racks to cool completely.
- Frost with cream cheese frosting or your favorite icing once the cakes have cooled completely.