
Ah, scones. Those delightful, flaky pastries have the unique ability to whisk us away to sunlit kitchens and joyful gatherings. However, many of us have faced the heartache of trying to create that perfect scone at home, only to end up with misaligned expectations—dry, crumbly, or just plain sad discs of disappointment. If you’ve found yourself pondering the mystery of how to make perfect scones, worry not! Today, we’re going to transform that struggle into satisfaction.
Picture the comforting scent of fresh baked goods wafting through your kitchen, making your heart sing as you serve these golden delights to your loved ones. Scones are more than a treat; they’re a canvas for our fond memories and a way to bring joy into everyday moments. Let me guide you through this journey of creating the perfect scone that’ll fill your kitchen with warmth and your heart with happiness.
Why You’ll Love This How to Make Perfect Scones Recipe
Homemade Comfort Awaits
Have you ever experienced the frustration of biting into a store-bought scone, only to find it lacking in flavor and tenderness? Your search for that ideal balance of buttery goodness and flaky texture is over. This How to Make Perfect Scones recipe promises to turn your kitchen into a haven of cozy delight and produce scones that you’ll be proud to share.
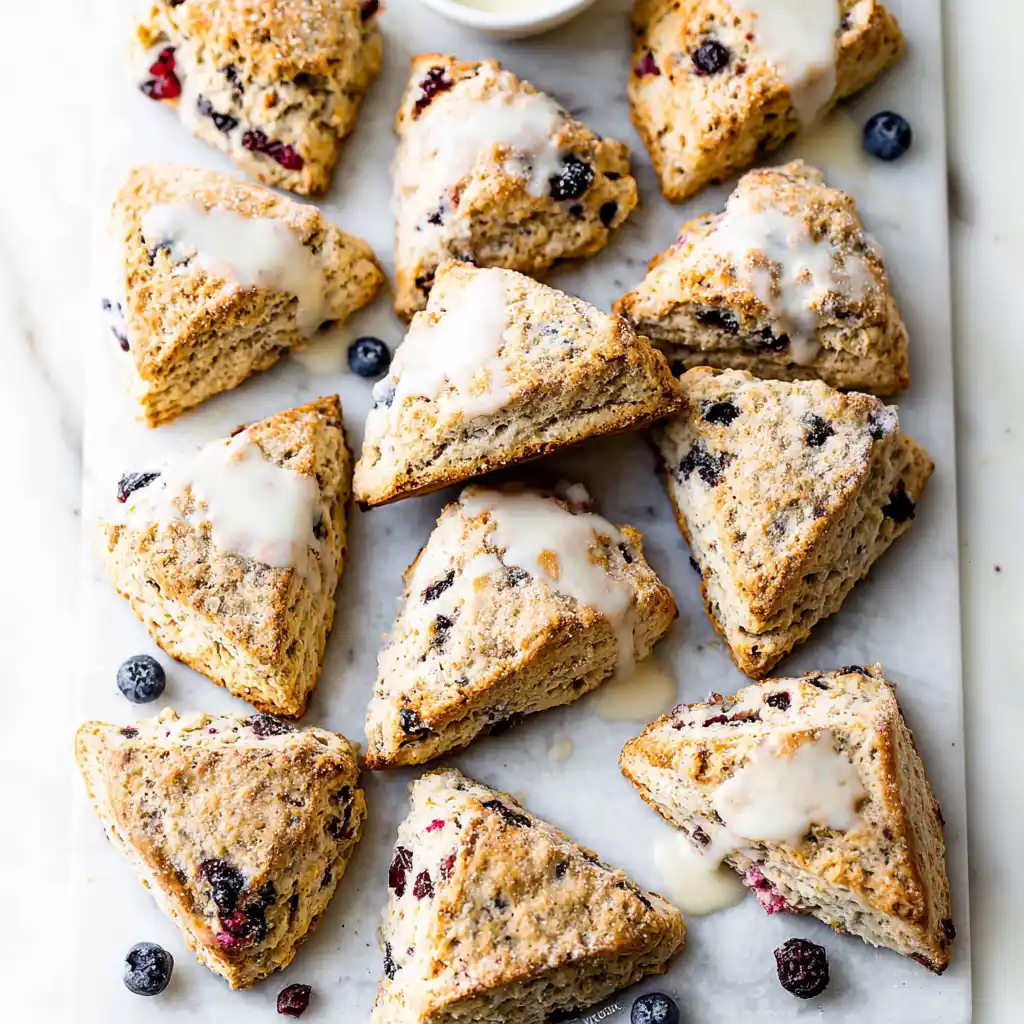
Imagine pulling a tray of steaming, golden brown scones from the oven. The edges are ever-so-slightly crisp, while each bite reveals a melt-in-your-mouth soft interior bursting with your favorite flavors. Whether you’ve always dreamed of hosting a charming tea party or simply want to indulge in a comforting treat, this scone recipe is the solution to culinary love and satisfaction.
A Recipe to Savor
Just think of the joyful moments that will unfold as you share scones with family, make memories over coffee on a lazy Sunday morning, or celebrate a special occasion with a touch of sweetness. Let’s dive into the simple yet rewarding process of turning humble ingredients into something extraordinary that nourishes both our bodies and our spirits.
Later, enjoy this scrumptious treat with a cup of Creamy Tomato Soup or a delicious Buffalo Chicken Salad.
Ingredients Breakdown & Prep Tips
Before we embark on this delicious journey, let’s gather our essential ingredients. I want you to feel inspired and equipped, so let’s break them down:
| Ingredient | Notes |
|---|---|
| 2 cups (250g) all-purpose flour (spooned & leveled), plus more for hands and work surface | |
| 1/2 cup (100g) granulated sugar | |
| 1/2 teaspoon salt | Optional |
| 2 and 1/2 teaspoons baking powder | |
| 1/2 cup (8 Tbsp; 113g) unsalted butter, frozen | This ensures a flaky texture |
| 1/2 cup (120ml) heavy cream or buttermilk (plus 2 Tbsp for brushing) | Substitutions can include plant-based cream or milk. |
| 1 large egg | |
| 1 and 1/2 teaspoons pure vanilla extract | For a heartwarming flavor |
| 1–1.5 cups add-ins such as chocolate chips, berries, nuts, fruit, etc. | Customize your scones with your favorites! Consider adding dried fruits or different spices. |
| Optional: coarse sugar for topping | For extra crunch |
Prep Method with Sensory Cues
Whisk Together: Start by whisking the flour, sugar, salt, and baking powder together in a large bowl. Feel the fine texture of the flour glide between your fingers as you mix it all together
Butter Grating: Grab that frozen butter and grate it into the flour mixture. This is crucial as it helps create those little pockets of flakiness in your scones. You’ll love how the scent of the cold butter mingles with the dry ingredients; it’s wonderfully rich!
Combine: Use a pastry cutter or your hands to work the butter into the flour until it resembles coarse crumbs. It’s a sensory delight as you feel the mixture transform beneath your fingertips—this is where magic happens!
Mix Wet Ingredients: In a separate bowl, whisk together the heavy cream, egg, and vanilla extract until well combined. You can’t help but smile as you watch the creamy mixture swirl together.
Drizzle and Fold: Drizzle this creamy mixture into the flour mixture, and gently combine until everything looks moistened. You might want to throw in those delightful add-ins at this stage for a burst of flavor.
Form the Dough: Turn the dough out onto a lightly floured surface and knead it gently until it forms a cohesive ball. Don’t overdo it—just a few turns will do the trick. You might find yourself getting a little messy, but oh, it’s so worth it!
Shape and Cut: Pat the dough into an 8-inch disc and cut it into 8 wedges. If you’re feeling adventurous, you can also make drop scones by dropping rounded tablespoons of dough onto a baking sheet.
Chill: Pop the scones into the fridge for about 15 minutes while you preheat your oven to 400°F (204°C). This step builds a flaky texture—your patience will be rewarded!
Bake & Enjoy: Bake for 18-26 minutes until golden brown. Let them cool slightly before serving. The aroma wafting through your kitchen will surely make your heart dance in delight.
Storage: Leftover scones keep well at room temperature for 2 days or in the fridge for up to 5 days, but I doubt they’ll last that long!
Here’s a quick look at the nutrition per serving:
| Nutrient | Per Serving |
|---|---|
| Protein | 7g |
| Carbs | 12g |
| Fat | 6g |
Feel free to also enjoy your scones with a hearty Southern Peach Bread or pair them with some refreshing Black Bean Corn Salad.
Avoid These Mistakes
Common Mistakes & Fixes
Not Using Cold Butter: If the butter isn’t cold enough, your scones may turn out dense instead of fluffy. Keep your butter in the freezer until you’re ready to use it.
Over-Mixing the Dough: Be gentle when mixing. Overworking the dough can cause scones to become tough. Remember, we want them light and airy!
Skipping the Chill Time: Rushing the chilling process can sacrifice flakiness. Please give your scones that well-deserved break in the refrigerator.
Not Preheating Your Oven: This step is essential for achieving the right rise. Have your oven nice and hot before you bake those beauties!
Pro Tips to Get It Right
Experiment with Flavor Variations: Don’t hesitate to swap in different flavors like lemon zest, almond extract, or fresh herbs. Dive into your pantry and let creativity lead the way!
Perfecting Your Add-ins: Opt for dried fruit or chocolate chips that provide delicious surprises in every bite. Each scone tells its story, full of delightful textures and flavors.
You could accompany this with a warm bowl of Broccoli Cheese Soup for a truly comforting meal.
Serving, Storage & Creative Variations
Best Ways to Serve It
These scones are perfect for any occasion—whether you’re gathering for a light brunch, hosting an afternoon tea, or simply treating yourself to a quiet moment with tea and a book. Top them with a dab of whipped cream, fresh berries, or fruity preserves, and let each bite transport you to cozy afternoons spent with loved ones.
Storage + Seasonal or Dietary Variations
If you have scone leftovers (which is unlikely!), store them at room temperature for 2 days or in the fridge for up to 5 days. Feel free to freeze unbaked scones for up to 3 months; simply bake straight from the freezer with an extra couple of minutes in the oven.
For alternative dietary needs, consider making these with gluten-free flour or swapping in almond milk for a dairy-free version. If you’re looking for a delicious scone to complement your meal, try these with savory options like Garlicky Feta Chicken Salad.
FAQ SECTION
What toppings pair well with scones?
You can serve your scones with clotted cream, butter, jams, or fresh fruits. Each adds a delicious touch to the rich flavor of your scones.
Can I make the dough ahead of time?
Absolutely! You can prepare the dough ahead, shape it into a disc, wrap it tightly, and refrigerate for up to 24 hours. Just bake them fresh when you’re ready!
How do I know my scones are done?
Look for a golden-brown top and edges, and a slight bounce back when lightly pressed. If they leave an imprint, give them a few more minutes in the oven.
Can I customize the add-ins for my scones?
Yes! Feel free to mix in chocolate chips, nuts, fresh or dried fruits—the possibilities are endless. Adjust according to your taste buds!
Conclusion
Now you hold the keys to how to make perfect scones! Each step brings you closer to that emotional connection forged through shared moments and delicious flavors. If this dish brings back a memory, pass it on. Someone you love might need it today. Don’t forget to explore the simple sweetness in life by baking up a heartfelt batch of scones. Check out the sweet, comforting allure of a sweet potato casserole to serve alongside your delightful scones.
YOU MAY ALSO LIKE
Perfect Scones
Ingredients
Method
- Whisk together the flour, sugar, salt, and baking powder in a large bowl.
- Grate the frozen butter into the flour mixture.
- Use a pastry cutter or your hands to work the butter into the flour until it resembles coarse crumbs.
- In a separate bowl, whisk together the heavy cream, egg, and vanilla extract until well combined.
- Drizzle the creamy mixture into the flour mixture and gently combine until everything is moistened.
- Turn the dough out onto a lightly floured surface and knead gently until it forms a cohesive ball.
- Pat the dough into an 8-inch disc and cut it into 8 wedges.
- Chill the scones in the fridge for about 15 minutes while preheating the oven to 400°F (204°C).
- Bake for 18-26 minutes until golden brown.
- Let them cool slightly before serving.