
Ever cut into a pie, only for the crust to crumble apart, leaving you with a disappointing mess on the plate? That frustration is exactly why learning how to make a thick buttery graham cracker crust at home is a total game-changer. With just three simple ingredients, you’ll unlock a recipe that’s crisp yet tender, sweet yet balanced, and strong enough to hold your favorite creamy fillings.
Why You’ll Love This Recipe
A Crust That Answers Everyday Struggles
We’ve all been there: buying a pre-made crust because it feels easier, only to regret it at the first bite. They’re bland, stale-tasting, and never seem to slice cleanly. I remember making my first lemon pie for a family dinner and watching the crust collapse under the filling I nearly cried! That’s when I knew I needed to master this recipe. This thick buttery graham cracker crust finally gave me the confidence to serve desserts without worry, and I know it will do the same for you.
The Dish That Solves It All
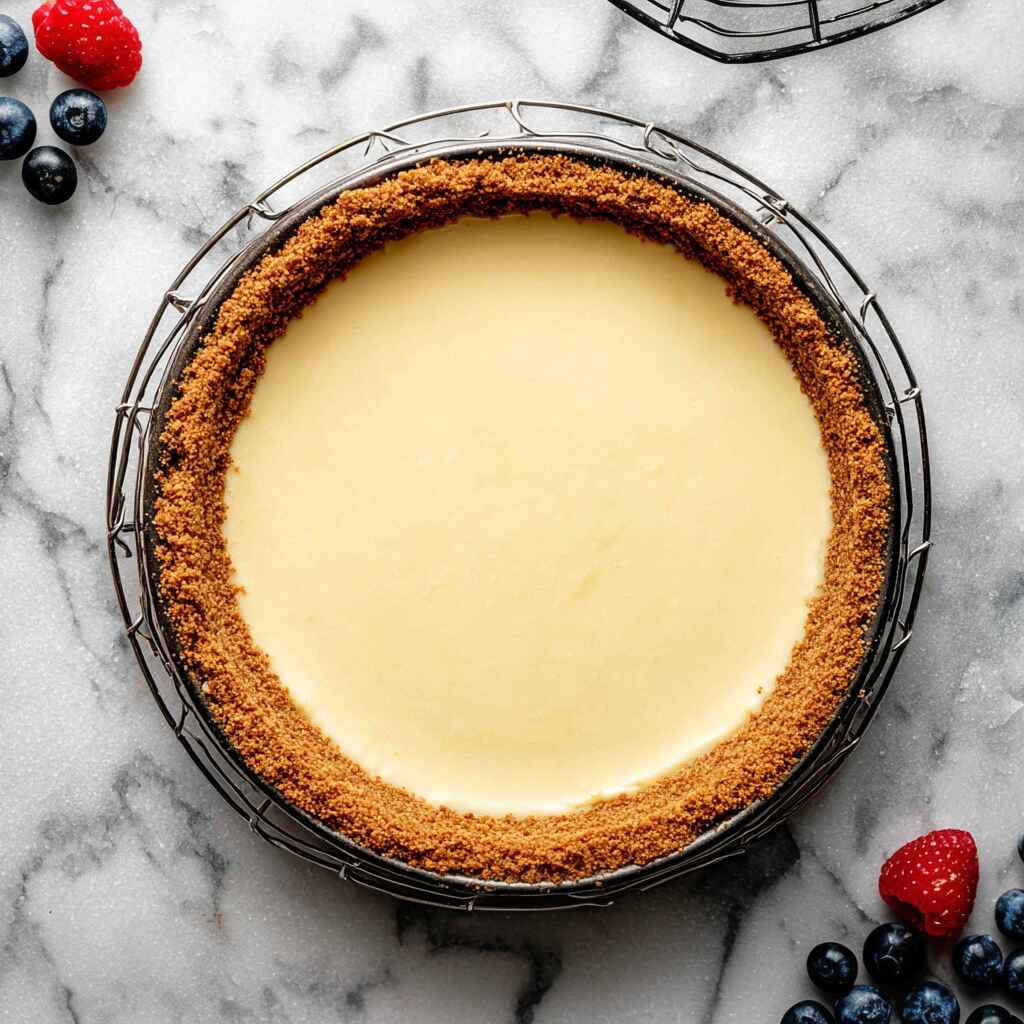
This crust isn’t just tasty it’s dependable. Whether you’re building a no-bake cheesecake, layering a banana cream pie, or spooning in a rich chocolate mousse, it holds its shape beautifully. And the buttery, golden flavor? It elevates every bite of your dessert. Instead of reaching for a store-bought crust, you’ll rely on this recipe again and again.Ingredients Breakdown & Prep Tips
Ingredient List with Suggestions
The beauty of this thick, buttery graham cracker crust is its simplicity just three humble ingredients that transform into a golden, flavorful base for pies, cheesecakes, and more. Here’s what you’ll need:
| Ingredient | Notes |
|---|---|
| Graham Cracker Crumbs | The essential base of this crust. Finely crushed for best binding aim for a sandy texture. If unavailable, substitute with digestive biscuits. |
| Granulated Sugar | Adds just enough sweetness and helps the butter bind to the crumbs. A touch of brown sugar works if you want deeper flavor. |
| Unsalted Butter, Melted | The golden glue that brings everything together, creating richness and crispness when baked. |
Tip: I tested this recipe with multiple brands and textures. Nabisco Honey Maid produces the crispiest results, but any brand (or digestives if you’re abroad) will work well.
Prep Method with Sensory Cues
- Crush the Crackers: Use a food processor for fine, sandy crumbs, or place crackers in a bag and crush with a rolling pin. The texture should feel like damp beach sand when mixed with butter.
- Mix Together: Combine crumbs, sugar, and melted butter until every bit is lightly coated you’ll smell the sweet, nutty butter blending through.
- Press Firmly, But Not Too Hard: Using your hands or a flat-bottomed cup, press the mixture into the pan. It should feel compact but still tender to the touch.
- Shape with Care: Run a spoon along the bottom edge to round the corners. This prevents crumbling when slicing into your dessert.
For more dessert bases, explore this classic New York style cheesecake that showcases the same technique.
Nutrition Highlights
| Nutrient | Per Serving |
|---|---|
| Protein | 7g |
| Carbs | 12g |
| Fat | 6g |
Avoid These Mistakes
Common Mistakes & Fixes
Even though this graham cracker crust is simple, a few small missteps can make the difference between a sturdy, buttery base and a crumbly disappointment. Here are the most common pitfalls (and how to fix them):
- Using Too Few Crumbs – If your crust falls apart when sliced, chances are the crumb ratio is off. Always measure your crumbs after crushing. Aim for fine, sandy consistency.
- Packing Too Tightly – Pressing with too much force creates a hard, rock-like crust. Instead, apply medium pressure enough to set the shape but still keep it tender.
- Skipping Pre-Bake Time – For baked pies, skipping that quick 10-minute pre-bake leads to soggy bottoms. Always blind-bake before adding filling (unless making a chilled dessert like easy banana pudding).
- Uneven Edges – Rough edges crumble easily when sliced. Smooth the sides with a spoon or flat measuring cup to create clean, bakery-style presentation.
Pro Tips to Get It Right
- Round Your Corners: Run a spoon around the inner edge where the bottom meets the side. This gentle curve holds slices together beautifully.
- Cool Completely Before Filling: Even a few minutes of warmth will cause creamy fillings to melt into the crust.
- Experiment with Flavor: Try cinnamon graham crackers or chocolate versions for unique spins they pair especially well with a chocolate pie or creamy mousse.
By avoiding these simple mistakes, you’ll achieve a crust that’s buttery, golden, and ready to be the star foundation of your dessert.
Serving, Storage & Creative Variations
Best Ways to Serve It
A buttery graham cracker crust is more than just a base it sets the stage for your dessert to shine. This crust pairs beautifully with creamy pies, fruit-topped cheesecakes, or custards. Imagine it under a silky apple pie or as the sturdy shell for chilled banana cream desserts. For gatherings, you can even press the mixture into mini tins for individual cheesecakes the perfect make-ahead treat that looks as special as it tastes.
Storage + Seasonal or Dietary Variations
- Storage: The crust can be refrigerated (up to 3 days) or frozen (up to 3 months) right in the pan. Just thaw before filling.
- Reheating: If pre-baked and stored, warm in the oven for 5 minutes to refresh its crispness.
- Creative Variations:
- Spiced Crust: Add a pinch of cinnamon or nutmeg for holiday pies like southern peach cobbler.
- Nutty Twist: Blend in a small handful of crushed pecans or almonds with the crumbs.
- Lighter Option: Swap part of the butter with coconut oil for a subtle tropical note.
With these variations, your graham cracker crust isn’t just reliable it’s adaptable, letting you match the mood, season, or craving with ease.
FAQ Section
Q1: Can I make graham cracker crust without a food processor?
Yes! Just place the crackers in a zip-top bag and crush with a rolling pin until sandy. It’s a bit more work, but the results are just as good.
Q2: Why does my graham cracker crust crumble when sliced?
Most often, it’s from not pressing firmly enough or not adding enough butter. Make sure the mixture feels like damp sand and press with medium pressure until it holds shape.
Q3: Can I make a no-bake dessert with this crust?
Absolutely. Simply chill the crust after pressing, then fill with no-bake cheesecake, pudding, or fruit fillings. Just be sure to refrigerate long enough for it to set.
Q4: What’s the best substitute if I don’t have graham crackers?
Digestive biscuits are the closest match. You can also try vanilla wafers or Biscoff cookies for a slightly different flavor.
CONCLUSION
Mastering this thick buttery graham cracker crust gives you a dessert base you can count on every single time. With just three simple ingredients, you can build pies, cheesecakes, and bars that slice cleanly, taste amazing, and impress at every table. If this dish brings back a memory, pass it on. Someone you love might need it today. For another comforting dessert foundation, try my mini loaf pan desserts.
Thick Buttery Graham Cracker Crust Recipe
Ingredients
Method
- Step 1 Crush graham crackers into fine crumbs using a food processor or rolling pin.
- Step 2 Combine crumbs, sugar, and melted butter until evenly coated.
- Step 3 Press mixture into a pie dish with medium pressure, smoothing the edges with a spoon.
- Step 4 Pre-bake at 350°F (177°C) for 10 minutes, or cool for no-bake desserts.