
Have you ever dreamed of making a smooth, creamy vanilla custard that rivals the ones in French patisseries? You’re not alone. Many home cooks shy away from custard, fearing curdled eggs or bland, floury textures. But here’s the truth homemade vanilla custard is not only approachable but deeply satisfying to make. Its aroma alone sweet cream and vanilla warmth feels like a quiet hug after a long day. Whether you serve it with fresh berries or use it as a lush cake filling, this custard is the comfort food you didn’t know you needed.
Why You’ll Love This Recipe
It’s the Creamy Comfort You’ve Been Craving
Ever tried a “quick custard” and ended up with something gritty, bland, or watery? Been there. Most days, all we want is a dessert that feels nostalgic without being complicated. After years of failed attempts and overcooked eggs, I found solace in this exact recipe one that blends ease and elegance in a single saucepan.
I remember the first time I made this custard for a family gathering. My grandmother took one bite, closed her eyes, and whispered, “Just like Paris, 1954.” That’s when I knew this wasn’t just dessert. It was memory.
This Dish Solves That
This homemade vanilla custard recipe is the solution to clumpy store-bought mixes and over-complicated online versions. Using simple pantry ingredients sugar, cornstarch, egg yolks, and milk you’ll create a rich, velvety base perfect for layering, spooning, or savoring on its own.
You can serve it chilled with berries, pour it into tart shells, or even layer it into trifles like our Easy Strawberry Trifle or alongside French Toast Sticks for a sweet breakfast twist.
Ingredients Breakdown & Prep Tips
Ingredient List with Suggestions
Each ingredient plays a simple but specific role in creating the silky texture and sweet flavor of this custard. Let’s break it down:
| Ingredient | Notes |
|---|---|
| Granulated sugar | Lightly sweetens without overpowering the vanilla flavor. |
| Cornstarch | Essential thickener; gives custard its signature body without floury taste. |
| Large egg yolks | Enrich the custard, adding silky texture and a golden hue. |
| Whole milk | Provides creaminess and balance; don’t substitute with low-fat milk. |
| Half and half or light cream | Adds richness don’t skip it if you want that velvety finish. |
| Butter | Makes the custard glossy and adds depth. |
| Vanilla extract | For that warm, comforting flavor. Swap with real vanilla beans if feeling fancy! |
Prep Method with Sensory Cues
Making custard is about timing and patience but it’s deeply rewarding. Here’s how to get it right:
- Start Cold: In a saucepan, whisk together sugar and cornstarch before any heat hits the pan. Add egg yolks, milk, and cream. The mixture should look pale yellow and fully blended.
- Gentle Heat: Heat over medium-low, whisking constantly. It will start to thicken around the 10-minute mark. Look for visible steam and a pudding-like consistency.
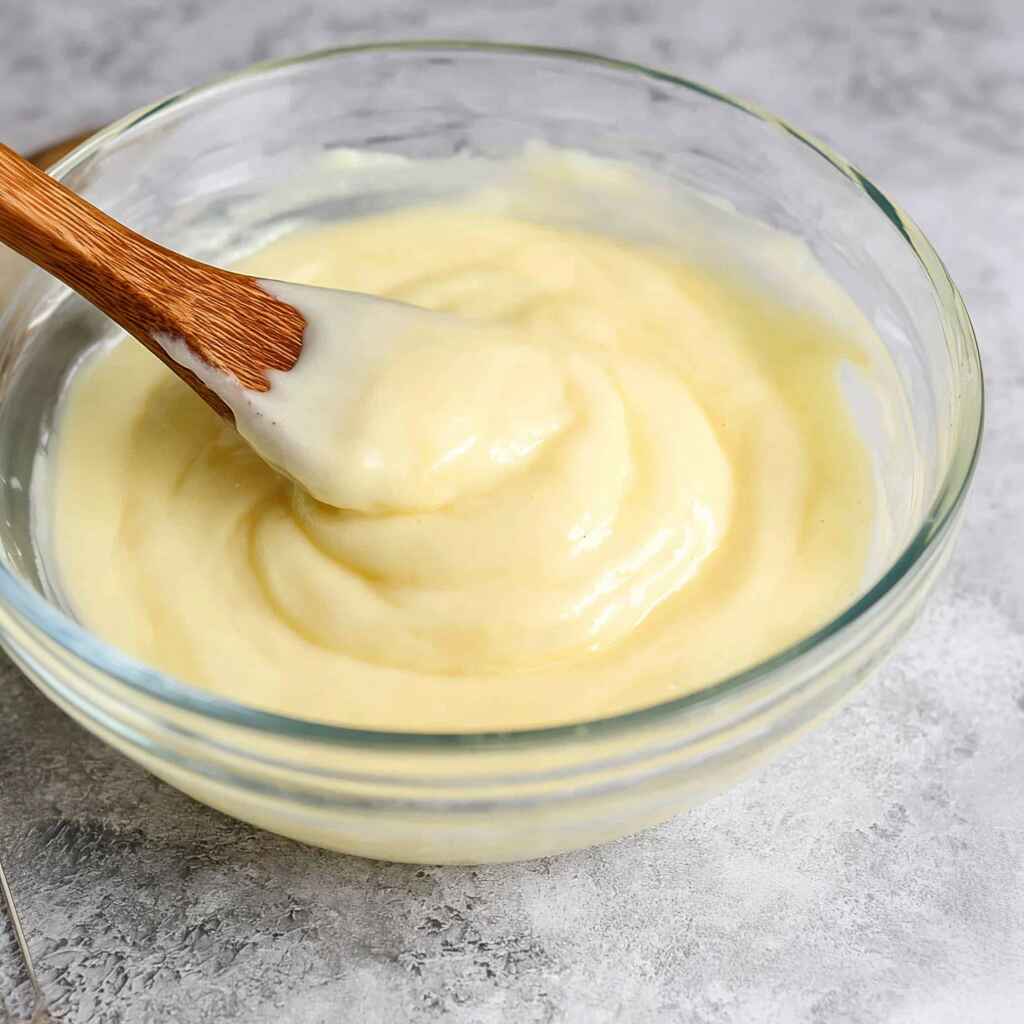
- Final Touch: Once thickened, remove from heat and stir in butter and vanilla. It will look glossy and smooth almost like silk.
- Chill: Press plastic wrap directly on the surface and chill for at least 2 hours. This prevents skin formation and lets flavors deepen.
For more from-scratch treats like this one, check out our Homemade Caesar Salad Dressing and No-Knead Peasant Bread both pair beautifully with this dessert as part of a homemade dinner.
| Nutrient | Per Serving |
|---|---|
| Protein | 7g |
| Carbs | 12g |
| Fat | 6g |
Avoid These Mistakes
Common Mistakes & Fixes
Even experienced bakers can run into issues with custard. Here’s how to dodge the most common slip-ups:
- Overheating the mixture:
High heat scrambles the eggs and ruins the smooth texture. Fix: Always cook low and slow, whisking continuously. - Skipping the cornstarch mix step:
Adding cornstarch after heating causes lumps. Fix: Whisk it with sugar first, then add the liquids cold. - Not stirring enough:
If you walk away, you’ll risk burnt milk or uneven thickening. Fix: Stay at the stove and whisk constantly, especially as it begins to thicken. - Forgetting the plastic wrap touch:
This creates a rubbery skin on top. Fix: Let the wrap rest directly on the custard’s surface before chilling.
Pro Tips to Get It Right
- Use a silicone whisk or flat whisk to reach the edges of your saucepan and prevent scorching.
- Temper your eggs if you’re nervous: warm a small bit of the milk mixture and slowly whisk it into the yolks before combining.
- Strain for perfection: If you see any small curdles, run the custard through a fine mesh sieve before chilling.
Looking for more creamy classics? Don’t miss our Butternut Squash Soup or crowd-favorite Easy Banana Pudding both silky, comforting, and cozy enough for any season.
Serving, Storage & Creative Variations
Best Ways to Serve It
This vanilla custard isn’t just a dessert it’s a versatile base that can elevate nearly anything sweet.
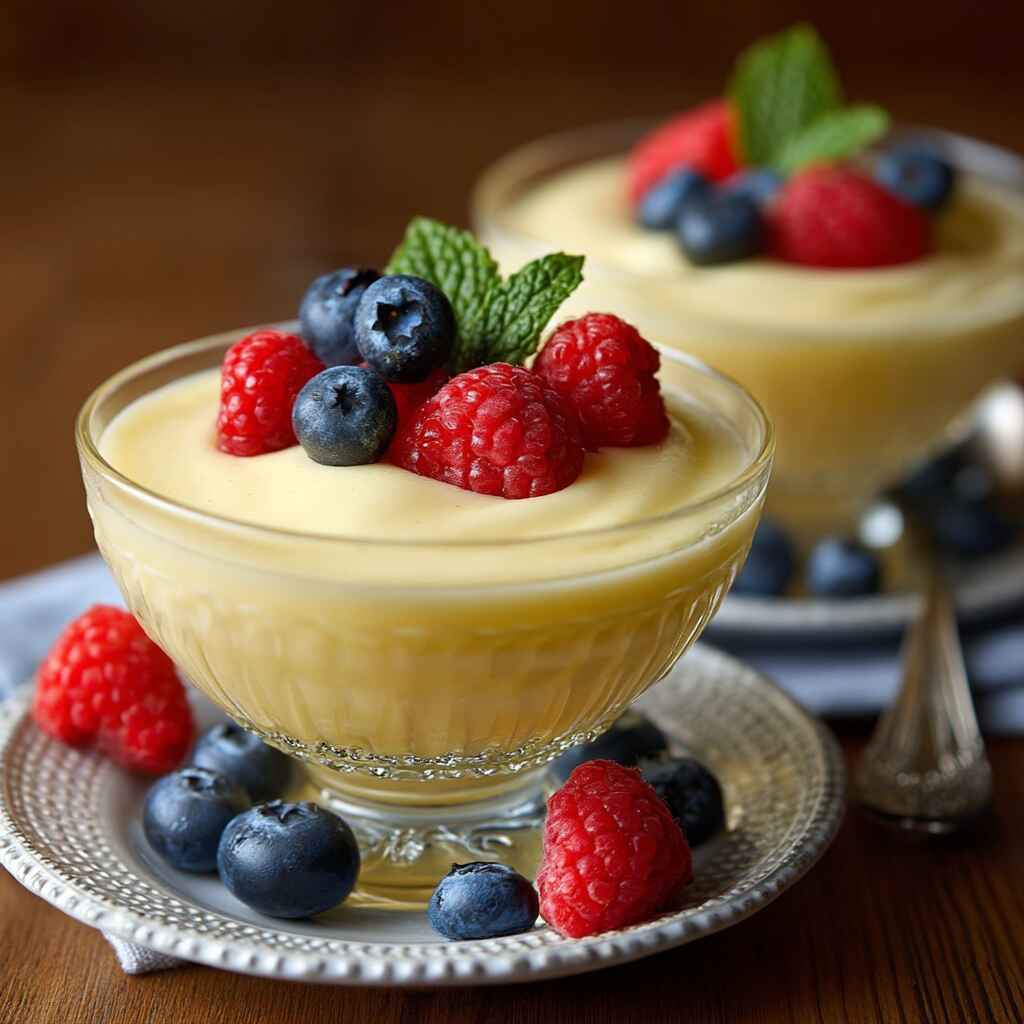
- Serve chilled in glass bowls topped with fresh berries for a nostalgic, elegant treat.
- Use as a cake filling for layer cakes, Boston cream pie, or cream puffs.
- Pour over warm desserts like bread pudding, fruit crisps, or cobblers for instant comfort.
- Swirl into trifle layers for added richness like in our Strawberry Trifle.
The beauty of this recipe is in its flexibility it shines alone or plays a supporting role in something spectacular.
Storage + Seasonal or Dietary Variations
Storage Tips:
- Store custard in the fridge up to 5 days.
- Place plastic wrap directly on the surface to prevent skin formation.
- Don’t freeze custard tends to split and lose its silky texture after thawing.
Seasonal & Dietary Variations:
- Fall twist: Add a pinch of cinnamon and nutmeg, and layer into a Pumpkin Cheesecake for holiday flair.
- Coconut version: Swap the milk with full-fat coconut milk for a dairy-light alternative.
- Citrus custard: Use lemon or orange extract for a fresh, zesty variation perfect for summer tarts.
For more make-ahead desserts with staying power, check out this Chocolate Pie Recipe and our crowd-pleasing Cinnamon Roll Coffee Cake.
FAQ Section
What’s the difference between custard and pudding?
Custard uses egg yolks for thickening, while pudding is typically thickened with cornstarch alone. Custard is richer and has a silkier finish.
Can I make vanilla custard ahead of time?
Yes! It actually benefits from resting time. Make it up to 3–4 days in advance and keep it chilled with plastic wrap touching the surface.
Why is my custard lumpy?
Lumps usually mean the heat was too high or the mixture wasn’t stirred enough. You can save it by straining through a fine mesh sieve.
Can I freeze homemade custard?
It’s not recommended. Freezing can cause the custard to separate and lose its creamy consistency.
CONCLUSION
Homemade vanilla custard brings comfort, elegance, and incredible flavor to even the simplest of desserts. Whether spooned into bowls or layered in your favorite trifle, this custard recipe is a keeper.
If this dish brings back a memory, pass it on. Someone you love might need it today.
Homemade Vanilla Custard Recipe That’s Smooth, Silky & Easy
Ingredients
Method
- In a medium saucepan, whisk granulated sugar, cornstarch, and a tiny pinch of salt before heating.
- Add egg yolks, milk, and cream. Whisk to combine until smooth.
- Heat over medium-low heat, whisking constantly, until it begins to boil.
- Once boiling, continue whisking and let it bubble for 1 minute.
- Remove from heat and stir in butter and vanilla extract.
- Pour into a bowl and press plastic wrap directly onto the surface.
- Refrigerate for at least 2 hours before serving.