
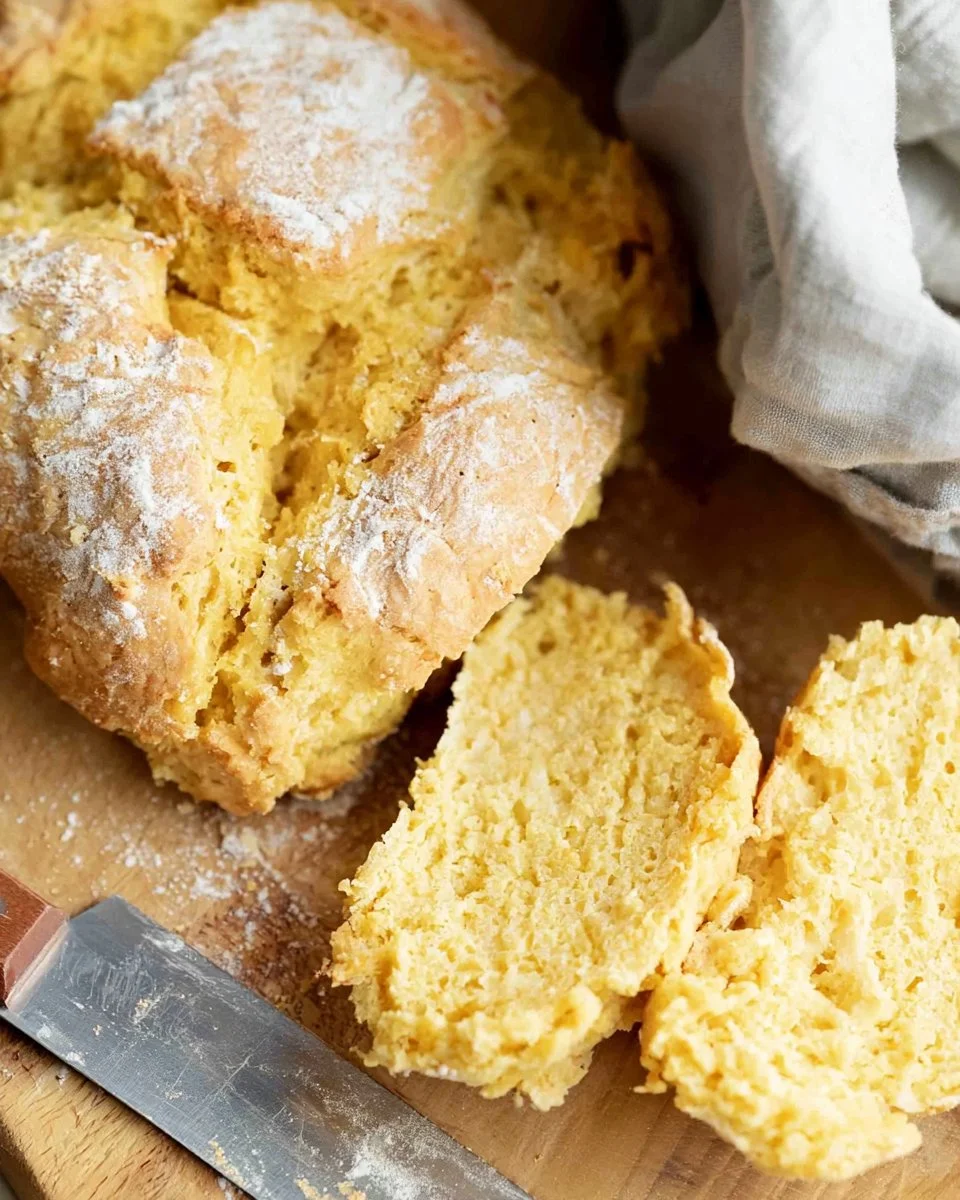
Imagine stepping into your kitchen and the warm, inviting aroma of freshly baked bread fills the air. There’s nothing quite like the comfort of homemade goodies, especially when they happen to be gluten-free. This simple recipe is your ticket to creating a delicious, crusty loaf of bread that’s perfect for sandwiches or served with your favorite soups. Light, fluffy, and with a slightly nutty flavor, this gluten-free bread brings a delightful texture that won’t leave you missing traditional recipes. The best part? It can be made in under an hour, making it ideal for busy weeknights or whenever the craving for a warm slice hits.
Quick Answer
This gluten-free bread recipe is quick, simple, and yields a fluffy loaf without complicated techniques or special ingredients.
Why You’ll Love This Recipe
Making bread can feel like a daunting task, but this recipe breaks it down into easy steps. Here’s why you’ll fall in love with it:
- You can whip it up in less than an hour.
- It’s entirely gluten-free, making it perfect for those with dietary restrictions.
- Using almond and arrowroot flour gives it a unique flavor and light texture.
- Perfect for sandwiches, toast, or as a side for soups and salads.
- It’s a healthy alternative packed with protein and nutrients.
- The versatility means it can be adjusted for various toppings and spreads.
What Makes This Recipe Special
This gluten-free bread recipe stands out for its straightforward preparation and balanced ingredients. Unlike many gluten-free options, the combination of blanched almond flour and arrowroot flour creates a light, airy loaf that doesn’t compromise on taste or texture. The use of honey and olive oil not only enhances the flavor but also keeps the loaf moist, while the apple cider vinegar helps to improve the rise by replicating the effect of gluten. Each slice is filled with satisfying flavor, making it a go-to staple in your kitchen.
Kitchen Tools You’ll Need
- Mixing Bowl – For combining your ingredients easily.
- Whisk – To ensure the yeast is well combined with water and honey.
- Baking Sheet – Necessary for baking your bread in the oven.
- Parchment Paper/Silicone Mat – Helps prevent sticking and makes for easy cleanup.
- Sharp Knife – For scoring the top of the bread before baking.
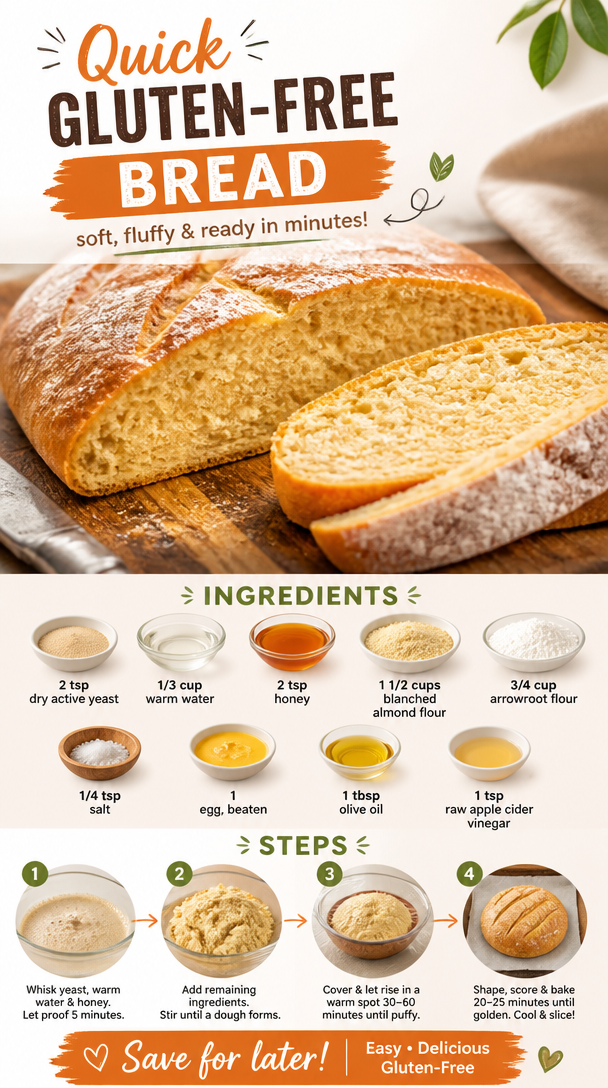
Ingredients
dry active yeast: Essential for leavening the bread, creating a light and airy texture.
warm water: Activates the yeast, promoting proper rising of the dough.
honey: Adds a hint of sweetness and helps feed the yeast.
blanched almond flour: Provides a nutty flavor and gluten-free structure to the bread.
arrowroot flour: Aids in achieving a light texture while keeping the loaf gluten-free.
salt: Enhances the overall flavor profile of the bread.
egg: Binds the ingredients together and adds moisture.
olive oil: Contributes richness and helps keep the bread soft.
raw apple cider vinegar: Aids in dough rising and adds a slight tang.
Ready to cook? Scroll to the recipe card below for exact measurements.
How to Make Quick Gluten-Free Bread
Phase 1 – Prep
STEP 1. Combine yeast mixture. In a large bowl, whisk together the yeast, water, and honey. Set aside for five minutes to proof, or until frothy.
STEP 2. Add remaining ingredients. Add in the almond flour, arrowroot flour, salt, egg, olive oil, and vinegar.
STEP 3. Mix until dough forms. Stir just until a dough forms.
STEP 4. Let rise. Cover bowl with plastic wrap or a damp kitchen towel, and let rise in a warm spot in your kitchen for 30-60 minutes, or until the dough looks decidedly puffy and smells of yeast.
STEP 5. Preheat oven. When rising time is nearly over, line a baking sheet with parchment paper or a silicone baking mat. Preheat oven to 400 degrees F.
STEP 6. Shape loaf. Transfer the dough to the prepared baking sheet and form into a round loaf.
STEP 7. Score the loaf. Use a sharp knife to cut diagonal lines every 1 inch along the loaf.
STEP 8. Bake. Bake for 20-25 minutes, or until the bread is golden brown on top.
STEP 9. Cool and serve. Remove from oven and let cool for 10 minutes, then slice and serve.
Why This Recipe Works
This gluten-free bread recipe beautifully balances texture and flavor. The combination of almond flour and arrowroot flour provides a tender crumb and a somewhat chewy crust, reminiscent of traditional bread. The yeast creates air pockets that lend a delightful lift, making each slice light and fluffy. Honey and olive oil not only enhance the bread’s flavor but also ensure it stays moist, while the addition of apple cider vinegar aids in the dough’s rise. Baking at the right temperature ensures you achieve a golden crust, creating a satisfying contrast with the soft interior.
Pro Tips
Consider these tips for a perfect bake every time:
- Make sure your water is warm but not hot; too high a temperature can kill the yeast.
- For best results, let your bread rise in a draft-free warm area.
- Don’t skip the scoring step; it helps control how the bread expands while baking.
- To add extra flavor, experiment with mixes such as herbs or spices in your dough.
- Ensure your oven is fully pre-heated; this assists in creating the perfect crust.
Common Mistakes to Avoid
Here are common pitfalls and tips to ensure your bread turns out perfectly:
- Mistake: Not allowing the yeast to proof.
- Why it happens: Rushing the process can lead to flat, dense bread.
- How to fix it: Always check yeast before starting; it should foam and bubble.
- Mistake: Using cold ingredients.
- Why it happens: Cold ingredients can affect the yeast’s ability to rise.
- How to fix it: Ensure all ingredients are at room temperature prior to mixing.
- Mistake: Not measuring ingredients accurately.
- Why it happens: Inconsistent measurements can lead to dough that’s too wet or dry.
- How to fix it: Use a kitchen scale for precision or follow the measurements exactly.
Variations
- Try replacing honey with maple syrup for a vegan option.
- Add spices like rosemary or thyme for an herbal twist.
- Mix in seeds or nuts for added crunch and nutrition.
- Substitute a part of the almond flour with sunflower seed flour for a different flavor.
Nutrition Highlights
| Nutrient | Role |
|---|---|
| Protein | Helps support satiety and balanced meals. |
| Healthy fats | Contribute to flavor and satiety. |
| B vitamins | Support energy metabolism. |
Serving Ideas
Enjoy your fresh gluten-free bread slathered with a pat of butter or your favorite spread. It pairs beautifully with soups, salads, or as a base for sandwiches filled with your choice of fillings like roasted vegetables or deli meats. You can also make delightful French toast or savory bread pudding for a unique twist.
Best Occasions for This Recipe
This recipe is perfect for a cozy family dinner, a casual brunch with friends, or even a lovely picnic in the park. Whether you’re hosting a gathering or simply craving a fresh loaf, these slices of bread are sure to impress your guests or family.
Meal Prep & Storage
Meal Prep
This gluten-free bread can be mixed and baked in under an hour, making it ideal for quick meal prep. You can also prepare the ingredients in advance and have them ready to mix on busy days.
Refrigeration
To maintain freshness, store your baked bread in an airtight container at room temperature for up to three days. For longer shelf life, consider refrigerating.
Freezing
If you’d like to extend the life of your bread, you can freeze it. Simply wrap it tightly in plastic wrap and then place it in a freezer-safe bag. It can be stored for up to three months.
Reheating
To reheat, simply place the bread in a toaster or warm it in the oven at a low temperature until heated through. This will refresh its texture and flavor.
FAQs
Can I substitute any of the flours?
Yes, you can experiment with other gluten-free flours, but the texture may vary.
How do I know when my yeast is active?
When proofed, the yeast should become foamy and bubbly within a few minutes.
What can I do with leftover bread?
Leftover gluten-free bread can be toasted or made into croutons for salads.
Can I double the recipe?
Yes, but ensure you use a larger mixing bowl and adjust baking time if necessary.
Save This Recipe for Later
This quick gluten-free bread recipe is a must-have in your cooking arsenal. Don’t forget to save it to refer back to whenever you’re in need of delicious, easy bread!
Conclusion
Creating a comforting loaf of gluten-free bread doesn’t have to be challenging. With this quick and easy recipe, you’ll discover that homemade tastes best and can easily fit into your routine. So gather your ingredients, and put your baking skills to the test—the delightful aroma and warm texture of fresh bread await!
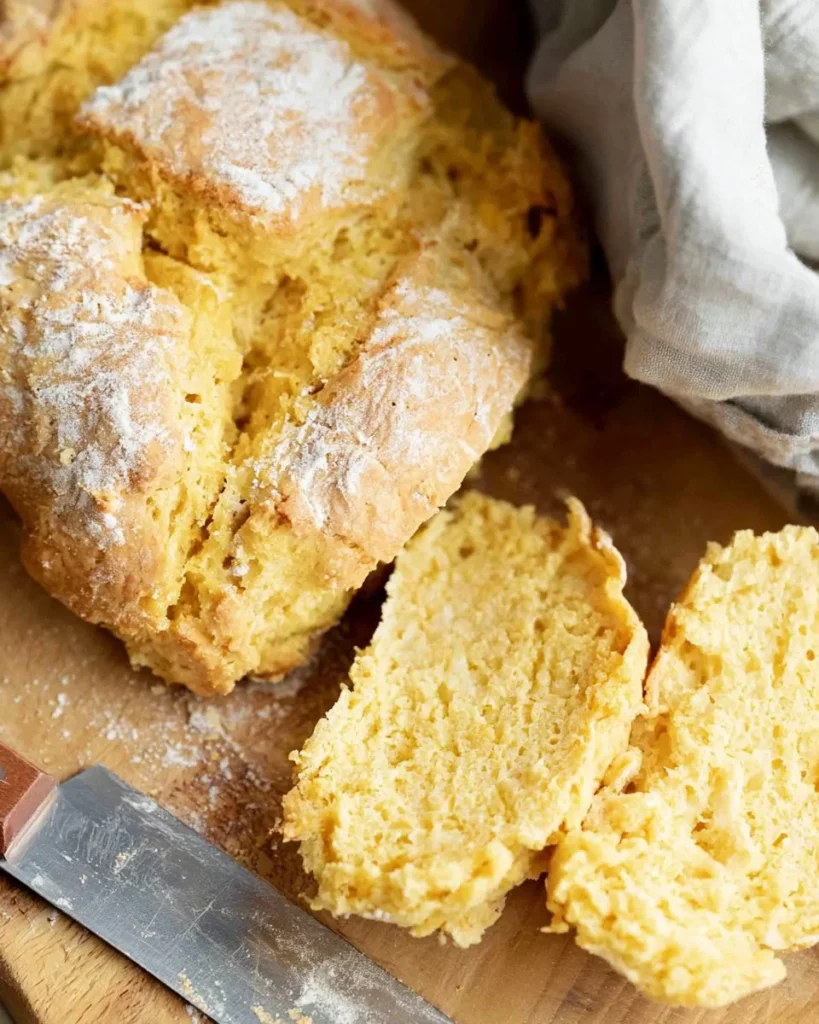
Quick Gluten-Free Bread
Ingredients
Method
- In a large bowl, whisk together the yeast, warm water, and honey. Set aside for five minutes to proof, or until frothy.
- Add in the almond flour, arrowroot flour, salt, egg, olive oil, and vinegar.
- Mix just until a dough forms.
- Cover the bowl with plastic wrap or a damp kitchen towel, and let it rise in a warm spot for 30-60 minutes, or until the dough appears puffy and smells of yeast.
- Line a baking sheet with parchment paper or a silicone mat and preheat the oven to 400°F.
- Transfer the dough to the prepared baking sheet and shape it into a round loaf.
- Use a sharp knife to score diagonal lines every 1 inch along the loaf.
- Bake for 20-25 minutes until the bread is golden brown on top.
- Remove from the oven and let cool for 10 minutes before slicing and serving.