
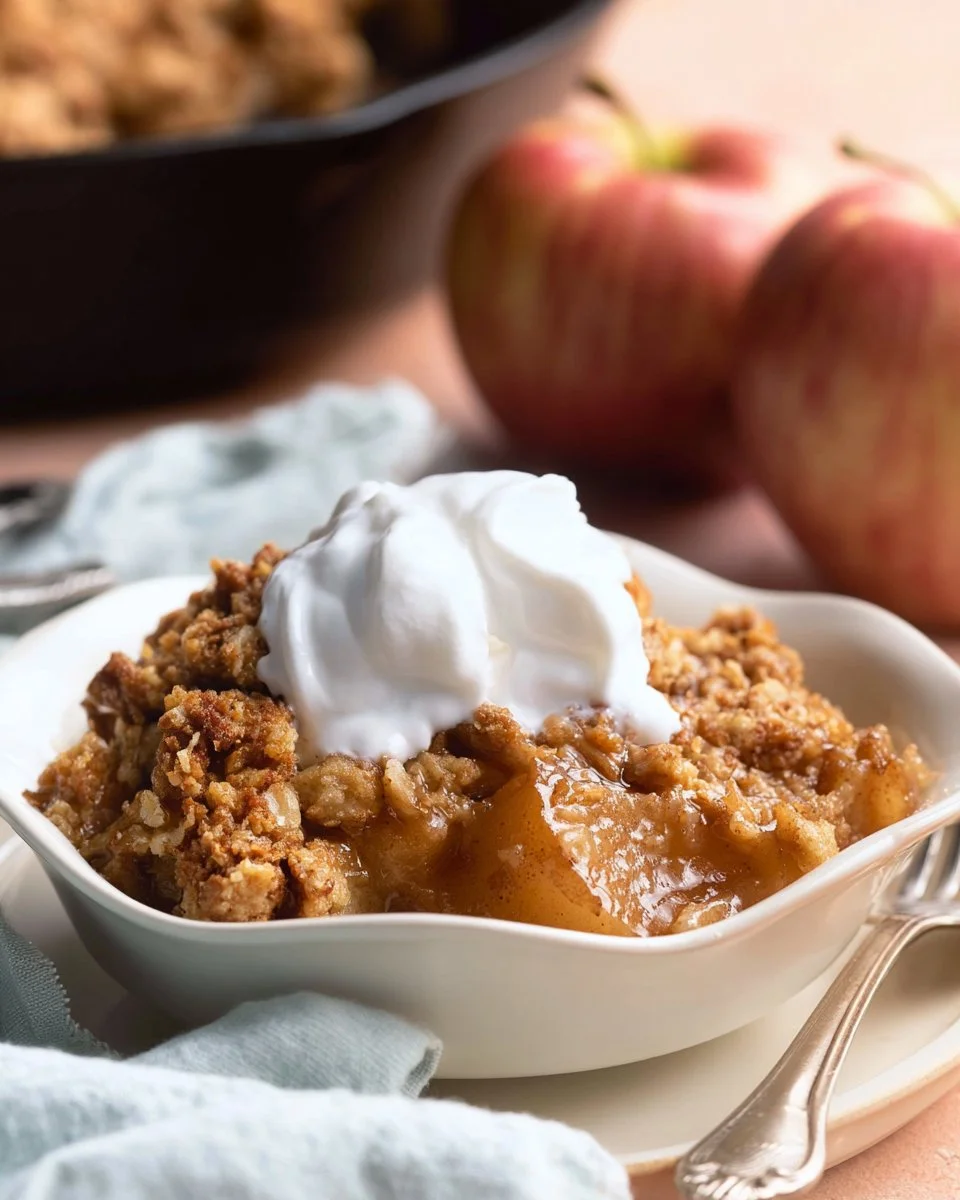
Warm, comforting desserts are the heart of any cozy gathering, and nothing evokes that sense of comfort quite like a delicious apple crisp. With its enchanting aroma and rich flavors, this dessert offers a delightful balance between tender, juicy apples and a crispy, golden topping. The blend of Honeycrisp apples delivers the perfect sweetness, while the buttery oat topping adds a satisfying crunch that keeps you returning for more. Imagine each bite melting in your mouth, the flavors dancing on your palate, making it an instant favorite for family meals or holiday celebrations. Paired with a scoop of creamy vanilla ice cream or a dollop of whipped cream, this dessert transforms any occasion into a memorable culinary experience. It’s an ideal choice for those looking to indulge in a homemade treat that is both simple and irresistibly delicious.
Quick Answer
Apple crisp is a timeless dessert featuring spiced, baked apples topped with a crunchy oat and flour mixture, perfect for cozy gatherings and family dinners.
Why You’ll Love This Recipe
This apple crisp recipe is easy to prepare and packed with flavor. Here’s why you’ll adore it:
- Effortless Preparation: Quick and straightforward steps mean you can whip it up in no time.
- Seasonal Ingredients: Highlights the best flavors of fall with fresh Honeycrisp apples.
- Comforting Dessert: The warm, cozy flavors create an inviting atmosphere for gatherings.
- Versatile Serving Options: Pairs wonderfully with ice cream or whipped cream for an extra indulgence.
- Perfect for Meal Prep: Prepares well in advance, making it ideal for holidays or busy weeknights.
- Deliciously Crisp Texture: The topping adds an irresistible crunch that complements the soft apples.
- Customizable Flavors: You can easily adapt spices or add nuts for a unique twist.
What Makes This Recipe Special
This apple crisp is not only easy to make, but it also brings together a delightful combination of flavors and textures that are sure to impress. The star of the dish, Honeycrisp apples, are known for their sweetness and crispness, which provide a wonderful contrast to the crunchy topping. The spice blend, featuring cinnamon and nutmeg, enhances the natural flavors of the apples, making each bite a warm hug of taste. The layers of soft, caramelized apples topped with a crispy, buttery oat mixture create a satisfying eating experience that is both comforting and delicious. The method of baking allows the flavors to meld beautifully, ensuring that every mouthful bursts with warmth and nostalgia, making it the perfect dessert for any occasion.
Kitchen Tools You’ll Need
- 9×9 inch Baking Dish – The perfect size for evenly baking your crisp.
- Mixing Bowl – Ideal for mixing the dry ingredients and preparing the apple filling.
- Fork or Pastry Blender – Helps combine the butter with dry ingredients for a crumbly topping.
- Peeler and Corer – Essential for preparing your apples smoothly and efficiently.
- Foil – Used to line the baking sheet, making cleanup a breeze.
Ingredients
all purpose flour: Provides structure and thickness to the crisp topping and helps bind the ingredients together.
baking powder: Helps the topping rise slightly, giving it a lighter texture.
ground cinnamon: Offers a warm, sweet spice that complements the apples beautifully.
kosher salt: Enhances the overall flavor by balancing sweetness without being overpowering.
brown sugar: Adds a deep, molasses-like sweetness which enriches both the topping and apple mixture.
old fashioned oats: Gives a hearty, chewy texture to the topping, creating the classic crisp effect.
unsalted butter: Adds richness and moisture, helping to create a crumbly, flavorful topping.
Honeycrisp apples: Sweet and crisp, these apples hold their shape well and provide a delightful flavor contrast.
fresh lemon juice: Brightens the apple flavors and prevents browning.
bourbon: Adds a layer of depth and complexity to the apple filling.
ground nutmeg: Offers a warm, aromatic spiciness that enhances the cinnamon and apple flavors.
granulated sugar: Sweetens the apple filling, balancing the tartness of the fruit.
Ready to cook? Scroll to the recipe card below for exact measurements.
How to Make Apple Crisp
Phase 1 – Prep
STEP 1. Preheat oven. Set your oven to 350 degrees F.
STEP 2. Prepare the baking dish. Lightly butter a 9 by 9 inch baking dish with at least 2 1/4 inch sides and place it on a foil-lined baking sheet.
STEP 3. Mix dry ingredients. In a medium bowl, whisk together flour, baking powder, cinnamon, salt, brown sugar, and oats.
STEP 4. Incorporate butter. Use a fork or pastry blender to work the butter into the mixture until crumbly. Set aside.
Phase 2 – Cook
STEP 5. Prepare the apples. Peel, core, and slice apples 1/4 inch thick.
STEP 6. Toss with flavors. Toss the sliced apples with lemon juice, bourbon, flour, cinnamon, nutmeg, salt, granulated sugar, and brown sugar.
STEP 7. Assemble. Spread the apple mixture into the baking dish and top with the oat mixture.
STEP 8. Bake. Bake for 45-60 minutes until apples are tender and topping is browned. Check halfway through to prevent over-browning.
Phase 3 – Serve
STEP 9. Cool. Let cool for at least 20 minutes before serving.
STEP 10. Enjoy. Serve warm with ice cream or whipped cream.
Why This Recipe Works
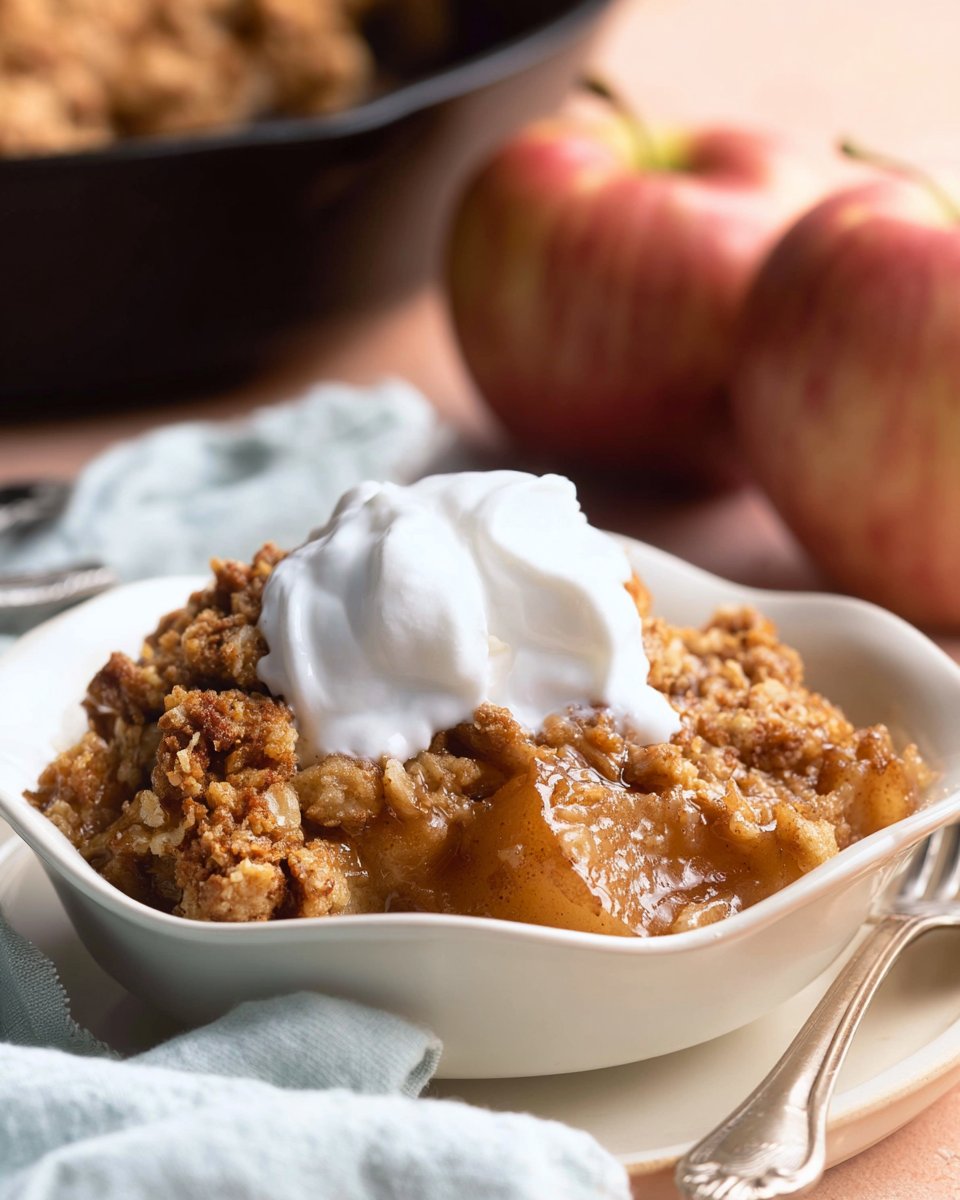
This apple crisp recipe is perfectly balanced between texture and flavor, providing a delightful experience with each bite. The combination of sweet Honeycrisp apples and a cinnamon-seasoned topping creates a harmonious blend that appeals to the palate. The baking method allows the apples to release their juices, which then caramelize and enrich the flavor of the dish. The crispy oat topping provides a satisfying crunch that contrasts with the tender filling, enhancing the overall enjoyment. Together, these elements make this crisp not only delicious but also a fantastic way to showcase seasonal produce, allowing the natural sweetness of the apples to shine.
Pro Tips
1. **Select the Right Apples:** Honeycrisp apples are ideal for their sweetness and texture, but you can mix different varieties for a more complex flavor.
2. **Adjust Sweetness:** Depending on your taste preference and the tartness of the apples, feel free to adjust the sugar content.
3. **Don’t Skip Cooling Time:** Allowing the crisp to cool for a bit after baking helps the filling set up, making it easier to serve.
4. **Add Nuts for Crunch:** For added texture and flavor, incorporate walnuts or pecans into the oat mixture.
5. **Serve Warm:** This dish is at its best when served warm, with a scoop of vanilla ice cream melting over the top.
Common Mistakes to Avoid
Mistake: Using overripe apples.
Why it happens: Ripe apples may turn mushy during baking, losing their structure.
How to fix it: Opt for firm, tart apples to maintain texture in the crisp.
Mistake: Underbaking.
Why it happens: A quick bake can lead to crunchy apples rather than tender.
How to fix it: Ensure you bake until the apples are fork-tender; check halfway through.
Mistake: Not checking for browning.
Why it happens: The topping can brown quickly without attention.
How to fix it: Cover with foil if it gets too dark before apples are soft.
Mistake: Skipping cooling time.
Why it happens: Rushing to serve can lead to a messy presentation.
How to fix it: Let cool for at least 20 minutes to allow the filling to set.
Variations
- Swap Honeycrisp apples for Granny Smith for a tarter flavor.
- Incorporate cranberries or raisins for added sweetness and acidity.
- Use maple syrup instead of brown sugar for a different sweet profile.
- Add spices like ginger or cardamom for a unique twist.
- Top with crushed nuts like almonds or pecans for extra crunch.
Nutrition Highlights
| Nutrient | Role |
|---|---|
| Fiber | Supports digestive health and adds satiety. |
| Vitamins A and C | Boosts the immune system and helps maintain skin health. |
| Antioxidants | Fight free radicals and support overall wellness. |
Serving Ideas
Apple crisp is a versatile dessert that pairs beautifully with various accompaniments. Consider serving it warm with a scoop of vanilla ice cream for a classic combination that brings a delightful contrast between hot and cold. Alternatively, a dollop of freshly whipped cream provides a light, airy contrast to the rich flavors. For a breakfast twist, enjoy leftover apple crisp with a drizzle of yogurt and fresh fruits. You can also offer it as a dessert to go along with coffee or tea, making it perfect for any gathering or cozy night in.
Best Occasions for This Recipe
This apple crisp recipe is ideal for various occasions. Serve it at family gatherings and holiday celebrations, where its warm flavors can create a cozy atmosphere. It’s also perfect for potlucks, as it can be made ahead of time and served warm or at room temperature. Enjoy this delightful dessert during autumn gatherings to celebrate the apple harvest, or whip it up for a comforting treat after a long day. Regardless of the setting, this dish embodies love and care, making it a reliable choice for creating lasting memories.
Meal Prep & Storage
Meal Prep
Preparing apple crisp can be done in advance. Slice and toss the apples with the lemon juice and sugars, then cover and refrigerate for up to 24 hours before baking. Mix the dry ingredients for the topping and store them in an airtight container. Assembling before baking makes it simple to enjoy freshly baked crisp with little effort.
Refrigeration
If you have leftover apple crisp, store it in the refrigerator for up to five days. Cover it tightly with plastic wrap or transfer it to an airtight container to keep it fresh.
Freezing
Apple crisp can be frozen before baking. Assemble the dish and cover it tightly with foil or plastic wrap, storing it in the freezer for up to three months. When you’re ready to bake, there’s no need to thaw; just add a few extra minutes to the baking time.
Reheating
To reheat, place the apple crisp in a preheated oven at 350 degrees F until heated through and the topping is crispy again, about 20-25 minutes. You can also microwave individual portions, using a microwave-safe dish.

FAQs
Can I use different types of apples?
Absolutely! Mixing different types of apples can enhance the flavor profile and texture of the crisp. Consider using Granny Smith, Braeburn, or Fuji apples for varied sweetness and tartness.
How do I store leftover apple crisp?
Store leftover apple crisp in an airtight container in the refrigerator for up to five days. Be sure to allow it to cool completely before storing.
Can I make this dessert in advance?
Yes, you can prepare the components in advance. Slice the apples and toss them with the lemon juice and sugars, then keep them in the fridge. Alternatively, you can fully assemble the crisp and freeze it to bake later.
How can I make this recipe gluten-free?
To make a gluten-free version, substitute regular flour with a gluten-free flour blend, ensuring all other ingredients are also gluten-free.
What can I serve apple crisp with?
Apple crisp is delightful on its own, or you can serve it with a scoop of vanilla ice cream, whipped cream, or a drizzle of caramel sauce for extra richness.
Save This Recipe for Later
If you’re excited to create this delicious apple crisp, be sure to save the recipe for later! Share it with friends and family so they can indulge in this warm, comforting dessert too.
Conclusion
Indulging in a homemade apple crisp brings forth the warmth of fall and the joy of creating something delicious. With its perfect balance of sweet, tender apples and buttery, crispy topping, it’s a dessert that delights all who taste it. Whether you’re serving it at a gathering or enjoying it as a cozy treat at home, this recipe is sure to become a cherished favorite. Gather your ingredients, embrace the warmth of your kitchen, and let the enticing aromas fill your home with happiness. This simple yet satisfying dessert is not just food; it’s a celebration of flavors, memories, and moments with loved ones.
Apple Crisp
Ingredients
Method
- Preheat your oven to 350 degrees F.
- Lightly butter a 9 by 9 inch baking dish and place it on a foil-lined baking sheet.
- In a medium bowl, whisk together flour, baking powder, cinnamon, salt, brown sugar, and oats.
- Use a fork or pastry blender to work the butter into the mixture until crumbly. Set aside.
- Peel, core, and slice apples 1/4 inch thick.
- Toss the sliced apples with lemon juice, bourbon, flour, cinnamon, nutmeg, salt, granulated sugar, and brown sugar.
- Spread the apple mixture into the baking dish and top with the oat mixture.
- Bake for 45-60 minutes until apples are tender and topping is browned, checking halfway through.
- Let cool for at least 20 minutes before serving.
- Serve warm with ice cream or whipped cream.