
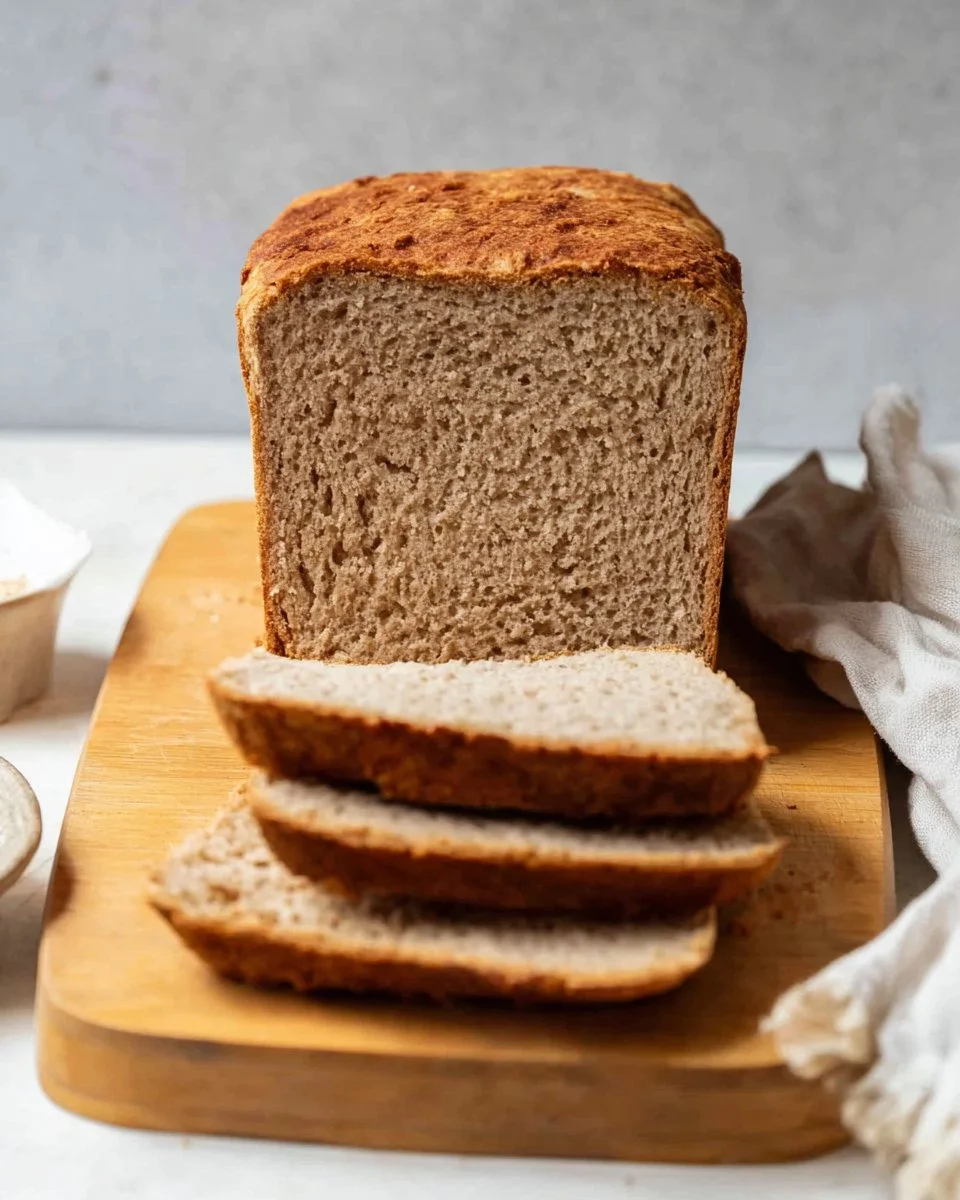
Imagine slicing through a loaf of fresh bread, the crust crackling beneath your fingers and the warm, soft interior inviting you to take a bite. Now picture that bread being gluten-free, packed with wholesome ingredients, and so delicious you’ll forget it’s a healthier alternative. This homemade gluten-free sandwich bread is a game-changer for those who embrace a gluten-free lifestyle. Its rich flavor and perfect texture make it ideal for sandwiches, toast, or simply slathered with your favorite spread. Not only does this bread have a tender crumb that rivals traditional bread, but it also boasts the nutritional benefits of oats and whole grains. Plus, the joy of baking your own bread is unmatched, filling your home with the comforting aroma of freshly baked goods. Perfect for family meals or meal prep, this recipe will become a staple in your kitchen.
Why You’ll Love This Recipe
This gluten-free sandwich bread will elevate your sandwiches and toasts to new heights, offering a delightful balance of flavor and nutrition. It’s crafted with wholesome ingredients like oats, brown rice flour, and a medley of starches that create a fantastic texture. The addition of psyllium husk ensures that the bread holds its shape well while providing a delightful chewiness. Plus, it’s incredibly versatile; you can customize it to your liking by incorporating different herbs, spices, or even seeds! It can easily fit into your healthy meal prep routine, serving as the perfect base for quick family meals. Not to mention, this homemade recipe allows you to avoid store-bought gluten-free breads that often contain additives and preservatives. Enjoy a slice warm with butter, or turn it into a hearty sandwich full of your favorite fillings.
What Makes This Recipe Special
What sets this gluten-free sandwich bread apart is its unique combination of ingredients that work harmoniously to create a soft, elastic texture reminiscent of traditional bread. The use of gluten-free oats blended into flour adds a hearty flavor and nutrients. The psyllium husk not only contributes to the moisture but also mimics the binding qualities of gluten, making the bread easier to slice and handle without crumbling. Additionally, the blend of brown rice flour, potato starch, and tapioca starch provides a lightness that makes each bite fluffy, while the addition of maple syrup and olive oil adds a touch of richness. This recipe also caters to various dietary needs, making it suitable for gluten-free lifestyles without compromising on taste or texture. It’s a labor of love, yet wholeheartedly rewarding in both flavor and satisfaction.
Ingredients
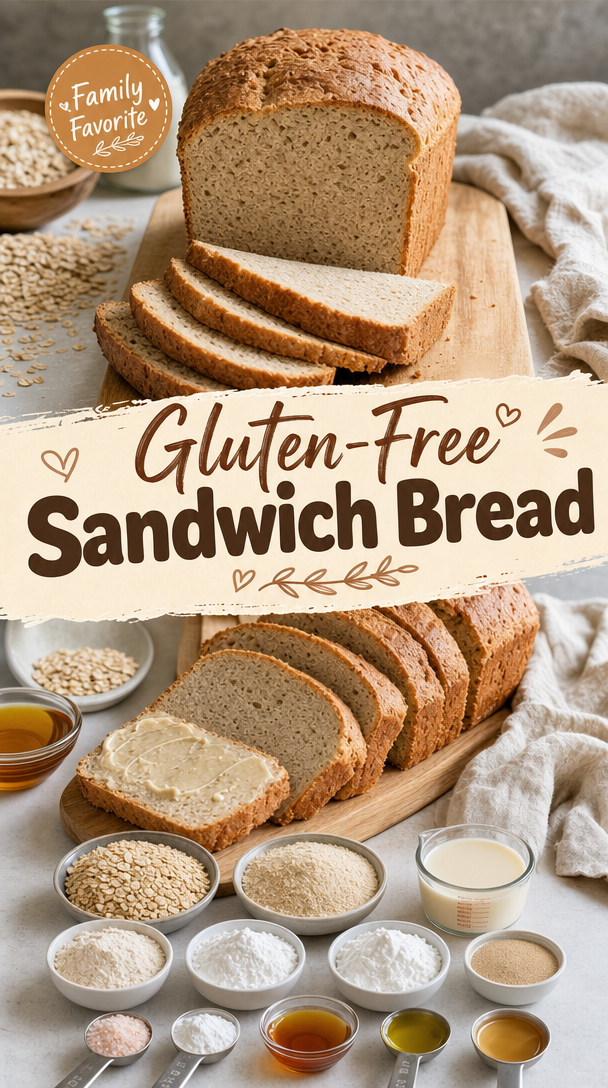
gluten-free oats: A wholesome base that creates a nutritious oat flour.
psyllium husk: Provides moisture and binds the ingredients, mimicking the texture of gluten.
soy milk: A dairy-free option that adds creamy moisture to the dough.
brown rice flour: Offers a subtle flavor and adds texture to the bread.
potato starch: Contributes to a light, fluffy consistency while enhancing moisture retention.
tapioca starch: Helps achieve a chewy texture and improves the bread’s elasticity.
instant yeast: Promotes rising, resulting in lightness and a great crumb structure.
salt: Enhances flavor and balances the sweetness of other ingredients.
baking powder: Provides additional lift to the dough for a lighter loaf.
maple syrup: Acts as a natural sweetener and adds depth to the flavor.
olive oil: Introduces richness while keeping the bread moist.
apple cider vinegar: Adds a tang that enhances flavor and acts as a mild preservative.
How to Make Gluten-Free Sandwich Bread
STEP 1. Prepare oat flour. Add the gluten-free oats to a high-speed blender and process until they resemble flour, leaving a few larger pieces.
STEP 2. Mix psyllium husk with soy milk. Warm the soy milk to 110ºF/43ºC, combine with psyllium husk in a bowl, and mix well until it thickens.
STEP 3. Combine dry ingredients. In the bowl of a stand mixer fitted with a hook attachment, mix brown rice flour, oat flour, potato starch, tapioca starch, baking powder, and salt until well combined.
STEP 4. Add yeast. Incorporate instant yeast into the dry mixture and mix again until evenly distributed.
STEP 5. Add wet ingredients. Pour in the psyllium gel, maple syrup, olive oil, and apple cider vinegar; stir on low speed until the dry ingredients are incorporated.
STEP 6. Knead the dough. Increase speed to medium low and mix for 5 minutes, scraping down the bowl as needed.
STEP 7. Rest the dough. Allow the dough to rest in the bowl for 10 minutes to improve its elasticity.
STEP 8. Knead and shape. Turn the dough out onto a lightly floured surface, gently knead to form a smooth circle, then shape it into a rectangle to fit your Pullman pan.
STEP 9. Roll the dough. Roll the dough into a log, tucking the ends under, and place it into the Pullman pan.
STEP 10. Let the dough rise. Cover and leave the dough in a warm place for about an hour, or until it has doubled in size.
STEP 11. Prepare the oven. Place a pan of water on the bottom rack of the oven and preheat to 400ºF/204ºC.
STEP 12. Bake the bread. Once risen, place the dough in the oven, immediately reduce temperature to 375ºF/190ºC, and bake for 30 minutes with steam.
STEP 13. Finish baking. Remove the steam pan and continue baking for another 20-30 minutes until the internal temperature reaches at least 205ºF/96ºC.
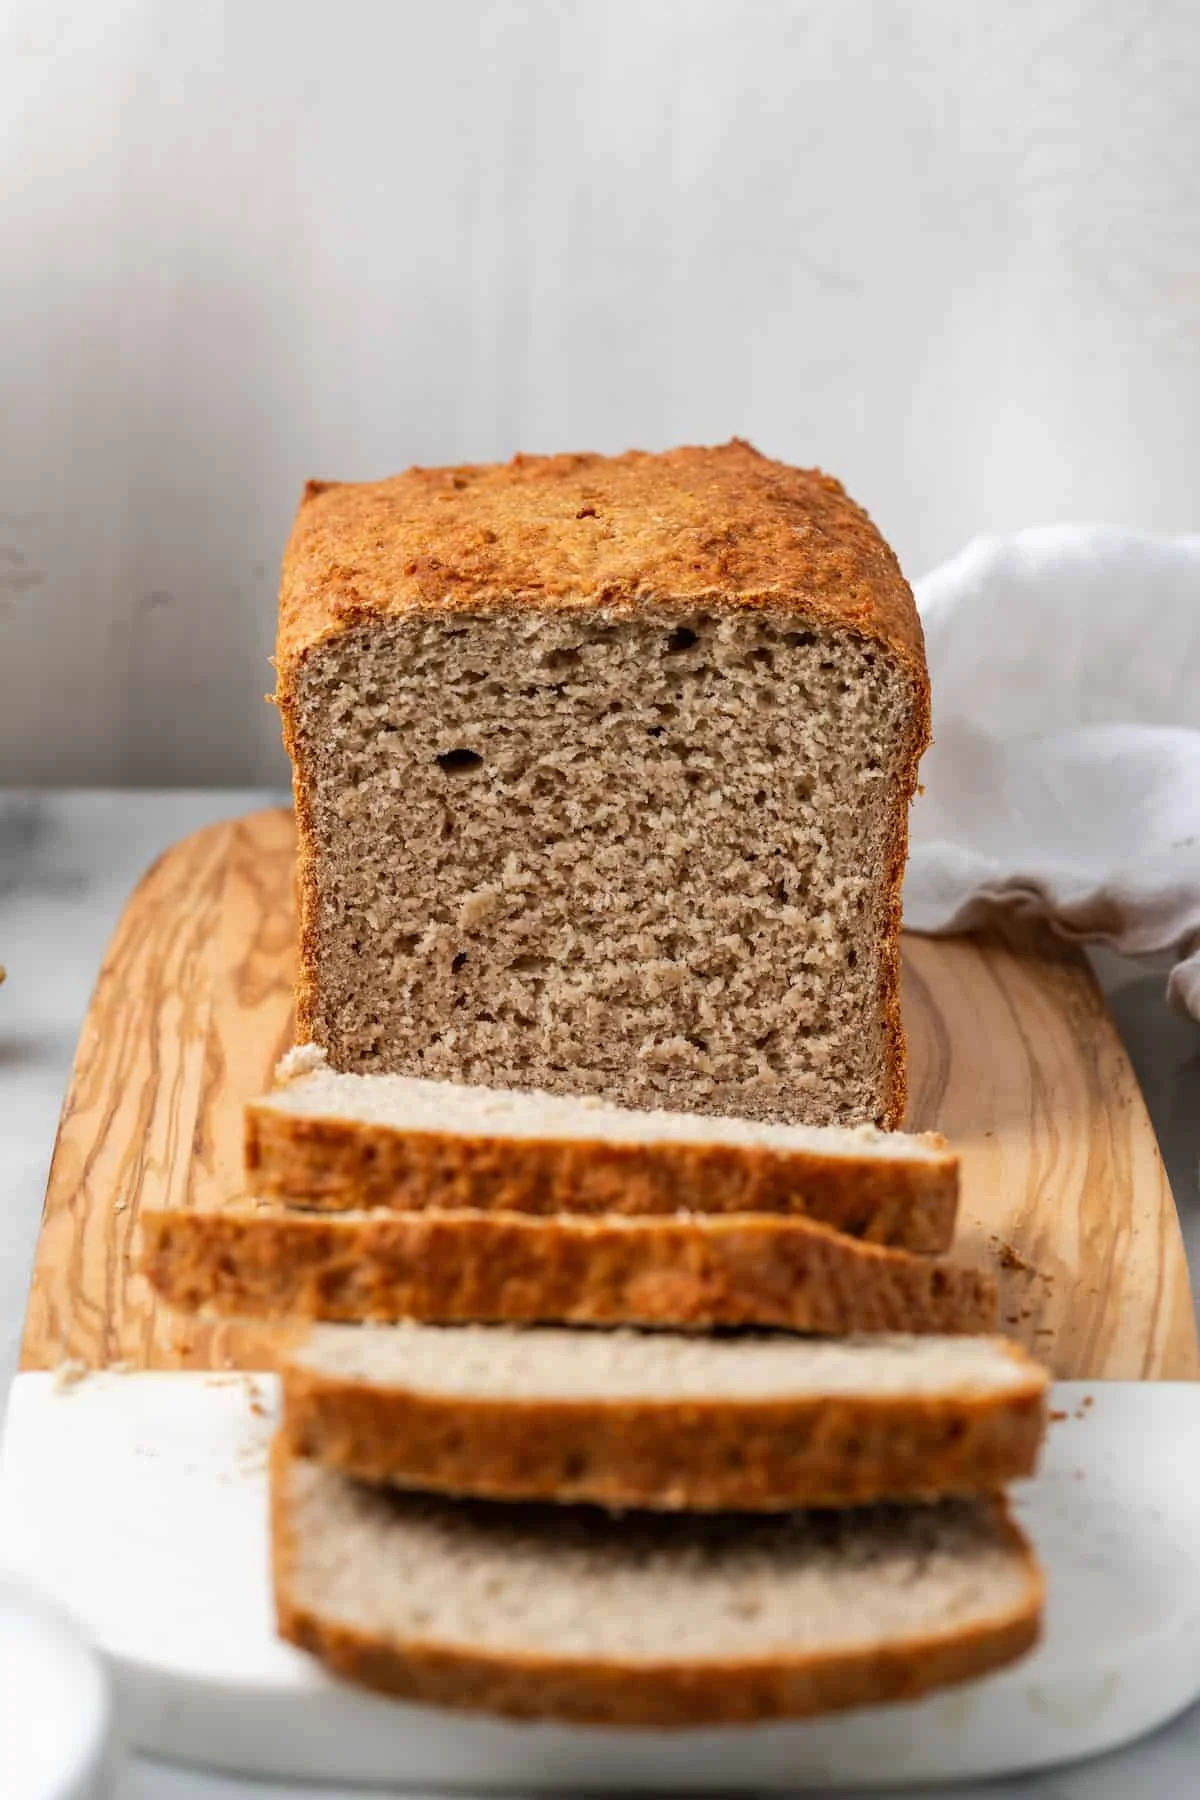
STEP 14. Cool completely. Remove the loaf from the oven and allow it to cool completely before slicing, ideally for 4 hours or overnight to prevent gumminess.
Pro Tips
To achieve the best results with your gluten-free sandwich bread, consider following these pro tips. First, ensure that your ingredients, especially the psyllium husk and yeast, are fresh for optimal rising and texture. Using a kitchen scale to measure ingredients precisely can also improve consistency, as gluten-free baking can be sensitive to ratios. If the dough feels too dry, add a tablespoon of water; if too wet, add a bit of extra flour. This sensitivity means that adjusting to the right dough consistency is key. Always ensure your bread has fully cooled before slicing, as this helps prevent gummy interiors. If you live in a more humid area, you may want to decrease the amount of liquid slightly. Lastly, for added flavor, consider incorporating herbs or spices into the dough.
Common Mistakes to Avoid
When making gluten-free sandwich bread, several common mistakes can hinder your results. One mistake is not allowing the dough to rise adequately, which can lead to a dense loaf. Make sure the dough doubles in size before baking for a light and airy texture. Another common issue is using outdated yeast, which can prevent the bread from rising properly. Always check the expiry date before starting your recipe. Additionally, slicing the bread too early can result in a gummy texture; patience is key here. Ensure that the bread cools completely on a rack for the best texture and flavor. Finally, not measuring your ingredients accurately can lead to imbalances; always use a kitchen scale for the best outcome.
Variations
• Substitute almond milk for a nutty flavor.
• Add sunflower seeds or flaxseeds for added nutrition.
• Incorporate herbs like rosemary or thyme for a savory twist.
• Mix in dried fruits for a hint of sweetness.
• Use other gluten-free flour blends for a different texture.
Serving Ideas
This delicious gluten-free sandwich bread is incredibly versatile and pairs well with many options. Serve it as a base for classic sandwiches filled with deli meats, cheese, and fresh veggies for a satisfying lunch. Alternatively, toast slices and spread creamy avocado on top, sprinkled with a dash of salt and pepper for a quick snack. For breakfast, top with almond butter and banana slices for a hearty morning meal. This bread also works great as the foundation for grilled cheese or French toast—perfect for comforting family meals any time of day.
Meal Prep & Storage
For those who enjoy meal prep, this gluten-free sandwich bread is perfect for batch cooking. Once baked and cooled, slice the bread and store portions in an airtight container or freezer bag. The bread keeps well in the pantry for up to three days, but for longer preservation, you can freeze the slices for up to three months. Just make sure to separate each slice with parchment paper to make thawing easier. When ready to eat, simply toast the slices directly from frozen, or let them thaw at room temperature for a more tender texture.
FAQs
Can I use other types of milk in the recipe?
Yes, you can substitute soy milk with almond milk, oat milk, or any other non-dairy milk of your choice. Just ensure it is unsweetened.
How can I ensure my bread doesn’t turn out gummy?
Allow the bread to cool completely before slicing and avoid cutting while it’s still warm. This will help maintain the bread’s texture.
Can I use this recipe for other types of gluten-free flour?
Yes, feel free to experiment with other gluten-free flour blends, but note that the texture and taste may vary depending on the blend used.
What can I do if I don’t have psyllium husk?
If psyllium husk is unavailable, you can try ground chia seeds or flaxseeds as an alternative, mixed with water to create a gel-like consistency.
Why is my bread dense?
A dense loaf can result from not using enough yeast, the yeast being outdated, or not allowing the dough to rise fully. Make sure to follow the steps carefully for the best results.
Conclusion
Enjoying homemade gluten-free sandwich bread is no longer a dream but an exciting reality with this recipe. It’s straightforward to prepare and produces a wonderfully textured loaf that will impress everyone at your breakfast or lunch table. Don’t hesitate to dive into the delightful world of gluten-free baking; this recipe is just the beginning of your culinary adventures!