

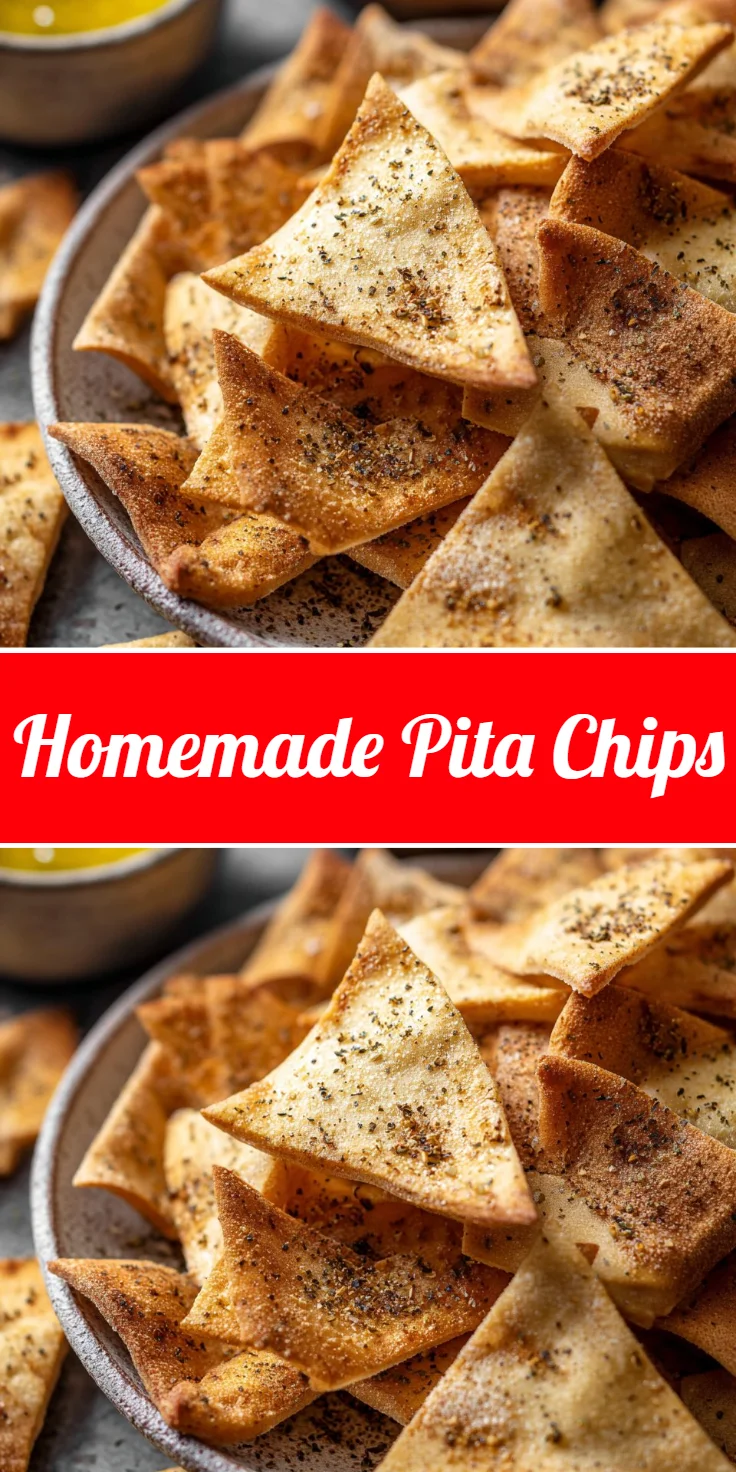
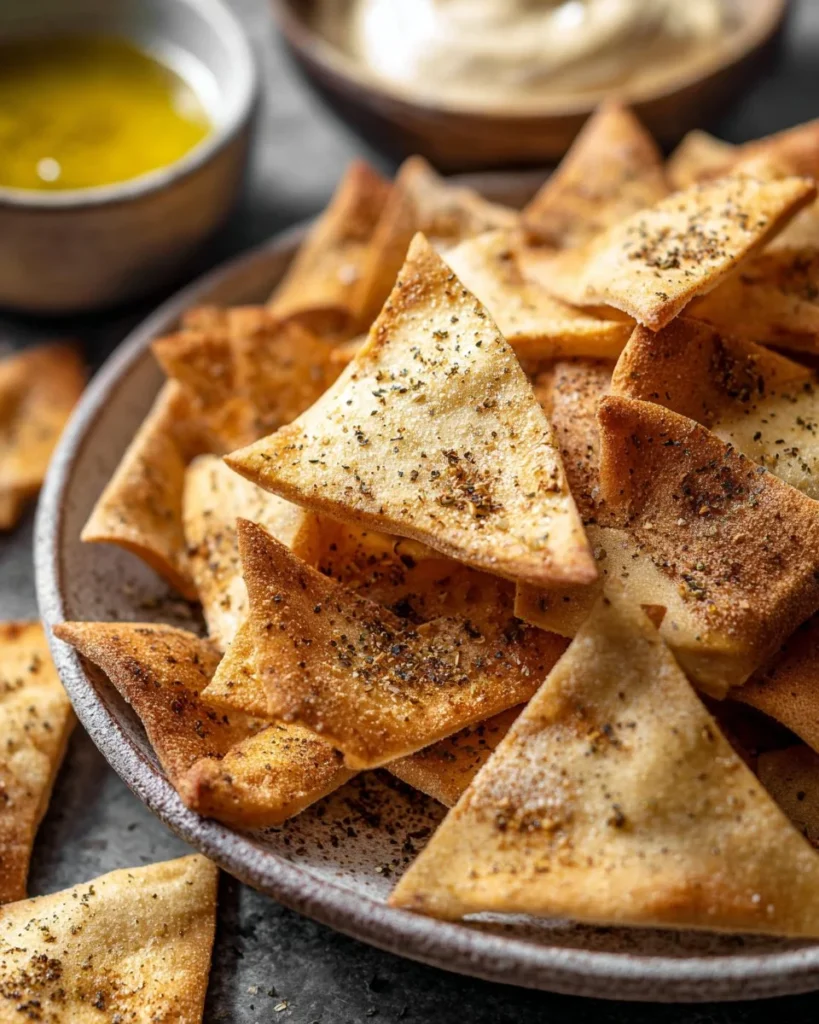
Imagine the irresistible crunch of freshly baked pita chips, golden and crispy, ready to be dipped or enjoyed on their own. There’s something undeniably satisfying about a homemade snack that not only elevates your snack game but also brings a sense of pride from making it yourself. These chips are a fantastic option for those moments when you’re craving something savory yet light. Whether it’s movie night, a gathering with friends, or just a mid-afternoon snack, these delightful chips offer a fantastic texture that contrasts beautifully with their rich flavors. Sprinkled with spices that awaken your senses, they’re perfect for dipping into hummus, salsa, or your favorite yogurt-based dip. Whipping up a batch is not only easy but an incredibly rewarding experience that transforms simple pita bread into a snack that everyone will love.
Why You’ll Love This Recipe
The beauty of making pita chips at home lies in their simplicity and versatility. In just a short time, you can enjoy a warm, crunchy snack that is far superior to anything store-bought. You have complete control over the seasonings, enabling you to customize each batch to your taste—whether you prefer something zesty, spicy, or simply savory. Homemade pita chips can elevate your dipping experience and become a staple at family gatherings, parties, or weekday snacks. They store wonderfully, keeping their crispiness for days, making them an ideal choice for meal prep. Plus, this recipe is quick and easy, allowing you to whip them up with minimal effort. Say goodbye to store-bought alternatives and embrace the satisfaction of creating something deliciously unique.
What Makes This Recipe Special
This recipe stands out due to its versatility and the use of just a few simple ingredients. Unlike commercially produced snacks, these homemade pita chips allow you to experiment with flavors, producing a personalized treat that caters to your cravings. The seasonings blend perfectly, with garlic powder and onion powder adding depth, while sea salt and pepper enhance the chips’ natural flavor. The oven-baking method ensures a bubbly, crisp texture that can’t be replicated in store-bought versions. Each chip is a perfect canvas for toppings, dips, or just enjoying as is. With a highly approachable preparation process, anyone can master this recipe and impress family and friends.
Ingredients
pita breads: Serve as the base for this crunchy snack, transforming when baked, giving that perfect crunch.
garlic powder: Adds a bold, savory flavor that enhances the overall taste of the chips.
onion powder: Provides a subtle sweetness and depth to the seasoning mix.
ground black pepper: Brings a hint of warmth and spice, elevating the flavor profile.
paprika: Infuses a mild smokiness with a vibrant color that makes the chips visually appealing.
sea salt: Essential for enhancing all the flavors and balancing the spices.
olive oil: Helps achieve that golden-brown crispiness while adding richness to the chips.
How to Make Homemade Pita Chips
STEP 1. Preheat the oven. Set your oven to 400ºF/200ºC for optimal baking.
STEP 2. Prepare baking sheet. Line a baking sheet with a silicone mat, parchment paper, or greased foil.
STEP 3. Slice the pita. Cut each pita bread into 8 triangles for bite-sized pieces.
STEP 4. Arrange the chips. Place the pita triangles on the baking sheet, ensuring they are spread out and not touching.
STEP 5. Mix the seasonings. Combine garlic powder, onion powder, black pepper, paprika, and sea salt in a small bowl for an even flavor distribution.
STEP 6. Oil the chips. Lightly spray or brush the pita triangles with olive oil to help the seasonings adhere.
STEP 7. Season the chips. Sprinkle half of the seasoning mixture over the oiled side of the chips for great flavor.
STEP 8. Flip and season again. Turn the chips over, brush or spray with oil, and sprinkle the rest of the seasoning on top.
STEP 9. Bake the chips. Pop the baking sheet in the oven and bake for about 8 minutes, checking for golden color at 6 minutes, rotating if needed.
STEP 10. Cool completely. Once baked, remove the chips from the oven and let them cool completely for crispness.
STEP 11. Store your chips. Keep the cooled pita chips in an airtight container for up to a week to maintain their crunch.

Pro Tips
To ensure perfect homemade pita chips every time, consider these helpful tips. First, make sure your oven is fully preheated before placing the pita chips inside; this helps them to bake evenly. Avoid overcrowding the baking sheet—spreading the chips out ensures they crisp up nicely without becoming soggy. For an extra burst of flavor, consider adding different herbs or spices to the seasoning mixture, such as a pinch of cayenne for heat or dried oregano for an Italian twist. If you want to save time, you can cut multiple pita breads at once. Finally, for an even greater crunch, try flipping the chips halfway through baking to get both sides golden.
Common Mistakes to Avoid
Even simple recipes can have pitfalls. One common mistake is not preheating the oven, leading to uneven baking. Avoid cutting pita bread into uneven sizes; uniform pieces ensure consistent cooking. Overcrowding the baking sheet can cause moisture to build up, resulting in soggy chips rather than the desired crunch. Ignoring the baking time can also lead to either rubbery or burnt chips, so check them around the six-minute mark as a precaution. Lastly, letting the chips cool on the baking sheet might trap steam, causing them to lose their crispness; always let them cool on a rack or a plate.
Variations
• Add nutritional yeast for a cheesy flavor.
• Sprinkle on some dried herbs for an Italian flair.
• Experiment with different oils like coconut or avocado.
• Try spicy seasonings like chili powder or cayenne for heat.
• Drizzle with honey before serving for a sweet version.
• Use whole wheat pita for a healthier alternative.
Serving Ideas
These crunchy delights are incredibly versatile and can complement numerous dishes. Serve your homemade pita chips alongside a bowl of creamy hummus for a classic pairing. They also go wonderfully with fresh salsa or guacamole, adding a delightful crunch to every bite. For a Mediterranean flair, enjoy them with tzatziki. Alternatively, consider using them as a topping for salads or soups, providing an enjoyable texture contrast. Lastly, there’s nothing better than snacking on them during a movie night, perhaps even accompanied by a side of melted cheese or your favorite dip.
Meal Prep & Storage
Homemade pita chips are perfect for meal prep due to their ease of making and storing. After baking, allow them to cool completely to maintain their crispiness. Once cooled, transfer them to an airtight container and store them in a cool, dry place, where they can last up to a week. If you want to batch-make these chips, consider preparing a double or triple batch; they make a quick grab-and-go snack throughout the week or a great addition to lunches. Just be mindful not to expose them to moisture, as this will affect their delightful crunch.
FAQs
Can I make these pita chips in an air fryer?
Yes, they can be air-fried! Prepare as directed, then cook in an air fryer at 350°F for about 5-7 minutes, checking for doneness frequently.
What other seasonings can I use?
Feel free to experiment with different seasonings such as za’atar, ranch seasoning, or even cinnamon and sugar for a sweet option.
Can I use whole wheat pita bread?
Absolutely! Whole wheat pita bread adds a nutty flavor and is a healthier alternative to traditional white pita.
How do I ensure my pita chips stay crispy?
Allow the chips to cool completely before storing them in an airtight container. Avoid moisture in storage to keep them crispy longer.
Can I freeze homemade pita chips?
While not recommended, you can freeze them. Place them in a freezer-safe bag but note that they may lose crispiness upon thawing.
What dips go well with pita chips?
These chips pair excellently with a variety of dips such as hummus, guacamole, tzatziki, or even a tangy yogurt sauce.
Conclusion
Making your own pita chips is a rewarding and tasty endeavor, transforming simple ingredients into something delicious and snack-worthy. They offer a unique crunch and can be tailored to fit your personal taste, making them a favorite in any household. Whether you enjoy them alone or with your favorite dips, these chips are easy to prepare and perfect for meal prep. Indulge in the joy of homemade snacks that are not only tasty but add a homemade touch to any gathering or personal snack moment.
Homemade Pita Chips
Ingredients
Method
- Preheat the oven to 400ºF (200ºC).
- Line a baking sheet with silicone mat, parchment paper, or greased foil.
- Cut each pita bread into 8 triangles for bite-sized pieces.
- Arrange the pita triangles on the baking sheet, ensuring they do not touch.
- Combine garlic powder, onion powder, black pepper, paprika, and sea salt in a small bowl.
- Lightly spray or brush the pita triangles with olive oil.
- Sprinkle half of the seasoning mixture over the oiled side of the chips.
- Flip the chips, brush with oil, and season with the remaining mixture.
- Bake the chips in the oven for about 8 minutes, checking for golden color at 6 minutes.
- Remove from the oven and let them cool completely for crispness.
- Store the cooled pita chips in an airtight container for up to a week.