

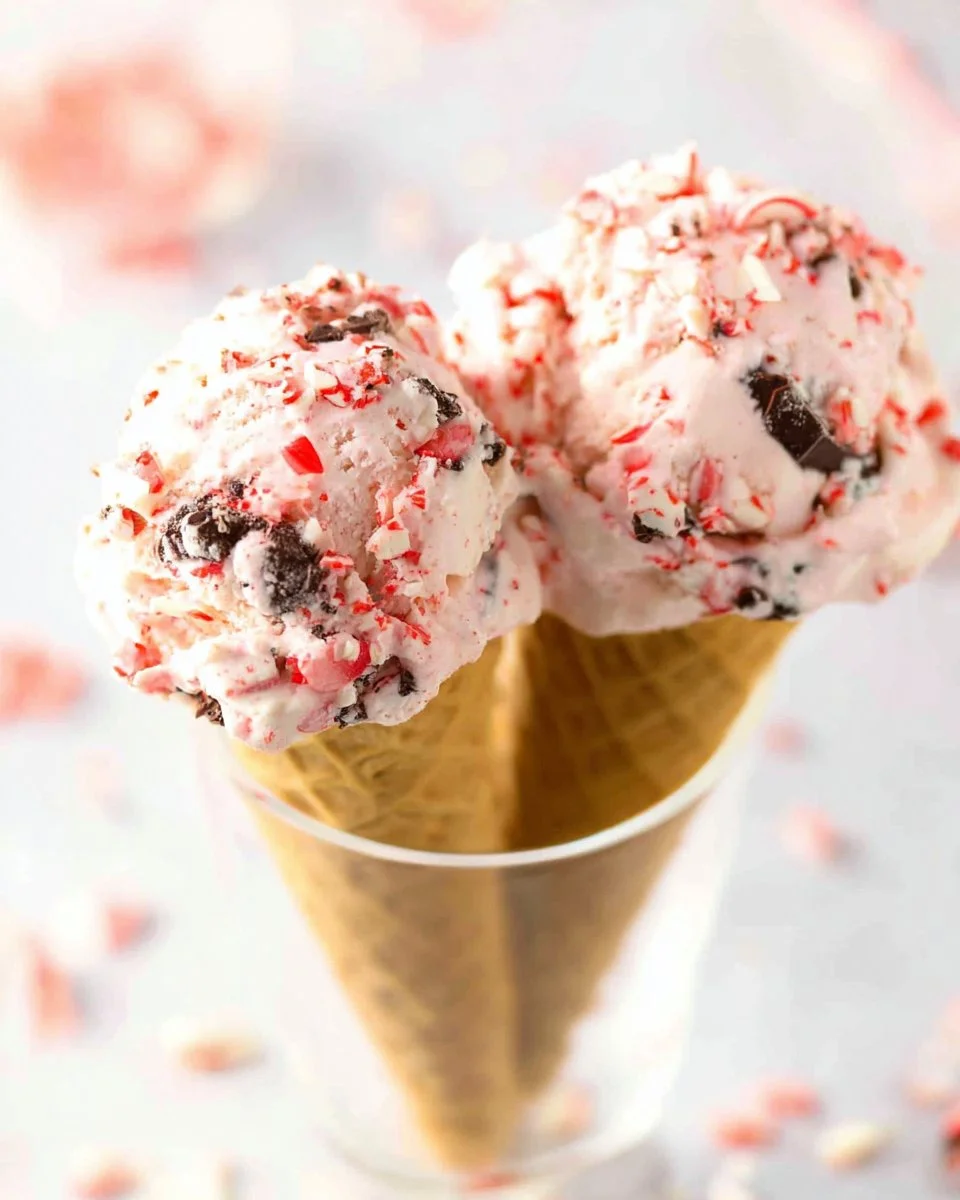
As the holiday season approaches, nothing warms the heart quite like a scoop of homemade ice cream, and what’s better than the classic flavor combination of chocolate and peppermint? This delightful treat not only offers a creamy and rich texture but also the refreshing crunch of candy canes that evokes memories of festive celebrations. Picture yourself savouring a spoonful, with the smoothness of sweet cream mingling with the delightful crunch of peppermint, sending you into a blissful holiday mood. Perfect for any occasion, this frozen dessert is an instant crowd-pleaser, whether you’re hosting a holiday gathering or simply craving something indulgent for yourself. Plus, it’s easy to make and requires no churning!
Why You’ll Love This Recipe
There’s something magical about the combination of peppermint and chocolate, and this recipe captures that essence perfectly. First of all, it’s incredibly simple. You don’t need an ice cream maker, which means anyone can whip up this refreshing dessert. With just a handful of everyday ingredients, you can create a luscious treat that rivals any ice cream shop’s offering. Not to mention, the vibrant swirls of crushed peppermint candy canes add a festive touch that’s visually appealing and absolutely delightful in every scoop. Every bite promises a balance of flavors and textures that blend seamlessly together, making it the ideal dessert year-round and not just during the holidays.
What Makes This Recipe Special
This recipe stands out due to its wonderful ease and the classic combination of flavors. By melting white chocolate and folding it into a creamy base, you achieve an almost velvety smooth texture that pairs beautifully with the crunch of chocolate and peppermint. The use of sweetened condensed milk provides both sweetness and creaminess, while the heavy whipping cream ensures that each scoop remains light and airy. Plus, with the option to adjust the amount of peppermint candy to suit your taste, you can easily customize it to be as minty fresh as you desire. This blend makes it not only a delightful dessert but also a fun activity for family and friends who want to partake in the holiday spirit.
Ingredients
sweetened condensed milk: Provides richness and sweetness, forming the base of the ice cream.
vanilla extract: Adds a warm, aromatic flavor that enhances the overall taste.
white chocolate: Creates a smooth, creamy sweetness that complements the other flavors.
heavy whipping cream: Whipped to create a fluffy texture that makes the ice cream light and indulgent.
Hershey’s chocolate bars: Offers chunks of chocolate that provide a rich texture and flavor contrast.
crushed peppermint candy canes: Adds a refreshing crunch and festive flair to each bite.
How to Make Peppermint Bark Ice Cream
STEP 1. Prepare the pan. Line a 9×5 loaf pan with parchment paper and set aside.
STEP 2. Mix base ingredients. Combine sweetened condensed milk and vanilla extract in a large bowl, then set aside.
STEP 3. Melt the chocolate. Melt the chopped white chocolate in 30-second increments, stirring well between each until it’s smooth.
STEP 4. Combine mixtures. Pour the melted white chocolate into the sweetened condensed milk mixture in three parts, whisking well each time until fully integrated.
STEP 5. Whip the cream. In another bowl, add cold heavy whipping cream and whip on high speed until stiff peaks form.
STEP 6. Fold in cream. Gently fold the whipped cream into the sweetened condensed milk mixture in two parts, being careful not to deflate it.
STEP 7. Add extras. Gently fold in the chopped chocolate and crushed candy canes, avoiding over-mixing to keep the red color vibrant.
STEP 8. Freeze the mixture. Pour the ice cream mixture into the prepared pan, cover, and freeze for at least 4-6 hours or overnight until firm.
Pro Tips
To achieve the best results with your peppermint bark ice cream, start with cold ingredients, particularly the whipping cream, as it helps in forming the best texture when whipped. Avoid over-mixing during the folding process; a few streaks of white are okay, as they will blend in while freezing. Make sure to let the ice cream sit at room temperature for a few minutes before serving to allow for easy scooping. Get creative with the toppings—apply extra sprinkles of crushed peppermint or drizzles of chocolate syrup on top for an added festive touch. Lastly, use high-quality chocolate for the best flavor experience; it makes a significant difference in the overall taste.
Common Mistakes to Avoid
One common mistake is not letting the cream reach stiff peaks during whipping; this is crucial for ensuring a light and airy texture. Be cautious not to overheat the white chocolate; doing so can cause it to seize, ruining the smooth consistency that you want in your dessert. Many people also forget to fold the whipped cream gently; this can deflate the mixture and lead to a denser ice cream. Don’t skip the resting time in the freezer; it’s essential for the ice cream to set properly. Lastly, avoid using too many candy cane pieces to keep the texture balanced; one or two levels of crushed peppermint is just right for offering a crunch without overwhelming the ice cream.
Variations
• Add crushed Oreo cookies for a cookies and cream twist.
• Substitute dark chocolate for a richer flavor.
• Use flavored extracts like almond or peppermint for additional layers of flavor.
• Try incorporating swirls of homemade fudge for extra indulgence.
• Make it dairy-free using coconut cream and dairy-free chocolate.
Serving Ideas
This peppermint bark ice cream is perfect on its own, but you can elevate your presentation by serving it in festive bowls topped with whipped cream and more crushed candy canes. Pair it with warm chocolate cake or warm brownies for a delightful contrast of temperatures. It also makes for a stunning addition to a dessert platter during holiday parties or gatherings, alongside other holiday treats. Scoop it into holiday-themed cones for a fun, decorative touch that both kids and adults will love!
Meal Prep & Storage
For optimal freshness, store leftover peppermint bark ice cream in an airtight container. It can last for about two to three weeks in the freezer, retaining its delicious taste and creamy texture. If you find the ice cream becomes too hard, let it sit at room temperature for a few minutes before serving to soften. To enhance your meal prep experience, consider making a double batch ahead of time for unexpected guests or holiday gatherings; the recipe is simple to multiply!
FAQs
Can I use other types of chocolate?
Absolutely! Dark chocolate or milk chocolate can be used based on your preference.
How can I make this recipe more minty?
You can increase the amount of crushed peppermint candy or add a few drops of peppermint extract.
Is this ice cream safe for young children?
Yes, this homemade ice cream is safe for children as there are no raw eggs involved in the recipe.
Can I make this a day in advance?
Yes, it’s perfect for prep ahead of events. Just keep it stored properly in the freezer.
How can I store leftovers?
Use an airtight container and ensure it’s well-sealed to prevent freezer burn, maintaining the flavor.
Conclusion
Indulging in a bowl of this ice cream brings a bright spot of joy, especially during the festive season. Enjoy the blend of rich chocolate and refreshing peppermint all year round! Whether it’s a gathering or a quiet night at home, this delightful dessert is sure to create sweet memories.

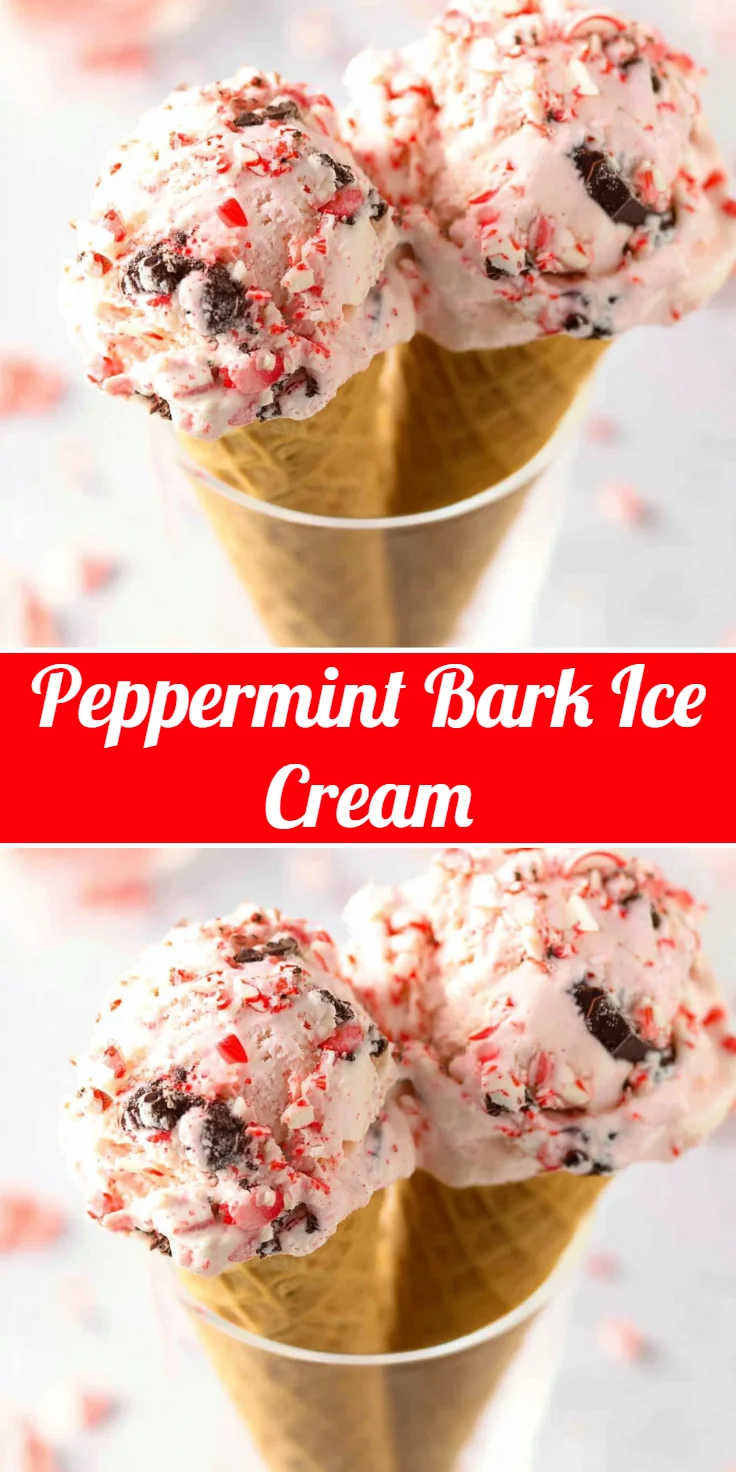
Peppermint Bark Ice Cream
Ingredients
Method
- Line a 9x5 loaf pan with parchment paper and set aside.
- In a large bowl, combine sweetened condensed milk and vanilla extract; set aside.
- Melt the chopped white chocolate in a microwave in 30-second increments, stirring well until smooth.
- Pour the melted white chocolate into the sweetened condensed milk mixture in three parts, whisking well each time until fully integrated.
- In another bowl, whip the cold heavy whipping cream on high speed until stiff peaks form.
- Gently fold the whipped cream into the sweetened condensed milk mixture in two parts.
- Carefully fold in the chopped chocolate and crushed candy canes, avoiding over-mixing.
- Pour the mixture into the prepared pan, cover, and freeze for at least 4-6 hours or overnight until firm.