

Creating delicious and melt-in-your-mouth Homemade Salted Caramels can seem intimidating to many, especially when facing kitchen frustrations such as cooking fatigue or the struggle to maintain a budget-friendly meal plan. However, this recipe offers a solution. By combining simple ingredients—just sugar, butter, cream, salt, and vanilla extract—you can whip up these delightful treats that not only satisfy your sweet tooth but also serve as a thoughtful gift. This Homemade Salted Caramels recipe aligns perfectly with your nutrition goals while maintaining a cozy, family-oriented charm.
Kitchen Frustration That Makes This Recipe a Lifesaver
Picture this: life gets hectic, and the last thing you want to do is spend hours in the kitchen. Amidst juggling work, family, and social commitments, many find themselves falling into cooking fatigue. This is where our Homemade Salted Caramels come to the rescue. Not only does this recipe introduce a fun project into your kitchen routine, but it is also incredibly delicious and impressive when shared with friends or family. Making these caramels is a great way to connect with loved ones and reduce waste by using pantry staples.
One practical tip to ease cooking anxiety is to always have essential ingredients like sugar and butter on hand. Being prepared means you can tackle spontaneous cravings or unexpected gatherings without stress. The ease of this recipe allows you to feel accomplished while staying true to your wellness and budget-conscious lifestyle.
Why This Homemade Salted Caramels Works So Well
Quick Answer: This Homemade Salted Caramels recipe balances sweetness and saltiness, creating a rich flavor that kids and adults alike adore.
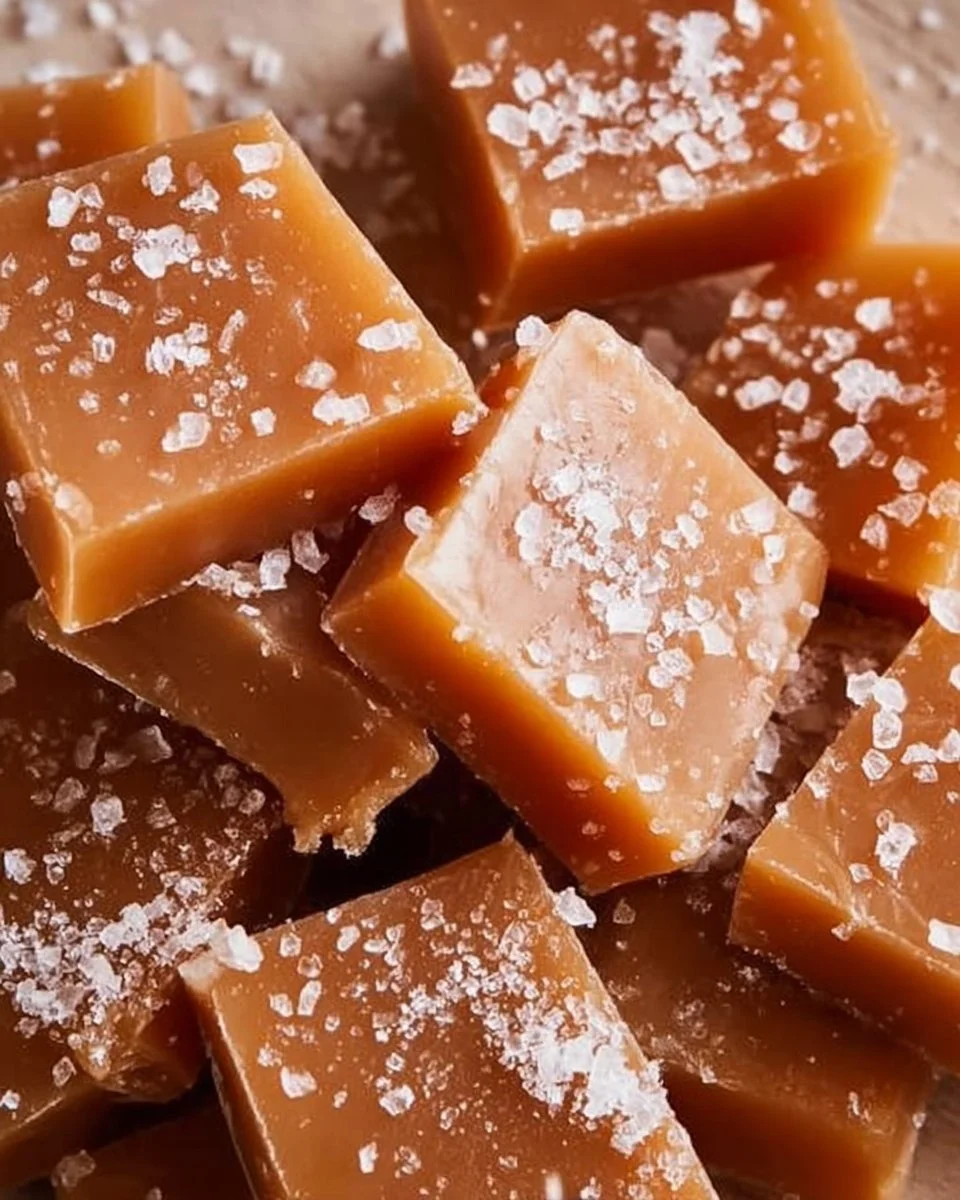
The charm of these Homemade Salted Caramels lies in their smooth texture and deep, buttery flavor. When you melt the sugar and butter together, the transformation into a luscious caramel is utterly satisfying. The addition of heavy cream creates a creamy texture that melts in your mouth, while the sea salt adds a delightful contrast, ensuring that every bite is perfectly balanced.
This recipe also embraces a time-saving methodology, allowing you to prepare a sweet treat in under thirty minutes. Not only are these caramels a nostalgic treat that allows you to reminisce about childhood sweets, but they are also a macro-balanced snack that aligns with calorie-conscious meal planning, allowing you to enjoy your favorite flavors guilt-free.
Ingredients, Substitutions & Foolproof Tips
- 1 cup granulated sugar: The foundation of your caramel. Make sure it’s fresh for the best results.
- 1/4 cup unsalted butter: Adds richness and depth to the flavor; keep it at room temperature for easier mixing.
- 1/2 cup heavy cream: For a creamy texture; if you want a lighter version, use half-and-half.
- 1/4 teaspoon sea salt: The saltiness enhances the sweetness and provides that classic salted caramel taste.
- 1 teaspoon vanilla extract: Adds a warm, comforting flavor; vanilla bean paste can be used for an upscale touch.
Foolproof Tips:
- Ensure your saucepan is clean and dry before starting to prevent crystallization of sugar.
- Use a candy thermometer to monitor temperatures for the perfect caramel consistency.
- Always pour the hot caramel into a greased pan to prevent sticking.
Step-by-Step Directions
- Combine Sugar and Butter: In a saucepan over medium heat, combine the sugar and butter. Stir continuously until the sugar melts and turns golden brown, about 5-7 minutes. Watch closely to avoid burning.
- Add Heavy Cream: Carefully add the heavy cream to the caramel mixture. It will bubble up, so be cautious. Stir until the mixture is smooth and well combined, about 2 minutes.
- Incorporate Salt and Vanilla: Stir in the sea salt and vanilla extract until fully incorporated. The aroma will be divine.
- Pour into Pan: Quickly pour the mixture into a greased pan, using a spatula to spread it evenly. Let it cool completely at room temperature for about 2-3 hours.
- Cut and Wrap: Once set, cut the caramel into squares and wrap them in parchment paper for gifts, or simply enjoy them yourself!
Common Mistakes to Avoid & Pro Tips
- Mistake: Letting sugar burn or not stirring enough.
- Fix: Keep a close eye on heat and stir consistently.
- Mistake: Adding cream too quickly.
- Fix: Gradually pour in heavy cream to minimize bubbling and ensure a smooth mixture.
- Mistake: Not using a candy thermometer.
- Fix: Invest in a good one; it’s essential for successful caramel making.
Pro Tips:
- For a unique twist, add 1 teaspoon of espresso powder while combining the cream for a coffee caramel.
- Experiment with different flavorings like almond extract for a different profile.
Serving, Storage & Freezer Guide
How to Serve Homemade Salted Caramels
Serve these caramels as a delightful addition to a dessert platter, alongside fruits, nuts, and chocolates. They also make fantastic favors for dinner parties or holiday celebrations, allowing guests to indulge in the rich flavors and textures.
How to Store Homemade Salted Caramels
Store your Homemade Salted Caramels in an airtight container at room temperature for up to two weeks. If your kitchen is especially warm, consider keeping them in the refrigerator to maintain their firmness.
Can You Freeze Homemade Salted Caramels?
Yes, you can freeze the caramels! Place the cut pieces in a single layer between sheets of parchment paper in an airtight container for up to three months. Allow them to thaw at room temperature whenever you’re ready to enjoy them again.
placeholder
Frequently Asked Questions
What causes my caramel to harden too much?
If the caramel cooks too long or the temperature exceeds 250°F, it can become excessively hard when cooled. Aim for a soft, chewy texture by closely monitoring the temperature.
Can you use brown sugar instead of granulated sugar?
Yes, using brown sugar will give your Homemade Salted Caramels a deeper flavor and a slightly denser texture. However, the color will be darker, and the flavor will lean more toward toffee than classic caramel.
What can I do with leftover caramels?
Leftover caramels can be melted down and used as a topping for ice cream, drizzled over desserts, or even incorporated into milkshakes for added sweetness.
Is this recipe suitable for dietary restrictions?
While this recipe includes dairy, those with lactose intolerance can experiment with lactose-free cream and vegan butter for a similar, albeit slightly different, result.
Conclusion
These Homemade Salted Caramels not only satisfy your sweet cravings but also invite you to embrace your kitchen creativity, making them perfect for any occasion. Their rich yet balanced flavor and delightful texture remind us why simple recipes hold such a special place in our hearts and kitchens. If this recipe reminds you of someone you love, share it with them. Your memories keep recipes alive.

Homemade Salted Caramels
Ingredients
Method
- In a saucepan over medium heat, combine the sugar and butter. Stir continuously until the sugar melts and turns golden brown, about 5-7 minutes.
- Carefully add the heavy cream to the caramel mixture. It will bubble up, so be cautious. Stir until the mixture is smooth and well combined, about 2 minutes.
- Stir in the sea salt and vanilla extract until fully incorporated.
- Quickly pour the mixture into a greased pan, spreading it evenly with a spatula. Let it cool completely at room temperature for about 2-3 hours.
- Once set, cut the caramel into squares and wrap them in parchment paper for gifts, or enjoy them yourself!