
There’s something undeniably comforting about homemade preserves, especially when it comes to lemon jam. The vibrant, tangy flavor can invoke nostalgia, reminding you of sunny days spent in the kitchen with loved ones. For many of us, making lemon jam is not just about preserving fruit; it’s about crafting memories and saving money while doing so. As we navigate a busy life, recipes like this Lemon Jam become invaluable, allowing us to stick to our meal plans while also enjoying the sweet taste of summer year-round.
Kitchen Frustration That Makes This Recipe a Lifesaver
Life often gets chaotic. Between juggling work, family, and the demands of everyday routine, it’s easy to feel overwhelmed in the kitchen. Enter lemon jam: a solution for those suffering from cooking fatigue or simply looking to add a burst of flavor to their meals without additional stress. This lemon jam not only elevates breakfast toast with its zesty sweetness but also stands as a testament to your resourcefulness in the kitchen.
When you find yourself staring into your pantry, wondering what meal you could whip up, remember that lemon jam can be the answer. Spread it on scones, swirl it into yogurt, or use it as a glaze for chicken. This versatile recipe, packed with bright citrus flavors, fuels your family-oriented meals and creates cherished moments around the dining table. A tip for success? Always taste your jam as it simmers; adjusting the sweetness or acidity can turn a good recipe into a perfect one.
Why This Lemon Jam Works So Well
Quick Answer: This lemon jam provides a bright, tangy flavor perfect for breakfast or snacking while also being budget-friendly and easy to make.
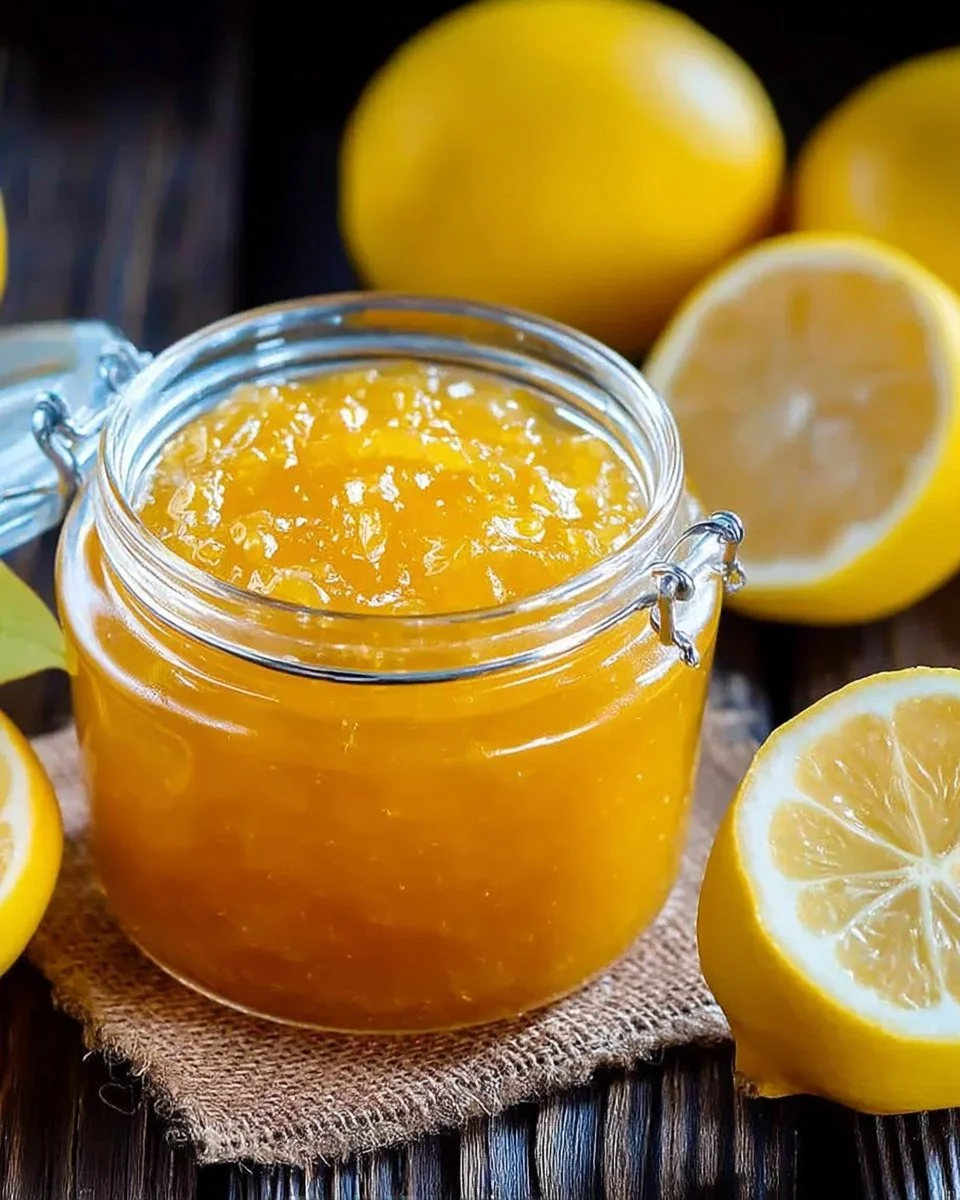
The beauty of this lemon jam lies in its simplicity. Crafted from just a few ingredients—lemons, sugar, and water—it encapsulates the essence of the fruit without excess processing. The delightful texture strikes a balance between spreadable and spoonable, enhancing everything from morning toast to afternoon desserts.
Moreover, this lemon jam supports your health-conscious goals. Lemons are rich in vitamin C, essential for a strong immune system, while the sweetness from sugar provides a comforting indulgence that can help curb cravings. The time-saving aspect cannot be overlooked either. Preparing a batch of lemon jam takes only a bit over half an hour, ensuring your food preparation remains efficient, whether you’re feeding a crowd or just your family.
Ingredients, Substitutions & Foolproof Tips
- 4 large lemons: Fresh lemons are key for the best flavor. Consider organic if possible.
- 4 cups granulated sugar: Essential for preserving and balancing the tartness.
- 2 cups water: Helps dissolve the sugar and cook the lemons.
- 1 teaspoon vanilla extract (optional): Adds a layer of warmth but can be omitted for a pure lemon flavor.
Ingredient Substitutions:
- Sugar: Honey or maple syrup can be used for a natural sweetener, but adjustments in quantity may be needed.
- Lemon: If you can’t find fresh lemons, canned lemon juice can work in a pinch, although the taste won’t be quite the same.
Foolproof Tips:
- Ensure your lemons are scrubbed thoroughly to remove any lingering wax.
- Use a candy thermometer if you’re unsure when the jam is done.
Step-by-Step Directions
- Wash the lemons thoroughly: Rinse under cool water to remove any wax or pesticide residue.
- Zest the lemons: Use a microplane or zester to gather bright, aromatic zest, ensuring you avoid the bitter white pith.
- Juice the lemons: Squeeze the juice into a measuring cup and remove any seeds that may fall in.
- Combine in a pot: In a large pot, mix the lemon juice, zest, sugar, and water together.
- Heat and stir: On medium heat, stir the mixture until the sugar has completely dissolved into a syrup.
- Simmer the mixture: Allow the pot to bubble, then reduce the heat and let it simmer for 30 to 40 minutes, stirring occasionally.
- Test the jam’s consistency: After simmering, drop a spoonful onto a cold plate. If it wrinkles when pushed, it’s ready. If not, continue cooking a few minutes longer.
- Cool and jar the jam: Remove from heat, let it cool slightly, and then pour the jam into sterilized jars. Seal tightly and let them cool completely.
Common Mistakes to Avoid & Pro Tips
- Mistake: Not removing all the seeds. Fix: Strain the juice before combining with other ingredients to catch all seeds.
- Mistake: Overcooking the jam. Fix: Watch carefully as it simmers. It can quickly shift from perfect to overcooked.
- Pro Tip: Use sterilized jars to ensure your jam lasts longer.
- Pro Tip: For an elegant touch, consider adding a sprig of rosemary to the jar before sealing.
Serving, Storage & Freezer Guide
How to Serve Lemon Jam
This lemon jam is best served chilled and can elevate numerous dishes. Spread it on warm, crusty bread for breakfast, add a scoop to Greek yogurt for a refreshing snack, or dollop it on pound cake for dessert. Its brightness pairs wonderfully with savory dishes, offering a delightful contrast to rich flavors.
How to Store Lemon Jam
Once sealed and cooled, store your lemon jam in a cool, dark place. It should last for several months in the pantry. After opening, refrigerate to maintain freshness, where it can last for another few weeks.
Can You Freeze Lemon Jam?
Yes, you can freeze lemon jam! To do so, ensure you use freezer-safe jars or containers, leaving enough headspace for expansion. When ready to use, simply thaw in the refrigerator overnight.

placeholder
Frequently Asked Questions
What is the best way to use lemon jam?
Lemon jam excels as a topping for toast, pancakes, or waffles. It can also serve as a filling for pastries or a glaze for meats, enhancing flavors wonderfully.
Can I make lemon jam without added sugar?
While it is possible to make lower-sugar variations, the natural preservation quality of sugar is essential for the jam’s longevity. Consider using fruit pectin for alternatives.
How can I adjust the sweetness of my lemon jam?
Taste the jam while it simmers. If it’s too tart, gradually add more sugar until you reach your desired level of sweetness.
What’s the nutritional information for lemon jam?
One tablespoon of lemon jam typically contains around 50 calories, depending on the preparation method and ingredients used.
Conclusion
In a world filled with pre-packaged goods, making your own lemon jam can be a fulfilling and delicious journey. Whether used for breakfast, desserts, or as an ingredient in savory dishes, it brings a unique flavor to your table that you simply can’t get from store-bought varieties. If this recipe reminds you of someone you love, share it with them. Your memories keep recipes alive.

Lemon Jam
Ingredients
Method
- Wash the lemons thoroughly: Rinse under cool water to remove any wax or pesticide residue.
- Zest the lemons: Use a microplane or zester to gather bright, aromatic zest, ensuring you avoid the bitter white pith.
- Juice the lemons: Squeeze the juice into a measuring cup and remove any seeds that may fall in.
- Combine in a pot: In a large pot, mix the lemon juice, zest, sugar, and water together.
- Heat and stir: On medium heat, stir the mixture until the sugar has completely dissolved into a syrup.
- Simmer the mixture: Allow the pot to bubble, then reduce the heat and let it simmer for 30 to 40 minutes, stirring occasionally.
- Test the jam's consistency: After simmering, drop a spoonful onto a cold plate. If it wrinkles when pushed, it’s ready. If not, continue cooking a few minutes longer.
- Cool and jar the jam: Remove from heat, let it cool slightly, and then pour the jam into sterilized jars. Seal tightly and let them cool completely.