
There’s something undeniably comforting about stepping into a warm kitchen at the end of a long day, isn’t there? The scent of baked goods wafting through the air can wrap around you like a familiar hug, soothing the chaos of a busy world outside. But what if you’re trying to balance the sweet indulgence of cake with the need for something nourishing and wholesome? Enter the delightful Chocolate Protein Cake—a solution that satisfies your sweet tooth while offering a nourishing twist. This cake effortlessly combines flavors that are rich and decadent, making it the ideal treat for a cozy night in or an uplifting afternoon pick-me-up.
Why You’ll Love This Chocolate Protein Cake Recipe
Finding Balance in a Busy Life
We’ve all had those days—rushing from work to family obligations, barely pausing to take a breath, let alone enjoy a well-deserved treat. You might find yourself standing in front of the pantry, wondering how to create a snack that’s not only delicious but guilt-free as well. The good news? The Chocolate Protein Cake is here to save the day! This cake is perfect for busy folks who want dessert without the post-sugar crash, and it’s a delightful way to enjoy a hearty slice of cake that keeps you energized and satisfied.
Chocolate Bliss Without Guilt
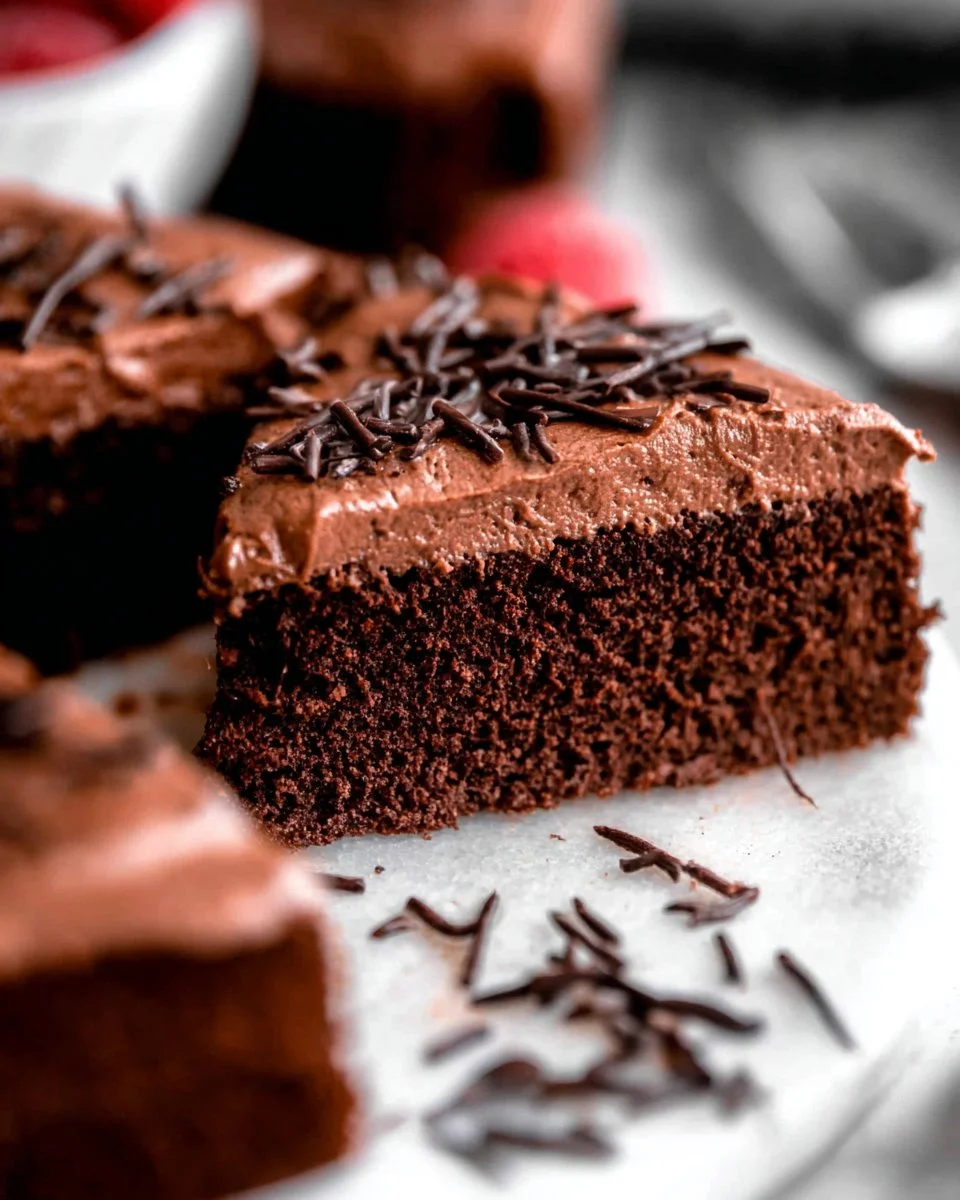
Imagine slicing into a moist, rich Chocolate Protein Cake, where each bite melts in your mouth, offering a blend of sweet honey and rich cocoa. The best part? It’s packed with protein and wholesome ingredients, proving that desserts can be both comforting and nutritious. This cake brings joy not just in taste, but in knowing you’re nourishing your body while indulging your senses. Whether you’re sharing a piece with a loved one over a cup of coffee or sneaking a slice after the kids are asleep, this Chocolate Protein Cake will make you feel good about what you’re enjoying.
Quick Answer: The easiest way to make Chocolate Protein Cake creamy and rich is by using almond milk.
Ingredients Breakdown & Prep Tips
Gather Your Ingredients
Before you step into the joyous chaos of mixing and baking, let me guide you through the star players in our Chocolate Protein Cake:
- 1 cup chocolate protein powder: This magical ingredient not only adds a delightful chocolate flavor but boosts the protein content, making your cake as nourishing as it is tasty.
- 1/2 cup oat flour: Perfect for adding a subtle sweetness and a nutty background, oat flour ensures that our cake remains gluten-friendly without compromising texture.
- 1/2 cup cocoa powder: Unsweetened cocoa powder brings that luxurious chocolate depth which makes every bite of this cake feel indulgent and rich.
- 1/4 cup almond milk: This creamy base adds moisture without heaviness, making the cake perfectly fluffy.
- 1/4 cup honey or maple syrup: Either of these natural sweeteners enhances the flavor and gives a lovely sweetness that complements the dark cocoa beautifully.
- 1/4 cup unsweetened applesauce: Not only does applesauce keep our cake moist, but it also provides a subtle fruitiness to balance out the rich flavors.
- 3 large eggs: These eggs are our binding agents, providing structure and a delightful fluffiness.
- 1 teaspoon baking powder: A crucial leavening agent to help our cake rise and maintain a light texture.
- 1 teaspoon vanilla extract: A splash of vanilla adds warmth and enhances the overall flavor profile.
- Pinch of salt: Just a touch of salt intensifies the other flavors, making each slice truly unforgettable.
Step-by-Step Instructions
Now, let’s roll up our sleeves and dive into the delightful process of creating your Chocolate Protein Cake!
Step 1: Preheat the Oven
Before you get lost in the mixing, preheat your oven to 350°F (175°C) and grease a standard 9-inch cake pan. This way, you’ll have a perfectly prepared space for our lovely cake.
Step 2: Mix the Dry Ingredients
In a large mixing bowl, combine the chocolate protein powder, oat flour, cocoa powder, baking powder, and a pinch of salt. Whisk it together well—this helps evenly distribute the cocoa and ensures a smooth batter.
Step 3: Blend the Wet Ingredients
In a separate bowl, whisk together the eggs, almond milk, honey or maple syrup, applesauce, and vanilla extract until it’s beautifully combined. The warmth of the vanilla and the sweetness of the honey will make your kitchen smell divine!
Step 4: Combine Wet and Dry
Pour the wet ingredients into the bowl with the dry ingredients. Gently mix everything together until you have a beautifully cohesive batter. Don’t worry if a few lumps remain; it’ll be luscious once baked!
Step 5: Baking Time
Pour the cake batter into your prepared cake pan, smoothing the top with a spatula. Place it lovingly in the oven and bake for 25-30 minutes or until a toothpick inserted into the center comes out clean.
Step 6: Cool & Enjoy
Once baked, let the cake cool in the pan for about 10 minutes before transferring it to a cooling rack. Allow it to cool completely before slicing into it. The first slice should be savored, perhaps with a light sprinkle of powdered sugar on top.
Avoid These Mistakes
Common Mistakes & Fixes
- Overmixing the Batter: If you mix too much, your cake can end up tough. Mix until just combined for the best texture.
- Not Preheating the Oven: Forgetting this crucial step can lead to uneven baking. Always preheat to ensure proper rise and texture.
- Incorrect Pan Size: Using a pan that’s too small may cause the batter to overflow. Stick to a 9-inch pan as specified.
Pro Tips to Get It Right
- Check for Doneness: The toothpick test is your best friend! If it comes out clean, your cake is ready.
- Cool Completely: Patience is key! Let the cake cool completely before frosting or slicing to maintain its structure.
- Add a Topping: Dress it up with fresh berries or a dollop of Greek yogurt on top for a touch of brightness and extra creaminess!

Serving, Storage & Creative Variations
Best Ways to Serve It
Picture this: it’s a chilly evening, the glow of your kitchen lights fills the room, and you’re sharing slices of warm Chocolate Protein Cake with loved ones. Perhaps you add a scoop of ice cream or a dollop of whipped cream on top, adding a charming finishing touch. For a simple yet delightful pairing, coffee or herbal tea brings out the flavors even more.
Storage, Seasonal & Dietary Variations
If there’s any cake leftover (and that’s a big IF!), it can be stored in an airtight container at room temperature for up to three days. You can also freeze slices individually, wrapped tightly, for up to a month. When you’re ready for a treat, just thaw a slice at room temperature and enjoy!
For a seasonal twist, you could incorporate pumpkin puree in place of some of the applesauce during the fall or add chopped walnuts for extra texture.
FAQ SECTION
Can I use different types of protein powder?
Absolutely! Just make sure it’s chocolate-flavored for the best results, and ensure it matches the consistency of the chocolate protein powder used in the recipe.
How can I make this cake vegan?
Substitute the eggs with flax eggs (1 tablespoon ground flaxseed mixed with 2.5 tablespoons water per egg) and replace the honey with maple syrup.
How should I store leftover cake?
Store your Chocolate Protein Cake in an airtight container at room temperature for up to three days or freeze for longer storage.
Can I bake this in a muffin tin instead?
Yes! This batter works beautifully in a muffin tin. Just note that baking times may vary; start checking after 15-20 minutes.
With every delightful bite of this Chocolate Protein Cake, you’ll find that nourishing your body while indulging your sweet cravings can go hand in hand. Gather your loved ones, and don’t forget to leave some room for an extra slice—because this is a cake meant to be shared!

Chocolate Protein Cake
Ingredients
Method
- Preheat your oven to 350°F (175°C) and grease a 9-inch cake pan.
- In a large bowl, combine chocolate protein powder, oat flour, cocoa powder, baking powder, and a pinch of salt. Whisk together.
- In another bowl, whisk together eggs, almond milk, honey or maple syrup, applesauce, and vanilla extract until combined.
- Pour the wet ingredients into the dry ingredients and mix gently until a cohesive batter forms.
- Pour the batter into the prepared cake pan and bake for 25-30 minutes or until a toothpick inserted comes out clean.
- Let the cake cool in the pan for 10 minutes, then transfer to a cooling rack to cool completely.