
Sometimes, life throws a curveball on a busy Tuesday when all the chaos of the week collides. Maybe the kids are fussing, work is piling up, and you just need a moment of solace. As you search through your cabinets, the thought of dessert flickers into your mind—a comforting treat that wraps you in warmth. That’s when you recall the memories of your grandmother’s cozy kitchen filled with the aroma of something rich and chocolatey. This is where Boiled Egg Chocolate Pudding comes to the rescue, providing not just a sweet retreat but also a taste that tingles with nostalgia.
Why You’ll Love This Boiled Egg Chocolate Pudding Recipe
Finding Comfort in a Bowl of Pudding
In a world of hectic schedules and picky eaters, many of us find ourselves struggling to create a dessert that delights and comforts. Whether it’s an evening meal shared with family or a solo treat after a long day, a dessert should bring joy and contentment. With just a few simple ingredients, this Boiled Egg Chocolate Pudding becomes an antidote to your daily stresses, offering a little slice of happiness with each creamy spoonful.
A Quick Solution to Sweet Cravings
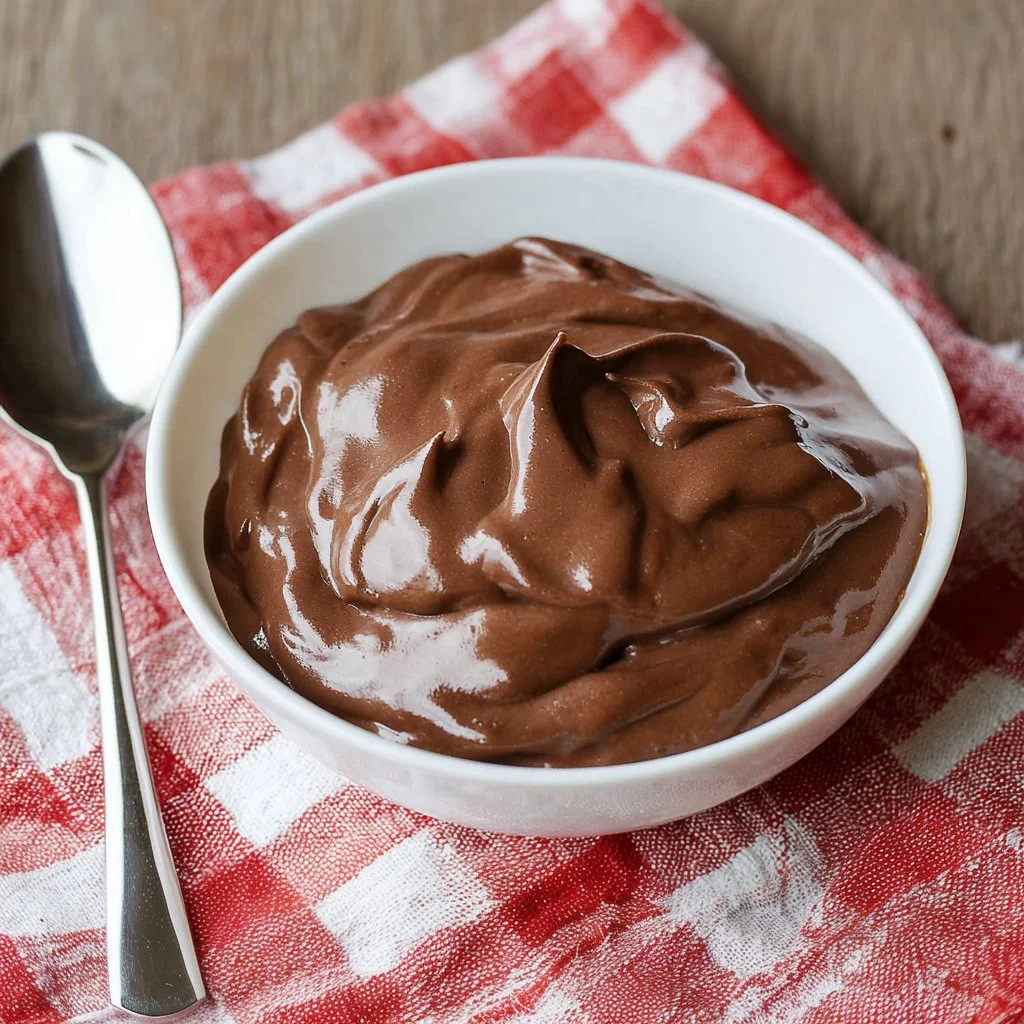
What makes this Boiled Egg Chocolate Pudding so irresistible is its creamy texture and rich flavors that remind you of childhood dinners where laughter filled the air. It’s easy to whip up and an absolute joy to savor, making it the perfect dessert for busy days. With each luscious bite, you’ll feel the love and care poured into making it. Trust me, indulging in this dish will make everything feel a bit more manageable.
Quick Answer: The easiest way to make Boiled Egg Chocolate Pudding creamy and rich is by using the right technique in tempering the eggs.
Ingredients Breakdown & Prep Tips
Simple Yet Essential Ingredients
- 6 Large Eggs: These provide the pudding with richness and the perfect custardy texture.
- 1 1/2 Cups Milk (360ml): Essential for creating that creamy base—whole milk works best for a luxurious mouthfeel.
- 1/2 Cup Sugar (100g): Sweetens the pudding without overpowering the chocolate, creating a well-rounded flavor.
- 1/3 Cup Unsweetened Cocoa Powder (40g): Adds depth and a delicious chocolatey flavor that’s unmistakable.
- 1/4 Cup Cornstarch (30g): This thickener ensures your pudding has that perfect, smooth consistency.
- 1 Teaspoon Vanilla Extract: A secret ingredient that enhances all the flavors beautifully.
- 1/4 Teaspoon Salt: Just a pinch elevates the sweetness and balances the chocolate.
- Chocolate Shavings or Whipped Cream (optional): For a touch of elegance and an extra layer of indulgence.
Prep Method
With all the ingredients ready, it’s time to piece them together in a delightful dance of flavors.
Step 1: Combine Dry Ingredients In a medium saucepan, whisk together the cocoa powder, sugar, cornstarch, and salt. Mixing these together first prevents clumps and sets the foundation for a smooth pudding.
Step 2: Incorporate Milk Gradually Now, gradually add in the milk while whisking continuously. This gentle incorporation helps avoid any lumps and gives you that silky base you crave.
Step 3: Cook Until Thickened Place your saucepan over medium heat. Stirring constantly, cook the mixture until it thickens and starts to bubble. The stirring is key; this ensures you don’t get any scorched bits stuck on the bottom.
Step 4: Prepare the Eggs In a separate bowl, whisk the eggs until they are light and frothy. This heartbeat of the dish adds structure and a custardy richness that will make every spoonful worthwhile.
Step 5: Temper the Eggs To temper the eggs, slowly add a small amount of the hot pudding mixture to the eggs while whisking. This process gently raises their temperature and ensures they don’t scramble when mixed back in.
Step 6: Combine Everything Once tempered, slowly pour the egg mixture back into the saucepan, stirring constantly. This is the moment your pudding truly comes together!
Step 7: Final Thickening Continue to cook for an additional minute until the pudding thickens to your desired consistency, remembering that it will set further as it cools.
Step 8: Add Vanilla Remove from heat and stir in the vanilla extract. This addition will infuse the pudding with warmth and aromatic sweetness.
Step 9: Set the Pudding Pour the creamy pudding mixture into individual serving dishes, letting it rest before refrigerating.
Step 10: Chill Allow the pudding to cool, then refrigerate for at least 2 hours before serving. This cooling time is crucial for achieving that delightful texture.
Step 11: Optional Toppings Before serving, feel free to top it off with chocolate shavings or a dollop of whipped cream if you’re feeling a bit fancy!

Avoid These Mistakes
Common Mistakes & Fixes
- Not Whisking Enough: Avoid clumps by whisking continuously while combining your dry ingredients and milk. Trust me, it makes a world of difference!
- Scrambled Eggs: If your pudding mixture gets too hot when mixing with the eggs, you might end up with scrambled bits. Slow integration is the key; temper slowly and gently!
- Undercooking: Make sure to cook your pudding sufficiently until it thickens. This step is crucial for that velvety texture.
Pro Tips to Get It Right
- Patience is a Virtue: Good pudding takes time! Don’t rush the cooking; stirring slow and steady will yield the best results.
- Taste As You Go: If you feel brave, taste your pudding mix before chilling. Adjust sweetness if necessary. Remember, it needs to be delightful at the end!
- Chill for Flavor: Allow the pudding to chill many hours, even overnight for flavors to meld perfectly.
Serving, Storage & Creative Variations
Best Ways to Serve It
Imagine a cozy evening with your loved ones gathered around the kitchen table, spoons clinking against bowls as they savor each spoonful of rich Boiled Egg Chocolate Pudding. Perhaps it’s topped with delicate chocolate shavings or a fluffy swirl of whipped cream; it’s a treat that invites delighted chatter and satisfying smiles.
Storage, Seasonal & Dietary Variations
If you have leftovers (though I highly doubt it), store your pudding in an airtight container in the fridge for up to 3 days. It also freezes well; just thaw it overnight in the refrigerator when you’re ready to enjoy it again.
Feeling adventurous? Try swapping the cocoa powder with white chocolate and adding a hint of orange zest for a refreshing twist or substitute almond milk for a dairy-free option. The possibilities for this comforting dessert are endless!
FAQ SECTION
What is the best way to enjoy Boiled Egg Chocolate Pudding?
Enjoy it chilled, straight from the fridge, or let your creativity run wild with toppings like chocolate shavings or fresh fruit!
Can I make this pudding dairy-free?
Absolutely! Substitute the milk with almond milk or oat milk for a deliciously creamy dairy-free version of Boiled Egg Chocolate Pudding.
How long do leftovers last?
Stored in an airtight container, your pudding can last up to 3 days in the fridge. Just know that it gets better as it sits!
Can I use sweeteners other than sugar?
Certainly! You could use a granulated sugar alternative, but be sure to adjust the quantity according to the sweetness level of your chosen substitute.
So, the next time you need a bit of comfort in this busy life, remember this Boiled Egg Chocolate Pudding. It’s a loving embrace in dessert form, sure to bring smiles, comfort, and a recognition of sweet family traditions.
Boiled Egg Chocolate Pudding
Ingredients
Method
- In a medium saucepan, whisk together the cocoa powder, sugar, cornstarch, and salt.
- Gradually add in the milk while whisking continuously.
- Place your saucepan over medium heat and cook until thickened and bubbling, stirring constantly.
- In a separate bowl, whisk the eggs until light and frothy.
- Slowly add a small amount of the hot pudding mixture to the eggs while whisking to temper.
- Once tempered, pour the egg mixture back into the saucepan, stirring constantly.
- Continue to cook for an additional minute until thickened.
- Remove from heat and stir in the vanilla extract.
- Pour the pudding mixture into individual serving dishes and let it rest before refrigerating.
- Allow the pudding to cool, then refrigerate for at least 2 hours before serving.
- Top with chocolate shavings or whipped cream if desired before serving.