
Ah, the hustle and bustle of a typical Tuesday afternoon—a day laden with chores, endless to-do lists, and the moments where a little voice in your heart whispers, “I could really use something sweet right now.” After a long day of juggling responsibilities, families often find themselves in need of a comforting treat. A simple but indulgent sweet, like a creamy milkshake, can transport you straight back to childhood, evoking memories of savoring time spent with loved ones over an ice-cold glass of bliss. That’s where my delicious Homemade Milkshake Recipe comes into play—ready to whisk you away from the chaos and into a moment of pure joy.
Why You’ll Love This Homemade Milkshake Recipe
A Sweet Escape for Busy Families
Isn’t it a bittersweet struggle when you’re busy running the household, yet long for those cozy moments with your family? Sometimes, it feels like a race against time, especially when the little ones are craving a treat and you’re low on time and energy. This is where my Homemade Milkshake Recipe comes in, welcoming everyone to gather around and enjoy a sweet, indulgent moment together. Milkshakes are that delightful in-between—simple enough to whip up on a hectic day yet special enough to be a family favorite.
A Whirlwind of Flavor and Comfort
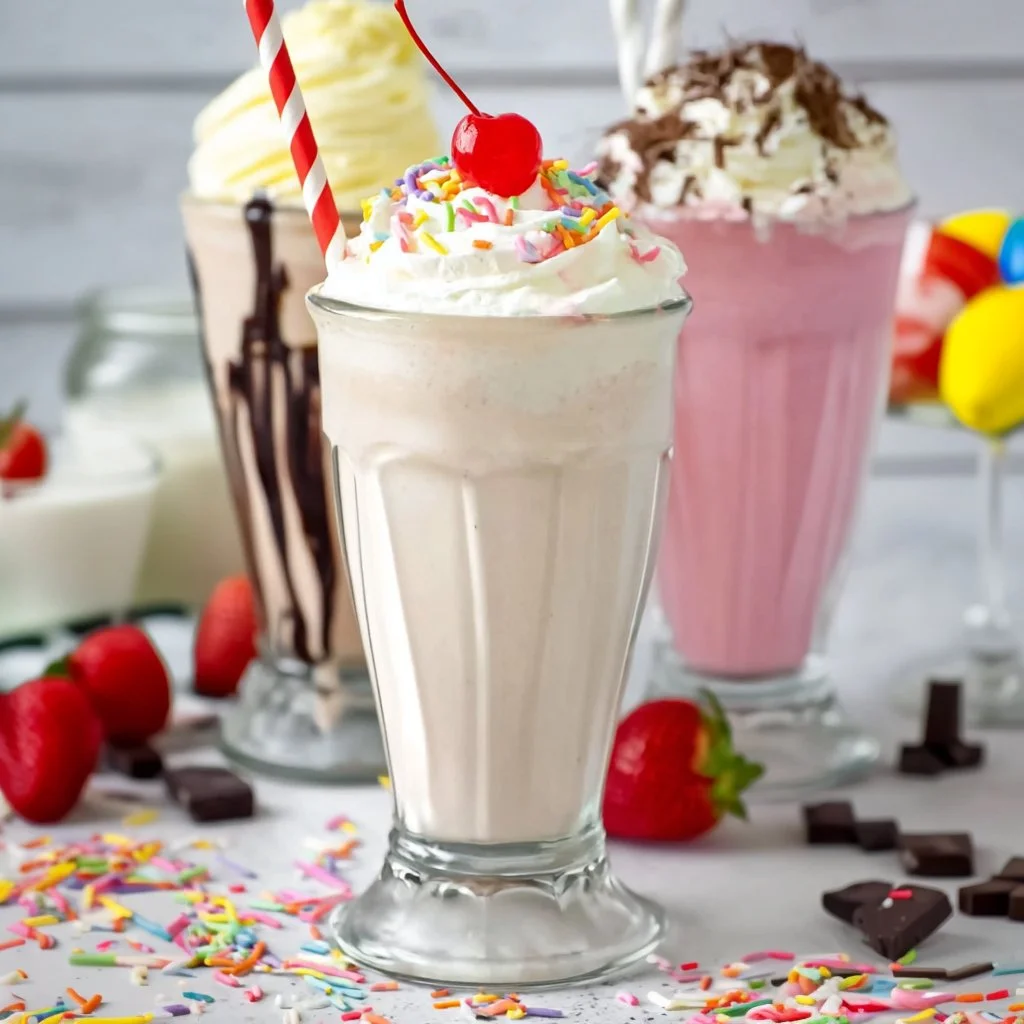
What I love about this Homemade Milkshake Recipe is its power to bring smiles, lighten moods, and create cherished memories. With just a couple of ingredients, you’re not just blending milk and ice cream; you’re crafting a moment of happiness. Picture this: the rich, creamy vanilla ice cream combined with cold, refreshing milk, swirling together to create a luscious blend. Each sip feels like a warm, tender hug, nourishing your spirit and rekindling that childlike joy in you. Let’s dive into this easy recipe and embrace the comfort it offers.
Quick Answer: The easiest way to make a Homemade Milkshake Recipe creamy and rich is by using vanilla ice cream.
Ingredients Breakdown & Prep Tips
Essential Ingredients for Your Milkshake
- 2 cups vanilla ice cream: The star of this recipe! This classic flavor provides a rich base, delivering that sweet, creamy taste we love.
- 1/2 cup milk: This adds the perfect creaminess to your shake, making it smooth and delightful.
Simple Prep Method for a Delicious Treat
Step 1: Gather Your Ingredients
Set the scene for your milkshake by gathering your two stars: the ice cream and milk. Make sure they’re both ready to go—you’ll want everything at your fingertips for seamless blending.
Step 2: Blend the Goodness
In a blender, combine the 2 cups of vanilla ice cream and the 1/2 cup of milk. Close the lid and pulse until everything is blended into a smooth concoction. You’re looking for a creamy texture that beckons you to take a sip!
Step 3: Serve and Delight
Once it’s blended to perfection, pour your homemade milkshake into your favorite glass. You can even add a fun straw to make it a little more special.
Avoid These Mistakes
Common Mistakes & Fixes
- Using Melted Ice Cream: Ensure your ice cream is firm. If it’s too soft, your milkshake might end up too soupy. If it’s starting to melt, pop it back into the freezer for a bit before blending.
- Under-Blending: Not blending long enough can leave your milkshake chunky. Make sure to blitz it until creamy and smooth; you deserve that perfect texture.
- Too Thick or Too Thin: If it feels too thick, add a splash more milk; if it’s too thin, a bit more ice cream will do the trick. It’s all about that balance!
Pro Tips to Get It Right
- Customize Your Shake: Feel free to get adventurous with flavors! Try adding some chocolate syrup or fresh fruit if you’re feeling bold.
- Chill Your Glass: For an extra frosty experience, chill your glass beforehand by placing it in the freezer for about 15 minutes.
Serving, Storage & Creative Variations
Best Ways to Serve It
Imagine enjoying your homemade milkshake on a lazy Sunday afternoon or celebrating a family gathering. Picture the smiles on your loved ones’ faces as they sip on this delightful treat! Dress it up a notch with whipped cream, a drizzle of chocolate syrup, or a sprinkle of crushed cookies for a special occasion.
Storage, Seasonal & Dietary Variations
While I highly recommend serving your milkshake fresh, you can prepare the base (ice cream and milk mixture) ahead of time and store it in the freezer. If you find yourself with leftovers (a rare treat!), enjoy them within a couple of days for the best flavor. For a seasonal twist, try adding a splash of peppermint extract during the winter holidays or a hint of fresh berries in the summertime for a refreshing treat.
FAQ SECTION
What type of ice cream works best for this milkshake?
Vanilla ice cream is traditional and delightful, but feel free to experiment with your favorite flavors, like chocolate or strawberry, for a twist!
Can I use non-dairy milk for this recipe?
Absolutely! Almond milk, oat milk, or coconut milk can be wonderful alternatives that deliver creamy results.
How can I make my milkshake healthier?
Try using low-fat ice cream or yogurt and opt for almond milk to lighten things up while still keeping the flavor rich.
What’s the secret to a thick milkshake?
Using cold, firm ice cream and blending it just enough ensures a thick and luscious milkshake.
In the grand tradition of family kitchens, this Homemade Milkshake Recipe isn’t just about the ingredients—it’s about gathering, sharing, and enjoying sweet moments together. I hope this milkshake not only satisfies your sweet cravings but also brings you closer to the ones you love. Now, go forth and get blending!
Homemade Milkshake
Ingredients
Method
- Gather your ingredients: ice cream and milk.
- In a blender, combine the vanilla ice cream and milk.
- Blend until smooth and creamy.
- Pour the milkshake into a glass and serve.